Leaderboard


Popular Content
Showing content with the highest reputation on 02/24/2025 in all areas
-
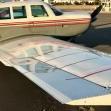
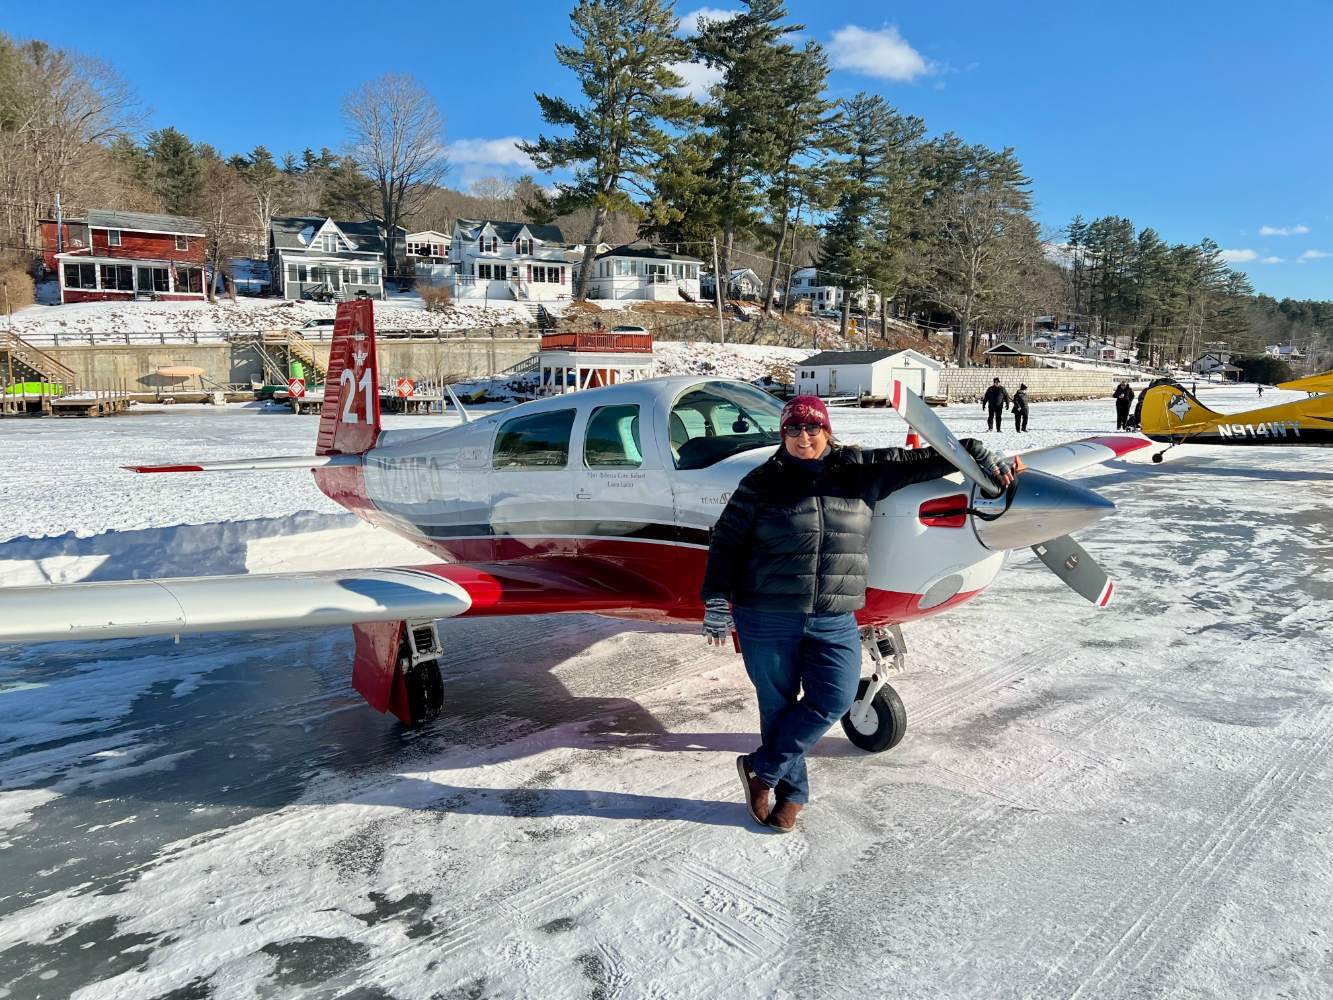
We called our insurance company and were covered because it is an FAA listed airport so we went there. It's fine.
 7 points
 -
While you often make fair points, you package them in a shit sandwich, then wonder why no one wants to take a bite. How about you take your own advice and not be ugly in your responses. If you were a bit more tactful and circumspect you may actually persuade a few folks.5 points
-
Me push throttle, me get lift, me no engineer.5 points
-
Too soon?
 4 points
 -
For incompressible flow (M<0.3), streamline curvature explains >95% of the pressure distribution on an airfoil, with viscosity (vorticity) playing a minor role. Downwash has very little to do with lift produced by a wing. Lift results from either angle of attack and/or asymmetry in the airfoil itself. An asymmetric airfoil like the one on our favorite airplane in normal cruise has 0-degree angle of attack! How much downwash do you think that is that causing? As Skip pointed out in the wind tunnel photo above, which is a symmetrical airfoil at a high angle of attack, the net vertical velocity component around it very nearly zero. In the case of a symmetric airfoil at 0-degree angle of attack, the lift is zero because the streamline curvature is the same on both upper and lower surfaces. But as the wind tunnel photo shows, angle of attack greatly modifies the flow field and results in a lot more streamline curvature above the airfoil than below it. That's all there is to it. No magic. Once you get into the compressible flow regime, then the magic starts to appear along with a few demons.3 points
-
That is a factor. But how far do you have to offset, versus the traffic on downwind? And if you stay low, you should be no factor to downwind traffic.2 points
-
2 points
-
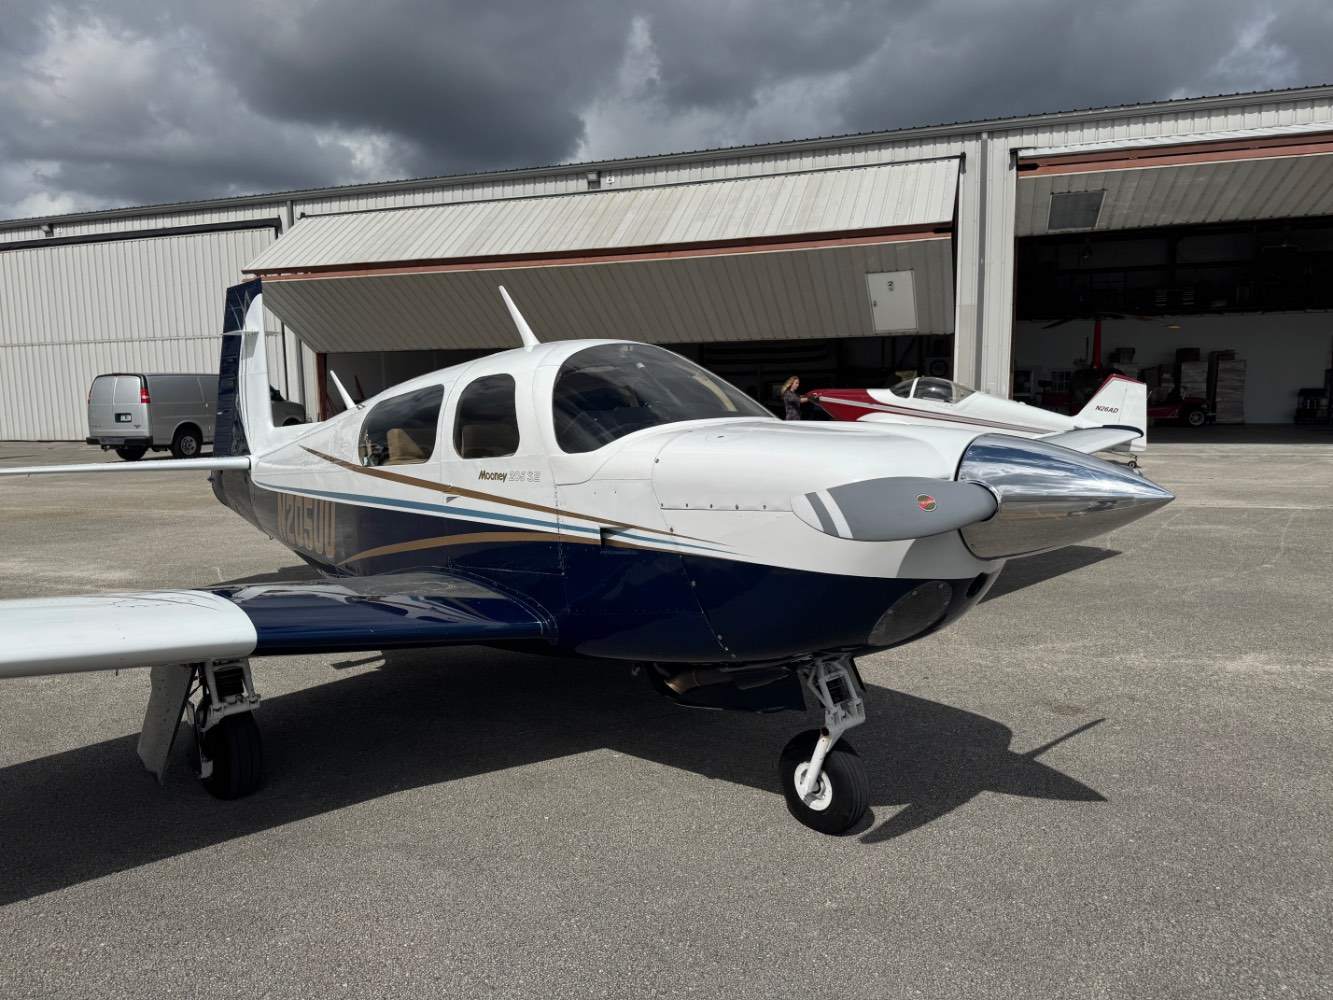
https://www.trade-a-plane.com/search?category_level1=Single+Engine+Piston&make=MOONEY&model=M20J+205&listing_id=2427252&s-type=aircraft
 1 point
 -
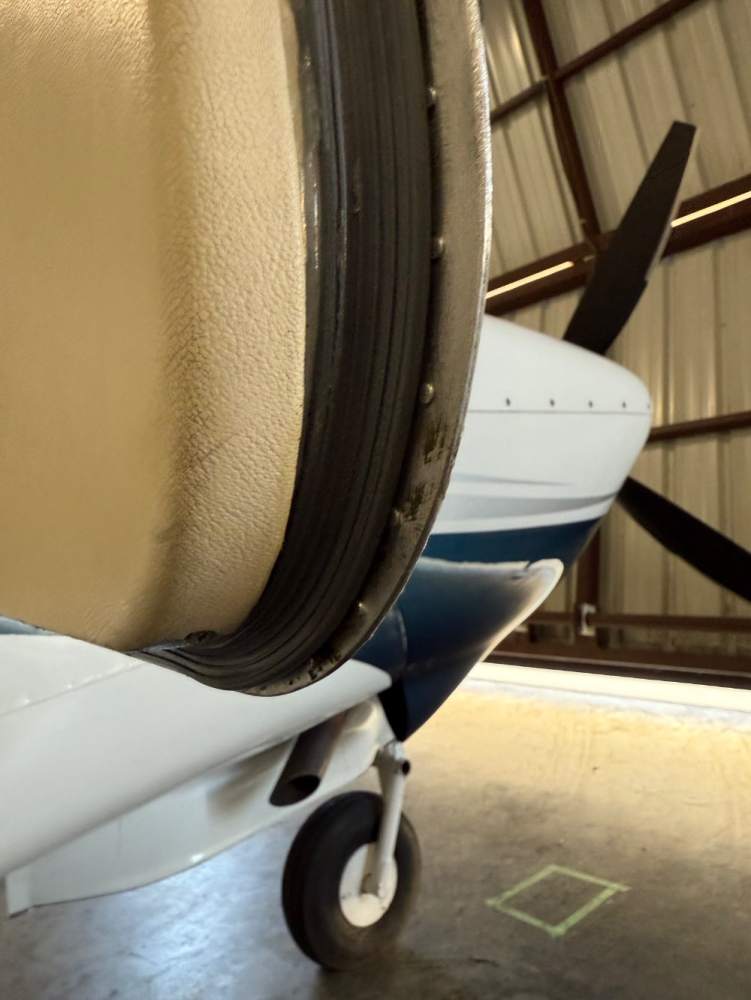
If you are interested in reducing wind noise in flight there really is no better option than installing a Bob Fields inflatable door seal. There has been a lot of discussion regarding this modification and I wanted to dispel some myths and clarify a few other items. The most difficult part of this process is the removal of the old seal. For this task I would recommend a brass wire wheel for a drill or hand grinder. Remove as much of old the seal as you can by hand and with a plastic scraper prior to using the brush. I would recommend that you open the door, remove your interior door panel, and remove the arm closer. This makes it much easier to get to everything for the install. The install directions say to remove the door from the airplane. This may make it a bit easier but is completely unnecessary. With the wire wheel, it’s important to use brass to prevent damage to the back sides of the rivets, you can clean the entire door in less than 30 min. Tape off the cabin, and mask the painted edges of the door to prevent accidental damage with the brush, and keep the debris from getting in the plane. If I ever do this again, I will do this part outside the hangar! After removing the old seal, clean the door with acetone, and then grease and wax remover. This ensures good bond with the adhesive. The directions suggest the inflatable nipple of the seal, be placed on the front side of the door but this isn’t possible with the door on the plane. I elected to drill the hole on the bottom forward corner of the door, where I could reach with a drill . With the interior of the door panel off, drill the hole for the nipple to pull through for connection of the pump bulb. Once again, I am going to contradict the instructions, install the interior door panel BEFORE you glue the seal in place. The reason for this, is that there are areas where the door seal actually laps over panel, which is important for the seal to completely contact the door jamb. The instructions also suggest trimming the door panel. I do NOT recommend this, at least not for the newer style panels. The door seal comes with a long section of hose which allows a lot of options for placement of the hand bulb. Connect this hose to the door seal and bulb while the glue is still wet and get inside the plane with the baggage door open, you will exit this way after installing the door seal. The adhesive sets rather quickly, so be prepared to move quickly. The only three really important points to monitor, one is where the nipple enters the door, two is the stud clamp at the top of the door and three, the bottom of the door where the door closer arm must pass between the door and the seal. Be careful when setting the seal that these areas won’t chaffe or pinch the seal. With the seal all glued, immediately get into the plane and slowly close the door making sure there are no pinch points or areas chaffing. Close and latch the door and then pump the ball about three or four times. This basically forces the seal into a tight fit. At this point, the ball is not mounted and has the long hose attached, so you can drape the hose with the extension out the vent of the pilots window and climb out of the baggage door. Allow a few hours for the glue to set, release the pressure of the seal and open the door. Now choose your mounting point, screw it down and you are finished. Geebee aeroproducts has mentioned on several occasions that this seal can damage door hinges. I can say with 100% certainty that this is not possible with the non electric model. Not only do you not need this much pressure to create the seal, it’s not possible to put much more than probably 10-15psi by hand with this equipment. I do believe it has a high likelihood of leaking while deflated in the rain, so if you are permanently on a ramp and do not have a water tight cover, this will be a big consideration. Some have said, just give it a few pumps prior to closing and this isn’t an issue. I don’t believe I will use this method. One because my plane is hardly ever on a ramp overnight, and two, I will do what I have always done with my Mooney, which is carry a roll of blue tape and cover the door gap and fuel caps if I’m on a transient ramp. I did not do a very good job documenting my work with photos, so I’m sorry I don’t have good visual aids, but I do have photos of the completed install and will be happy to discuss with anyone considering the install. The pics show some areas where the seal laps over the panel. What I found was that these areas had excessive gaps between the door and jams and laying on top of the panel helped fill the void. NOTE: I did NOT glue the seal to any part of the interior panel. Lastly, while some models are not listed on the STC, it is acceptable to install as a minor modification logged by your IA. This is a really easy install if you know the right process. I sure hope you find this helpful! One final note, don’t worry if the seal isn’t perfect and needs to be adjusted after install. It is not difficult to break the bond and re-glue!


 1 point
 -
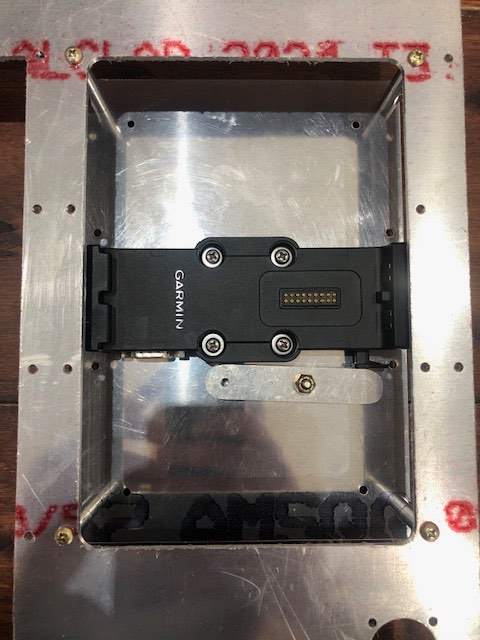
After a few iterations I think I have perfected a flush mount system for a Garmin Aera 760. Gizmo's make a nice panel dock - the problem with a M20J/K is that the RHS stack is very tight and it's difficult to fit a 6.25" wide item in. The 760 is 7.4x4.9" and fits really nicely on the co-pilots side. I used a standard 760 cradle mounted on a plate set back from the panel. There is a lever to pop the 760 out of the panel (lanyard to follow). No power button, but the 760 comes on and turns off when power is removed. I have enough glass and gadgets on the pilot's side, this is for my co-pilot to watch traffic etc. And I had to fill the space with something. Let me know if I can make one for you.... Aerodon

 1 point
 -
Nope you can get the range available within your trailing numbers.1 point
-
I just got off the phone with Mr. Pollack (Mooney CEO) there IS an agreement that will allow for the manufacture of the 40:1 Gear Sets that we have been hoping/waiting for. The Authorized POC will be contacting me within the next couple of weeks and I will get the cost and timeline information and share with the group as well as the order process. This is GREAT news and wouldn't have been possible without Mr. Pollack's willingness to put in the (unpaid) effort to make this possible. I appreciate everyone patience and encouragement during the process that got us to this point. More to follow once I get more information. V/r Matt1 point
-
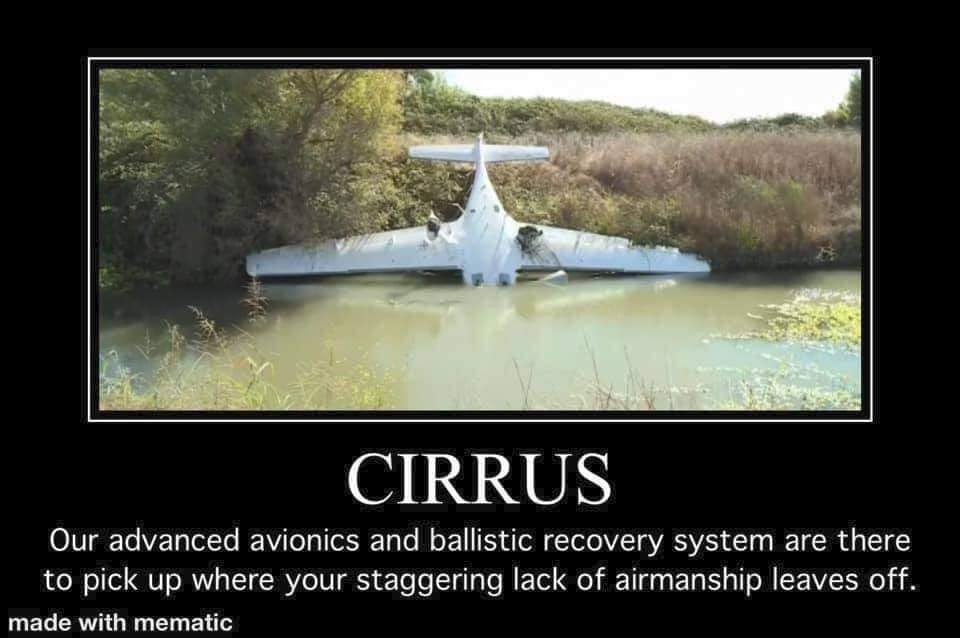
We wonder why our hull coverage is so high.1 point
-
No, it would stay still without brakes at idle. But you sure as heck couldn't do a runup! You can spin the plane around in a circle by hand on the spot.1 point
-
Aircraft Spruce buys them from McFarlane. So does Mooney. I doubt anyone keeps them in stock but if McFarlane lists the part number then they should have a drawing for it and can make one without you having to send your old one to them.1 point
-
Mooney has a whiteboard which we saw back on the tour during MooneyMax 2024 where they have parts that need to be ordered, the number backordered and the minimum order before they place it. The advice is to go through a Mooney Service Center. Have them backorder a couple of them for you. Sadly with some MSCs you have to convince them to place the backorder. Mooney has said that once they reach a certain level on backorder that exceeds their minimum order with the manufacturer, they will place the order. Quite a few people that have needed these in the past few years just demand them now and complain about the company, never place the backorder and won't listen to reason. I haven't needed many things in the last few years, but every time I have followed the advice they have come through for me.1 point
-
Think of it from a particle kinetic theory perspective. Pressure is just particle collisions -- and those impart a momentum. This video helps to visualize what is happening at the micro level (with some simplifications). You can derive all of Navier-Stokes from this fundamental approach. The summation of forces from all of these individual collisions results in a lift vector that is a function of airfoil shape, relative speed, and angle of attack. Whether you capture this on the macro level in the form of pressure, streamlines, or any other method, the fundamental process is momentum transfer and equal reactions (via Newton - a net mass flow downward for vertical lift). This is not necessarily "downwash" that you are thinking of on the macro scale, as Hank and MikeOH allude to (to be a little more clear here: as the particles collide and transmit their momentum, there is an effective downward motion of a parcel of air on the macro scale).1 point
-
lol. NVM. . throttle prop mixture1 point
-
In an effort not to repeat myself, look at my immediately previous comment. You will probably find the depictions counterintuitive.1 point
-
This actually makes a great point. Camber is not necessary to generate lift. A flat plate will generate lift. The purpose of airfoil shapes is to generate lift efficiently which means minimizing the drag created by the wing. Drag takes on two forms: Parasite drag from skin friction which is reduced by minimizing the wing area thus necessitating so-called high lift devices on the leading and trailing edges in order to get lift at lower speeds for takeoff and landing; and, induced drag which is caused by the production of lift and can be reduced by careful airfoil design.1 point
-
Anything will fly.....given enough thrust. The MD-80 is proof positive.1 point
-
I ended up adding buffer to my glide ratio for the rings display. Figured it would help remove temptation if something happened.1 point
-
I am certainly not trying to argue with anyone and none of the ideas I have presented are my own. In fact, I presented two videos, one by a retired senior Boeing engineer and one by a professor of aeronautics, that essentially say the same thing albeit with much more detail and rigor. Here is a paper (for those who might be interested) written by a (now sadly deceased) well know aeronautical engineer. My only purpose in presenting this was to try to point out that a lot of what is presented in instructional materials for pilots is just plain wrong and it's not really that hard to understand what is really happening, at least at a very basic level. But I do understand the law of primacy and what we first learn sticks with us. But, for those with an interest, I think it is a fascinating subject to explore. So many things I thought I knew in my early flying career have been proven to be wrong and one reason I find aviation continually interesting is that there is always more to learn. The Facts of Lift - Lissaman.pdf1 point
-
Maybe not zero, but not much more at cruise. From the attached curves I got long ago from Mooney, the Mooney wing zero lift angle of attack is -1 deg. So, because of the camber, it generates lift at zero. But, we can easily calculate it: L = 1/2 p V2 CL S Solving for CL and converting to convenient units at sea level on a standard day, CL = 295 W/V2S where, W = weight in lb., V = KTAS, S = wing area in ft2. For a M20J, S = 174.8 ft2. For our example, lets use 2500 lb weight at 150 KIAS: So, CL = 295*2500/150^2*174.8 = 0.1875 According to the attached curve, that corresponds to a angle of attack of about +1 deg. M20K Aerodynamic Coef - Flaps 0.pdf1 point
-
I had an engine fire happen in the first Cherokee I owned (a 140, carbureted O-320). (To be perfectly correct, the fire happened before I owned it ; but only by a few hours). This plane had been sitting for a while when I bought it, it had been inspected by a mechanic and had an annual inspection, but presumably did not get started at any point in the recent months before I went to buy it. I wanted to get checked out in it with a local instructor (I only had minimal time in Cherokees, mostly had trained in a 152), and when he and I tried to get it started it wouldn't start. We kept priming it, until we somehow managed to flood it; fuel coming out of the intakes (or carb, not sure) caught fire. We managed to start the engine and suck the fire in just as local people were running out with a fire extinguisher. The cowling was all metal; we took it out, looked at the engine inside, the local mechanic deemed it fine, and I flew it home after a couple of trips around the patch with the instructor. (The guy was an old timer, and he alleviated my concerns by telling me that these "modern" engines are bullet proof, he never saw one fail, unlike the ones in the Piper Cubs he used to fly, which every once in a while required him to dead stick in a field to clean up the jets or something like that...) Seems like no damage was done in that fire, not even paint peeling on the cowling or anything. I flew that plane happily for a few hundred more hours with no incident. As an aside, I looked up the fate of that plane (N6085W) recently and it was very sad. Some years later the 70+ year old owner ran out of gas in it and crashed it, killing himself and his son who was in the right front seat. The rear seat passenger, the grandkid, survived with some injuries. Damn fuel exhaustion...1 point
-
Excellent question. The propeller blades rotate in a plane normal to the axis of rotation and direction of flight. Because of this constraint it is often modelled as a permeable disk that imparts energy to the air flowing through it. The disk creates a low pressure area ahead of it and a high pressure area behind it. This has the effect of creating a stream tube along the axis of rotation that "sucks" air in ahead of the propeller and accelerates it out the back side. The motion of air through the propeller disk is thus different than that of a wing.1 point
-
Well thats kind of a snarky response as I was just offering another idea if someone wanted to go for it. I don't need to but it might also be a way around some issues others have.1 point
-
1 point
-
+1. I think the main reasons to deviate from this would be if there is an active LZ, parallel runway, or helicopter operations nearby on the right. If there is a parallel runway on your left, the only practical way to deviate is to the right into the downwind side. On my home field (DVT) with parallel runways and a tower, I've been told a couple times to go around and deviate into the downind side if there was traffic on the runway.1 point
-
Why are we landing on Ice in a complex airplane? -Matt1 point
-
That VOR has a glideslope. I'd recommend keeping it, especially since it doesn't involve buying new equipment. I assume you have the panel space. (I have an EDM engine monitor, a GPS 400W, two G5's, and two KX-155's (one with glideslope). I like having the VORs and definitely like having the glideslope.) VORs and glideslopes aren't going away any time soon. It's good to avoid dependence on single form of navigation.1 point
-
This. So many people have died within a quarter mile of an airport trying to save the airplane. if I have an engine failure, I care nothing about the airplane. Whatever consequence comes, I’m fine with it so long as I’m sitting at my dinner table that night.1 point
-
No, ROP is fine. I run ROP when I need the speed. Just make sure you are at least 100 - 125 degrees ROP. But you can also run a higher manifold pressure to get a higher % power when still LOP. I run my -SB at 29.5/2300 and 10.1 GPH for 63 - 64% power. For a Continental, Mike Busch (and others) recommend keeping CHTs under 380.1 point
-
And there are already at last two people already doing it for a small market. And you would need to get unbroken switches, do the CAD work, then make test ones and try them out, then go into production. I supplied the print file for @AH-1 Cobra Pilot to make one type of the switch covers. He was making one. I got a pristine one from someone here on MS, had a friend CAD and make a print file. Make test pieces, and had a few people test them, then turned the print file over to AH-1, and then tested his first couple of complete (labeled) covers. He prints them in black, then sands and paints them white, then laser engraves the label and, I think, he then clear coats. NOW, if you are using it for an excuse to buy a new toy, GO for it.1 point
-
The Sunoco SS-100 race fuel is 96 MON. Car MON is close to Aviation Lean rating. So, it is about UL96. Not a big difference over UL94. The race fuels over 100 MON are either leaded or HIGHLY oxygenated, typically with a lot of ethanol. Unleaded, no ethanol seems to be around MON of 92. So even the race gas people have not managed to scale this mountain.1 point
-
No bueno if you are not instrument rated and current. Just ask for a VFR practice approach.1 point
-
Wow! Glad I dont fly an F! Why so fast? In my C, short final is a max of 85 mph, down to 70-75 just before pavement, and on go arounds I aim around 85 initially (seriously), unless I'm still a couple hundred feet high, then I just maintain standard pattern speed of 90 mph. Then again, not much arm strength is required with only 180 hp. Good thing, too. I also don't use full nose-up trim, usually landing somewhere around the Takeoff mark. Trim is just another flight control to use to hit my intended point of landing, just like rudder, elevator and ailerons (which I also rarely move to their travel limits while landing); I just trim away the yoke force. Flaring is done by pulling gently on the yoke, and that close to the ground, I'm not letting go of the yoke to reach down for the trim wheel.1 point
-
I try to tell this whenever it comes up, but try going rapidly to full power on short final with the trim full up, if you have the strength and are comfortable with the excess pressure required to keep from stalling, fine. Maybe it should be done at altitude. If nothing else I think it should be done so pilots see just how much pressure is required, if you don’t expect it, it could catch you off guard. Ray Maule used to teach an approach in a Maule trimmed full nose up, I did a go around once and that was the last time I landed trimmed full up, it took both hands to hold the nose down, obviously I didn’t die, Mooney especially a 4 cyl one ought to be more forgiving1 point
-
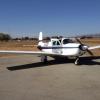
N3618N is on tradeaplane, I used to own that bird 25 years ago, a lot of people put a lot of work into it, will match the speed of a J, the engine that I put in probably needs an overhaul again though, $80k, no engine runs as well as the one you put in yourself1 point
-
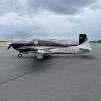
Shes back and broke in! Ran strong, had to fix EGT on #4, gear warning needs adjustment but that was it. Flew her back to Mesquite after 3 hours of breakin run. 2 more hours and I’ll change the oil. 2600 RPM, touch of carb heat, cowl flaps closed…

 1 point
 -
So, just an update...I spoke with John Smoker (COO) at LASAR who is finalizing a licensing agreement to allow for the manufacturing and sale of the 40:1 Gear Sets. LASAR is currently working with the manufacture to update the licensing agreement so it will take a little time before they can take orders. Mr. Smoker will be contacting me, at a later date, to provide me the information regarding costs, lead times and minimum run requirements and once I receive the news I'll provide an update. I would anticipate that we should hear something within the next 30-45 days. I wish I had more information for you, especially those aircraft that are currently AOG searching for options or those individuals that have already undergone modification to keep their aircraft flying. I've been assured that the cost of the gears will be significantly less than the cost of a used actuator. Also, LASAR is currently working to find a means to have the Actuator Motors repaired, so more good news for those with electric landing gears or those wanting to upgrade to electric landing gears. Once again, would not have been possible without the efforts of Jonny Pollack (CEO, Mooney). V/r matt1 point
-
Don't know if this is your issue but might give you a clue. I fly a 231. The turbos are generally set up very rich and on final approach I generally need to lean the engine out to keep it from burbling. It burbles because the engine is overly rich but making very little power. If I lean it out the burble goes away. When I get to the tarmac and start to roll out I have to remember to put the mixture back in. During the final descent the engine can be very lean but won't quite because the descent is helping the prop and driving the engine. When the engine is no longer getting that help on the tarmac it can stop unless I enrich it. Hence varlajo's question. If you are intentionally lean during the final approach the prop can stop during the rollout unless you enrich the mixture. That is what you are doing when you hit the boost pump. Instead, just push the red stick in. Whether you are leaning during final or not, but boost pump gives you your clue. The engine stops because it is too lean. It was fine during the descent when the descent was helping the prop, but that stops when you are on the ground. Need more fuel.1 point
-
Do we know dimensions? I can create a cad file if dimensions known1 point
-
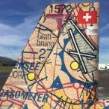
@Jetpilot86 speaks truth. I've stumbled on a runway hidden behind a ridge in WV, flying the might C172, about 2500 agl at cruise. I pulled throttle, made a right 270 and entered left downwind for a normal landing. When my Mooney was based adjacent to Class D, they would sometimes keep me at 4500 msl until i passed their runway. That was 4.5 nm from my home field, at 567 msl. To get down, I would deviate east over downtown and do 1-1/2 standard rate 360° turns to lose altitude, then bleed off airspeed for the 3-4 nm back to the pattern. THEN I would make a normal landing. Went out for a flight review with one of the instructors, when the wind was unusually out of the east. This meant downwind was behind the parallel ridge lines then choose a gap for base. He wanted me to go through the Cessna gap. As I turned base and pulled throttle to idle, I told him we wouldn't make it, then went full flaps, turned final and slipped until he was also convinced. Went around, and turned base at the next gap beyond the Cessna gap, and made a normal landing over the trees, just beyond the displaced threshold. You have to learn the Mooney procedures, learn and fly the right speeds and power settings. I was still very much in Student Pilot mode when I bought mine, them almost immediately attended a MAPA PPP (Pilot Proficiency Program), which I try to gomback to every few years to brush up and get rid of bad habits that sneak in. Bur it's soooo nice to fly! I go places that friends go in 172s, typically in 25-30% less time while using 10-15% less fuel . . . .1 point
-
1 point
-
1 point
-
1 point
-
On my last annual, (October 2022), Mooney M20C with IO-360-AB36D, 200 HP, the number four cylinder failed the compression check. It turned out to be a burnt/stuck exhaust valve. The A&P recommended replacing the cylinder. The part is hard to find and I had quotes of about $3000 from one place, and $4000 from another supplier. I am a member of SAVVY Aviation (I highly recommend them.) So I contacted Savvy and asked for advice. They suggested I contact Western Skyways and see if they could overhaul the can. A few phone calls and emails later, the A&P had pulled the cylinder and I shipped it off to Western Skyways. A month later, my freshly overhauled cylinder, with a new valve and associated parts arrived in the mail. The whole thing cost me just over $800 with shipping. I think the actual overhaul was about $780, and shipping was about $40-$50 each way (insured.) Overhaul included cleaning, inspection, resurfacing the cylinder wall, painting, new set of rings, the works! It looked like new. If you run into this problem, I recommend looking into an overhaul instead of replacement. The only downside was that one of the rings was found to be cracked. For some reason they installed the new rings in the cylinder for shipping. The piston was at the hangar with the airplane. Either during the install into the cylinder, or during removal, one of the rings must have been damaged. They quickly agreed to replace the cracked ring...no big deal. My annual membership to Savvy was $350 I think. I got a return of $3650 from them on just one ticket. Those guys are awesome! Sorry, I was going to post pics and I can't find them on my phone ):1 point
-
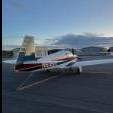
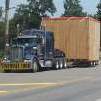
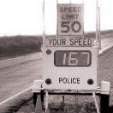
Tough weekend in Alton, Beech went short, Cessna went long. Runway is pure glass ice, no traction at all. The Cessna at the end of the runway happened late on Saturday. Could have been a mental factor for the beech going short Sunday morning. Hats off to the folks that want to do this with their plane because i love watching, but i no longer have any interest in taking mine. Sent from my iPhone using Tapatalk0 points