
M20F-1968
-
Posts
1,851 -
Joined
-
Last visited
-
Days Won
3
Content Type
Profiles
Forums
Blogs
Gallery
Downloads
Media Demo
Events
Store
Everything posted by M20F-1968
-

Pre-201 Value Guide is ready
M20F-1968 replied to jgarrison's topic in Vintage Mooneys (pre-J models)
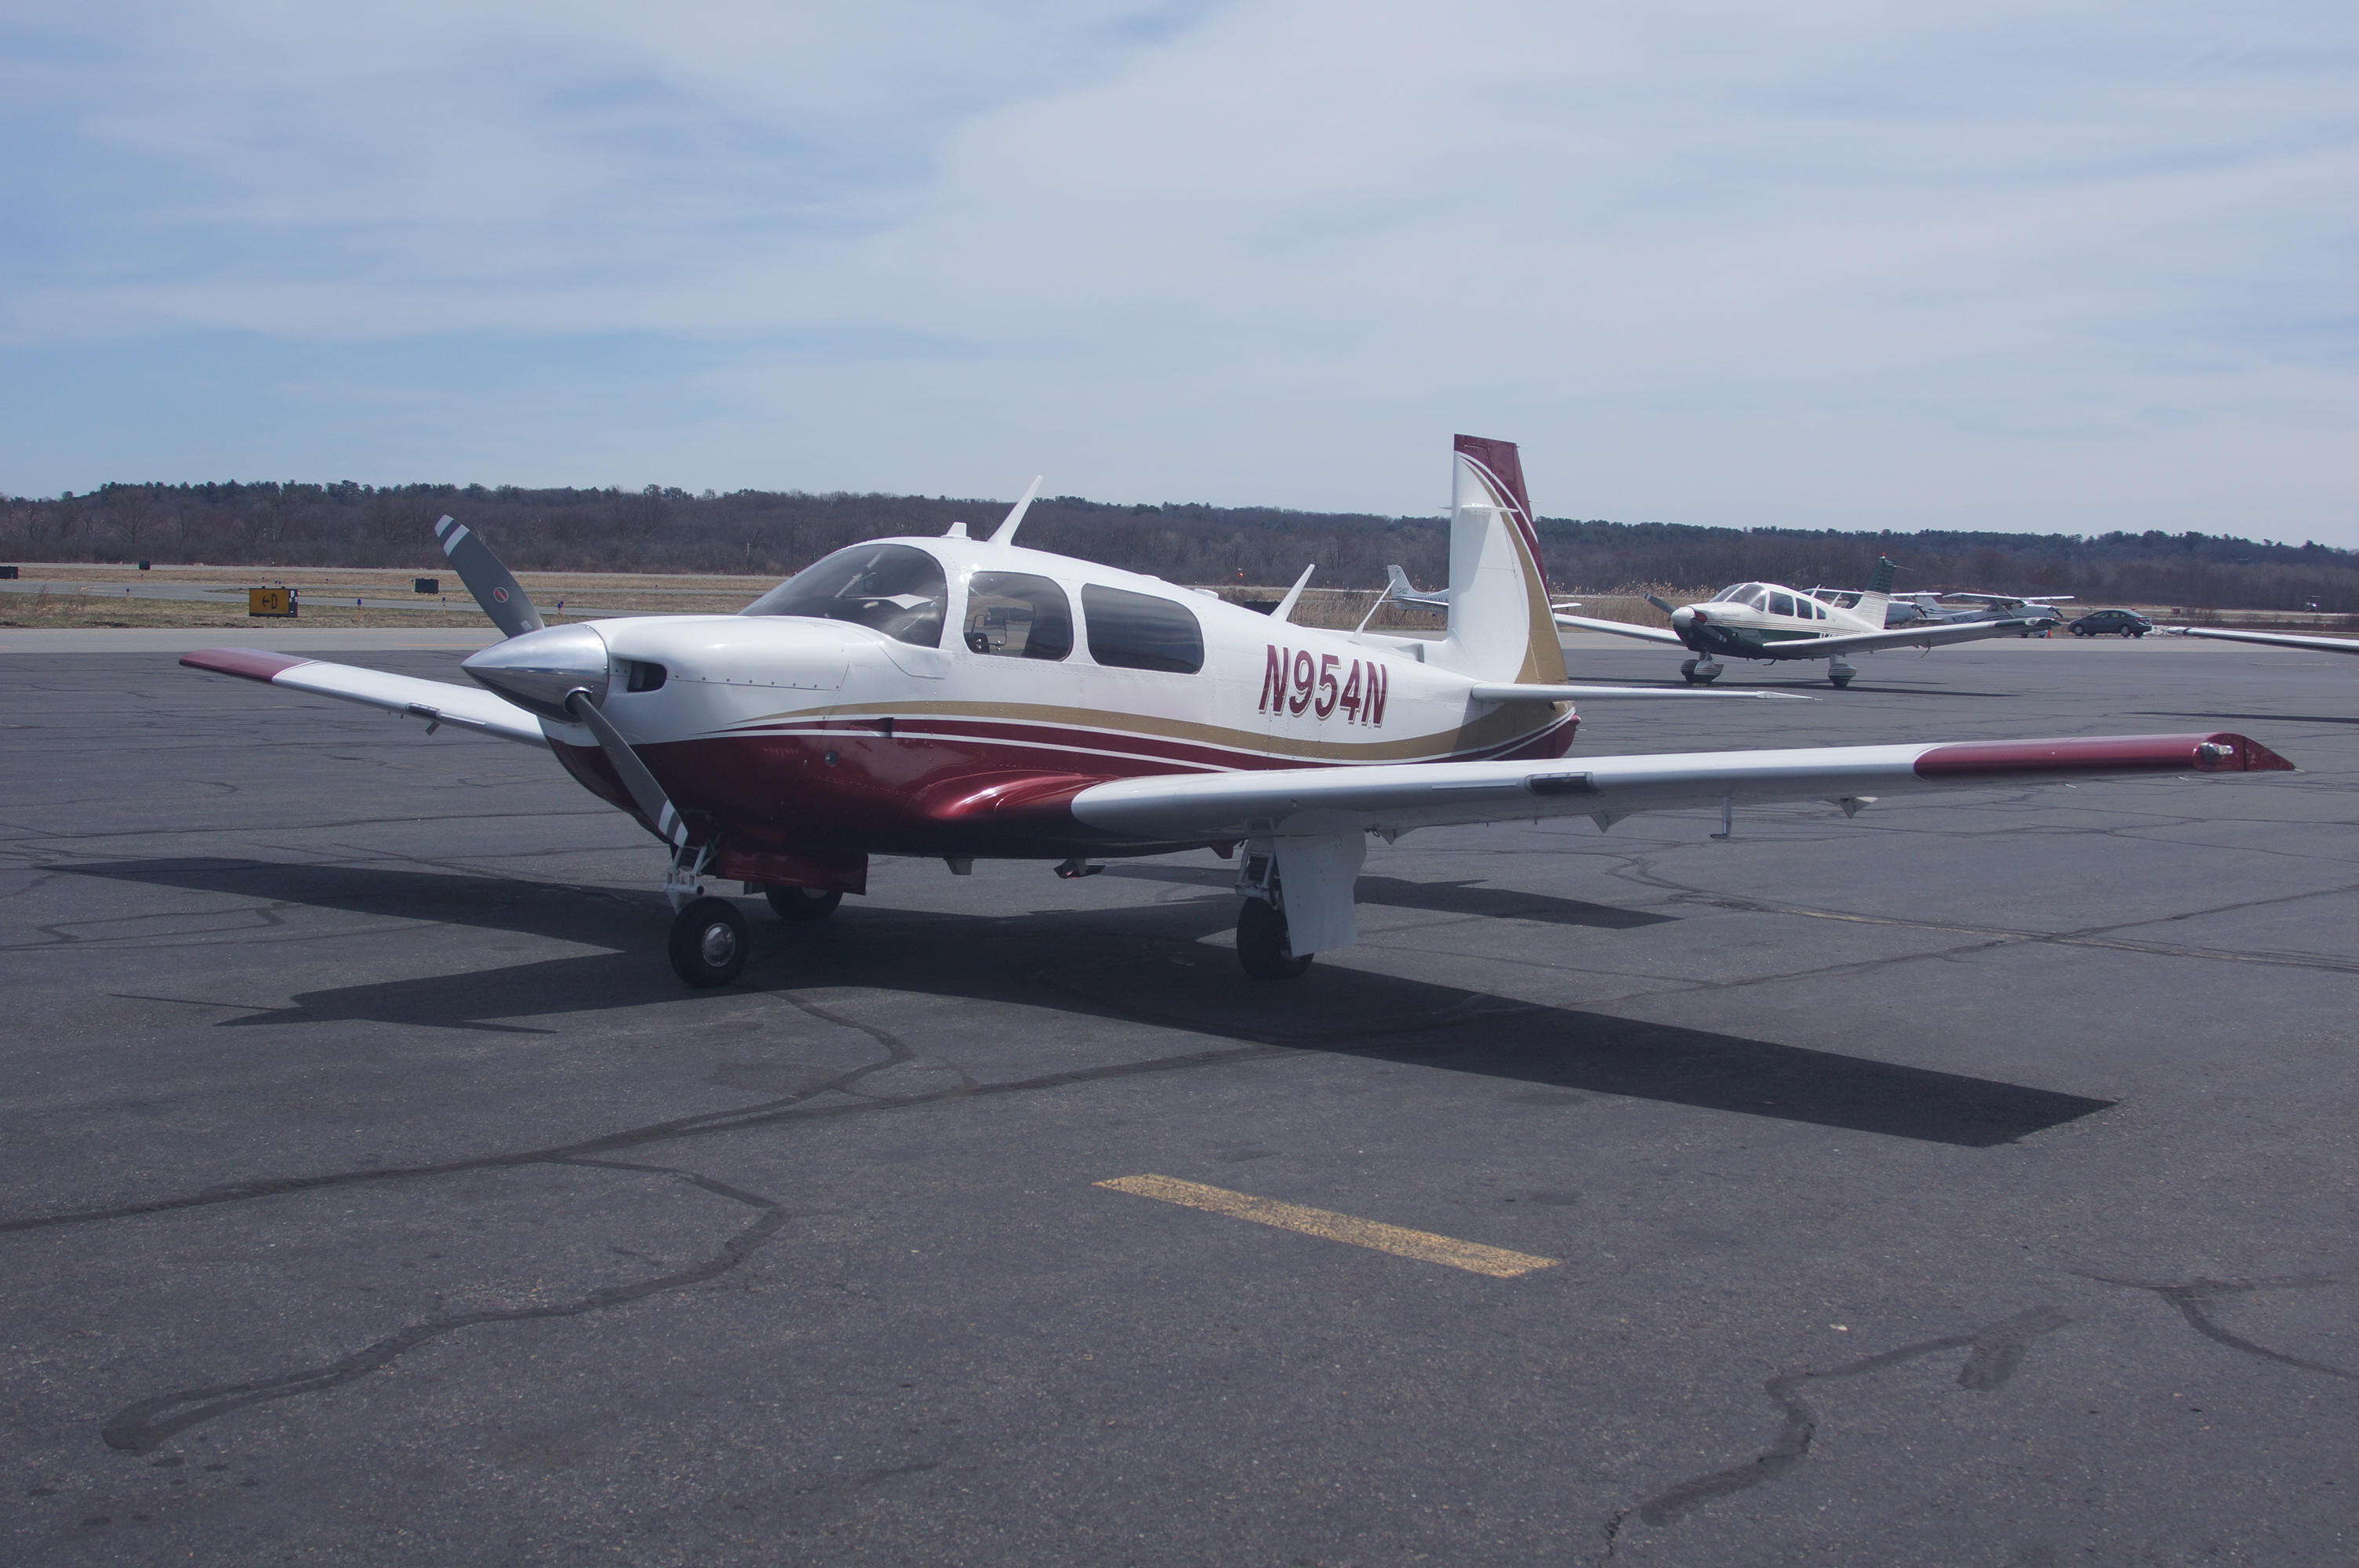
My post was listed without the information requested by Jimmy. It is: Name: John Breda Email address: john.breda@gmail.com Phone contact: (617) 877-0025 If Owner, The tail number: N954N -
Pre-201 Value Guide is ready
M20F-1968 replied to jgarrison's topic in Vintage Mooneys (pre-J models)
My post was listed without the information requested by Jimmy. It is: Name: John Breda Email address: john.breda@gmail.com Phone contact: (617) 877-0025 If Owner, The tail number: N954N -
Pre-201 Value Guide is ready
M20F-1968 replied to jgarrison's topic in Vintage Mooneys (pre-J models)
My post was listed without the information requested by Jimmy. It is: Name: John Breda Email address: john.breda@gmail.com Phone contact: (617) 877-0025 If Owner, The tail number> N954N -
Pre-201 Value Guide is ready
M20F-1968 replied to jgarrison's topic in Vintage Mooneys (pre-J models)
Jimmy, I would like to add support to Marauder's comments and some data from my plane that is off the charts. I have a 1968 F which is completely rebuilt from an empty shell. It is a unique plane. It came into being when I purchased it after it sat for 26 years in a hangar in Dallas. After its rebuild, it has been appraised by a certified appraiser on Long Island, NY at $250,000.00 and is presently insured for that much. When I started the project I was two years out of residency (I am an M.D.), was working too much, and could not afford the distraction and time needed to travel and be an informed bidder in the market. When I found this plane on e-bay, I sent Russell Stallings to take it apart more than it already was and report if it was a good project plane. He supported my idea to rebuild it. The end result is an airplane that looks and acts like a new Mooney. It has long legs (90 gallons), is turbo normalized, the structural cage has been modified to accept an Ovation style panel (with an instrument bow), most if not all 201 upgrades and many parts installed via DER approval from a 1998 Ovation. It has won a Lindy Award (best of show in class) at Oshkosh 2019, Outstanding Mooney at Oshkosh in 2018, and Best F model at the 2017 MAPA meeting. I would obviously like to see the envelope expanded to recognize the work, money and effort that those of us have made to keep these efficient vintage birds flying. I was able to find insurers that recognized that a completely rebuilt airplane is one of a kind and its value is not dictated by Book Value. It is this notion that has given rise to Mooney modifications over the past 30 years. Now that the factory is no longer building new planes, restoration of the existing fleet makes sense, especially if it can be done competently and within an expected predictable budget. There has been a lot of conversation over the near 20 years that I have been around the Mooney community that some want to 201 to return. That is what I have done and others can do as well as there are more owners experienced in the process. The vintage planes are great traveling machines after new equipment and updates are applied. They are also great retirement planes as maintenance in controllable. My thanks to Jimmy for his work considering the value offered by these birds. John Breda -
Flap indicator cable replacement
M20F-1968 replied to JaredDavis's topic in Vintage Mooneys (pre-J models)
The trim and flap indicators were installed differently depending upon the yer of manufacture. The single solid wire is steel and I doubt that you can solder to it. A better connection would to use silver solder (as opposed to lead solder) but you will need an acetyline and oxygen set-up (or similar to do it). You could try to crimp a ring terminal to the wire but I would try to bend it in such a way that it won't come off. I am using a J model indicator in my 1968 F (with DER approval). A picture of a hand lay-up fiberglass wheel well cover and the back-side of the indicator showing the connections is below. John Breda -
TSIO360 Turbo check valve leaking.
M20F-1968 replied to squeaky.stow's topic in Modern Mooney Discussion
I had my check valves rebuild ten years ago by the manufacturer (I do not recall their name just now - it may have been Dukes). As I recall, the rebuild price was about $250.00. John Breda -
This is one example where standard rate turns, or less, are imperative. I do not like turning toward a tank with less than 10 gallons. A more precise answer would be nice to have. John Breda
-
I do not like the thought of fuel planning down to 1 gallon. Knowing how much fuel is in the tank is essential and can be coupled with a fuel totalizer and paper and pen quite nicely. CIES senders help as well. But, a left hand turn to final with 1 gallon in your left tank will get your attention quickly. John Breda
-
Seatbelt shoulder harness downgrade
M20F-1968 replied to philip_g's topic in Modern Mooney Discussion
The factory seatbelts I have came from an Ovation. The retraction assembly is welded to the steel cage near the floor. I did this welding when I had the airplane apart and was doing my rebuild. Installing the Ovation "factory seatbelts" is not trivial. The inertia reels do not simply attach in the same way as the fixed belts would. John Breda -
Seatbelt shoulder harness downgrade
M20F-1968 replied to philip_g's topic in Modern Mooney Discussion
I likely have a set that you can use. Sounds like you have a suitable fixed attachment point for the shoulder belt. John Breda -
Please add me to the list. I am based in the Boston area. My e-mail is john.breda@gmail.com Thanks, John Breda
-
There have been a number of variations on my paint scheme. I think mine makes the plane look longer and less cluttered. The difference seems to be that the maroon red belly does not come up as high as others on the side and the combination of the red and gold striping underplay the overall picture so it does not look to heavy or overdone. I wanted to use white for the top as in reflects more light and heat so there is less issues in the summer sun. John Breda
-
You might just be surprised. I brought my plane to NJ for work just before COVID in March, 2020. I did just what you are doing and found a Mooney owner who just wanted to fly, so we did so. On the rental car side of things, at the time one could get a one way rental for surprisingly not a lot of money so you might just call around. John Breda
-
You have an E model which usually comes with an aluminum cowling. But, the damaged part looks to be fiberglass. Likely it is polyester resin fiberglass and the best fix would be to use Epoxy resin and fiberglass cloth. Sand the area well so it is clean and roughened up, with a sanded overlap area of at least 1/2" around the damaged area. Cut up the fiberglass cloth, mix it with the epoxy resin mixed with the hardener as per instructions, and use the slurry to fill the hole. Use a couple of pieces to fiberglass cloth and the mixed resin to patch over the top of the damaged are and onto the cowling by about 1/2 overlap on all sides. All areas where the fiberglass must adhere must be clean and sanded of all paint. Your damaged area is very close to the edge, and you will likely need to curl the new fiberglass around the edge. Wetted fiberglass does not want to bend 90 degrees or more. I have sometimes taken off the part, hung it up and allowed the wetted fiberglass to bend on its ow with the help of gravity. Be creative, it is not rocket science, you just need the fiberglass to stick to a clean, roughened surface without air bubbles beneath the new piece. If the damaged part is aluminum, use an aerospace body filler. All can be painted when dry. John Breda
-
You have an E model which usually comes with an aluminum cowling. But, the damaged part looks to be fiberglass. Likely it is polyester resin fiberglass and the best fix would be to use Epoxy resin and fiberglass cloth. Sand the are well, cut up the fiberglass cloth, mix it with the epoxy resin mixed with the hardener as per instructions, and use the slurry to fill the hole. Then, use a couple of pieces to fiberglass cloth and the mixed resin to patch over the top of the damaged are and onto the cowling by about 1/2 overlap on all sides. All areas where the fiberglass must adhere must be clean and sanded of all paint. If the damaged part is aluminum, use an aerospace body filler. All can be painted when dry. John Breda
-
M20F air filter replacement?
M20F-1968 replied to Dieselsnplanes's topic in Vintage Mooneys (pre-J models)
I have the K&N filter on my F, however, given my turbonormalizer, it is the same K&N installed on the J (behind the L Cowling air inlet) The gasket seems spongy and not very durable. I worry about it coming apart and getting ingested into the engine. Is this your concern about the OEM K&N gasket? I thought of making a new gasket from the reddish silicone (about 1/8" think) gasket material I purchased from Aircraft Spruce (such as what the Real Valve Cover gaskets are made from). What does the audience think of that substitution? John Breda -
The aluminum foil tape to be used is: 3M ALUMINUM FOIL TAPE 425, 3" wide. It is sold on Aircraft Spuce's web site. https://www.aircraftspruce.com/catalog/cspages/3malumifoiltape.php The aircraft insulation to use is made by Soundex, also sold by Aircraft Spruce. It comes in sheets in various thicknesses. Hold it in mechanically, as opposed to using adhesives, so it can be taken out for inspections and maintenance. The web site is: https://www.aircraftspruce.com/catalog/appages/soundex7.php John Breda
- 15 replies
-
- 1
-

-
- sb m20-208b
- interior
- (and 1 more)
-
Start with the material of your choice. You can get various material to use. Look for fire retardant and solid material so that is can be cut and shaped with a router. Then spray paint with an epoxy paint. John Breda
-
You may want to have co-pilot brakes in the long term. There is not much added weight. The work to install is not that much. I spoke with Bill Wheat when I added the hydraulic lines for mine. He said the best system is the one without the shuttle valve. I have drawings and installed them with DER approval. The right and left brakes are interconnected. The master brake cylinders I used were from a 1998 Ovation. They are the same on both sides. I got rid of the original parking brake and used the one from the Ovation which only pressurizes the lower part of the system closer to the main wheels. Depending upon how mechanical you are, it should not be much of a project if you were to measure, make up and bend the hydraulic lines. They will need to be flared and hand fitted. You should be able to work with an A&P on this. Bleeding the brakes can take some time. Brake pedals and parts have been available on e-bay. John Breda
-
I do not have a good picture but I replaced the original ASI with one I bought from Lone Star Aero in Austin, TX. They had the ASI face repainted. I seem to remember that it was done by Central Texas Avionics. It is in knots only and has a TAS movable ring. Cleans things up and gets rid of the unneeded MPH scales. I have a check list made into a booklet form, which has the information in the owners manual (NO POH in those days) converted to knots. John Breda
-
I am looking for a reasonable and cost effective method to test battery capacitance. Does anyone have a used unit for sale? My system is 14 volt and I understand that it needs a load of 35 amp per hour. Correct me if I am wrong. Are there alternatives to the $1500.00 plus units designed for the aviation market? John Breda
-
I sent my L mag out to be checked. They found that the terminal for the retard points was not torqued properly, was loose and likely not making good contact with the ring terminal attached under the screw head inside the case. Hopefully this solves the problem, however when we tested the input voltage to the shower of sparks with the starter turning to crank the engine (under load) the voltage dropped from 12 volts to seven volts. The magic number it reportedly needs to be above is 9 volts. So, I may be on a hunt to find a reason for the voltage drop. Also, there is 12 volts at the red terminal (volts in) at the shower of sparks before the key is turned to start. Does anyone know if this is normal with a Bendix ignition switch? It seems more logical that the voltage would not be on to the shower of sparks until the key is turned to start. I will check this again when I am at the hangar. John Breda
-
On my calendar as well. Please advise as to the particulars. John Breda
-
You might also want to look at the HID options. They are likely brighter that LED lights. I have the HID. They are expensive but work well. John Breda
