M20F-1968
-
Posts
1,864 -
Joined
-
Last visited
-
Days Won
3
Content Type
Profiles
Forums
Blogs
Gallery
Downloads
Events
Store
Everything posted by M20F-1968
-
Just getting back with the picture I was to pst of the Johnson Bar Boot. The tolerances are very tight. There is about 0.050" clearance between the aft edge of the opening in the floor/and the cover I have shown and the Johnson Bar. The tolerances are so tight that I had to relieve the metal cover for the 4 rivet heads. When making the Johnson Bar boot, the thickness of the material is a concern. I used 0.040" thick soft leather. The opening in the leather should be as close to the bottom of the Johnson as possible so when the bar is operated, the forward/aft motion of this part of the bar will be at a minimum. I made the aluminum cover to clean up the installation and minimize the width of leather in view. The console is a fiberglass hand lay-up to replace the original. The Trim and Flap indicator is for a J model (all signed off by a DER). As assembled, there are no obstructions and the Johnson Bar works easily. John Breda
-
Do you have a pop-off valve. That would give some insurance against over-boosting. John Breda
-

Overhead vent upgrade project
M20F-1968 replied to Utah20Gflyer's topic in Vintage Mooneys (pre-J models)
You have done good work. I might adjust the back of your form to make the part angled, and also not hang down so much. I made several interior parts when I did my F. I retrofitted an Ovation interior which is made from fiberglass. You can easily do hand lay-ups of fiberglass and you will not need to be as fussy with the mold. Fiberglass can be sanded as needed, re-glassed if required, and worked to the finished size. You should use a flame retardant resin when you make your final parts. Sign-off for me was no problem as I had a DER to do those sorts of things. This should be a minor modification however. John Breda -
When I did my rebuild I installed the interior so that the Wemac aluminum flange is sealed against and screwed the structure of the dict leading to the outside world. That way water can not come in and soak the carpet and interior panels that are in between the duct and the Wemac flange. The panels then have a cut-out and the interior panels are just held against the sealed Wemac. At one point I made a decorative ring out of aluminum but never installed them. John Breda
-
I looked to the photography stuff as opposed to the MyGoFlight flexible arms. The photopgraphy stuff is much better. Manfrotto clamp: https://www.amazon.com/gp/product/B010TRMKR4/ref=ppx_yo_dt_b_asin_title_o02_s00?ie=UTF8&psc=1 Manfrotto flexible arm: https://www.amazon.com/Manfrotto-244MICRO-Micro-Friction-Black/dp/B00WFPN640/ref=sr_1_19?crid=1ZC09319VWLST&keywords=manfrotto+flexible+arm&qid=1640525522&sprefix=manfrotto+flexible+arm%2Caps%2C72&sr=8-19 MyGoFlight Sport Adapter - Generation 3 MGF-MNT-1028: https://www.ebay.com/itm/265388534799?hash=item3dca63ac0f:g:KZoAAOSwAOdbSkBG The clamp mounts on the yoke shaft tight against the back side of the yoke. There is enough mobility to place the Ipad mini where ever you want it. The flexible are tightens down well, and has ratchet-like handles. A bit more expensive than the Chinese versions MyGoFlight sells at much inflated prices, but it is better designed and works well. I did find some Cj=hinese makers that make better arms but the Manfrotto stuff is better. John Breda
-
I installed mine last June at annual. It is installed on a left sided inspection plate just outboard of the left main gear. Left side was chosen to keep it away from the exhaust. The install went well. I had not flown recently and was out of Biannual currency and Instrument currency. We went out and did some landings and my instructor (one of the Mooney Proficiency Instructors) commented that all of my landings (except for the first one which was flatter) were all consistently the best landings had had seen me do. It is all about knowing how high you are at 5 feet down to wheels touching. Knowing you are 2-3 feet above the runway makes it so much easier to bring the airplane's nose up and get the stall warning working. Without the landing height info, I wanted to take a flatter attitude since I did not want to drop it in. The combination of Airspeed, AOA, and Landing Height Info makes it much more reliable. I have not yet used it at night, but I am sure it will be a big help there as well. Great Product! John Breda
-
You can buy SoundEx material from Aircraft Spruce. I do not like the stuff that sticks to the skins as you can never inspect if necessary. I just placed it between the tubes and used 3M Aluminum tape to hold it in place. The website is: https://www.aircraftspruce.com/catalog/appages/soundex7.php?clickkey=23792 The 3M tape is: https://www.aircraftspruce.com/catalog/cspages/3malumifoiltape.php Both are not cheap, but both are excellent products. Do not buy less expensive aluminum tape. It will not stick. I used the Soundex behind the side panels and in the ceiling. John Breda
-
I've been in IMC and totally lost VHF comm due to static build up on everything from C-172 to big jets. I have also lost sat comm as well. Static wicks are the most poorly maintained item on any airframe. A proper inspection reviews their conductive ability. They are. rarely installed correctly, they require a conductive paste which should be renewed every few years. If you don't believe in their value, you've never been hit by lightning. And yes, they are on many MEL's. Can you describe the necessary maintenance more specifically? John Breda
-
Mooney M20F rear seat recline lever
M20F-1968 replied to TheMooneyAnomaly's topic in General Mooney Talk
I may have one or two. I'll check. John Breda -
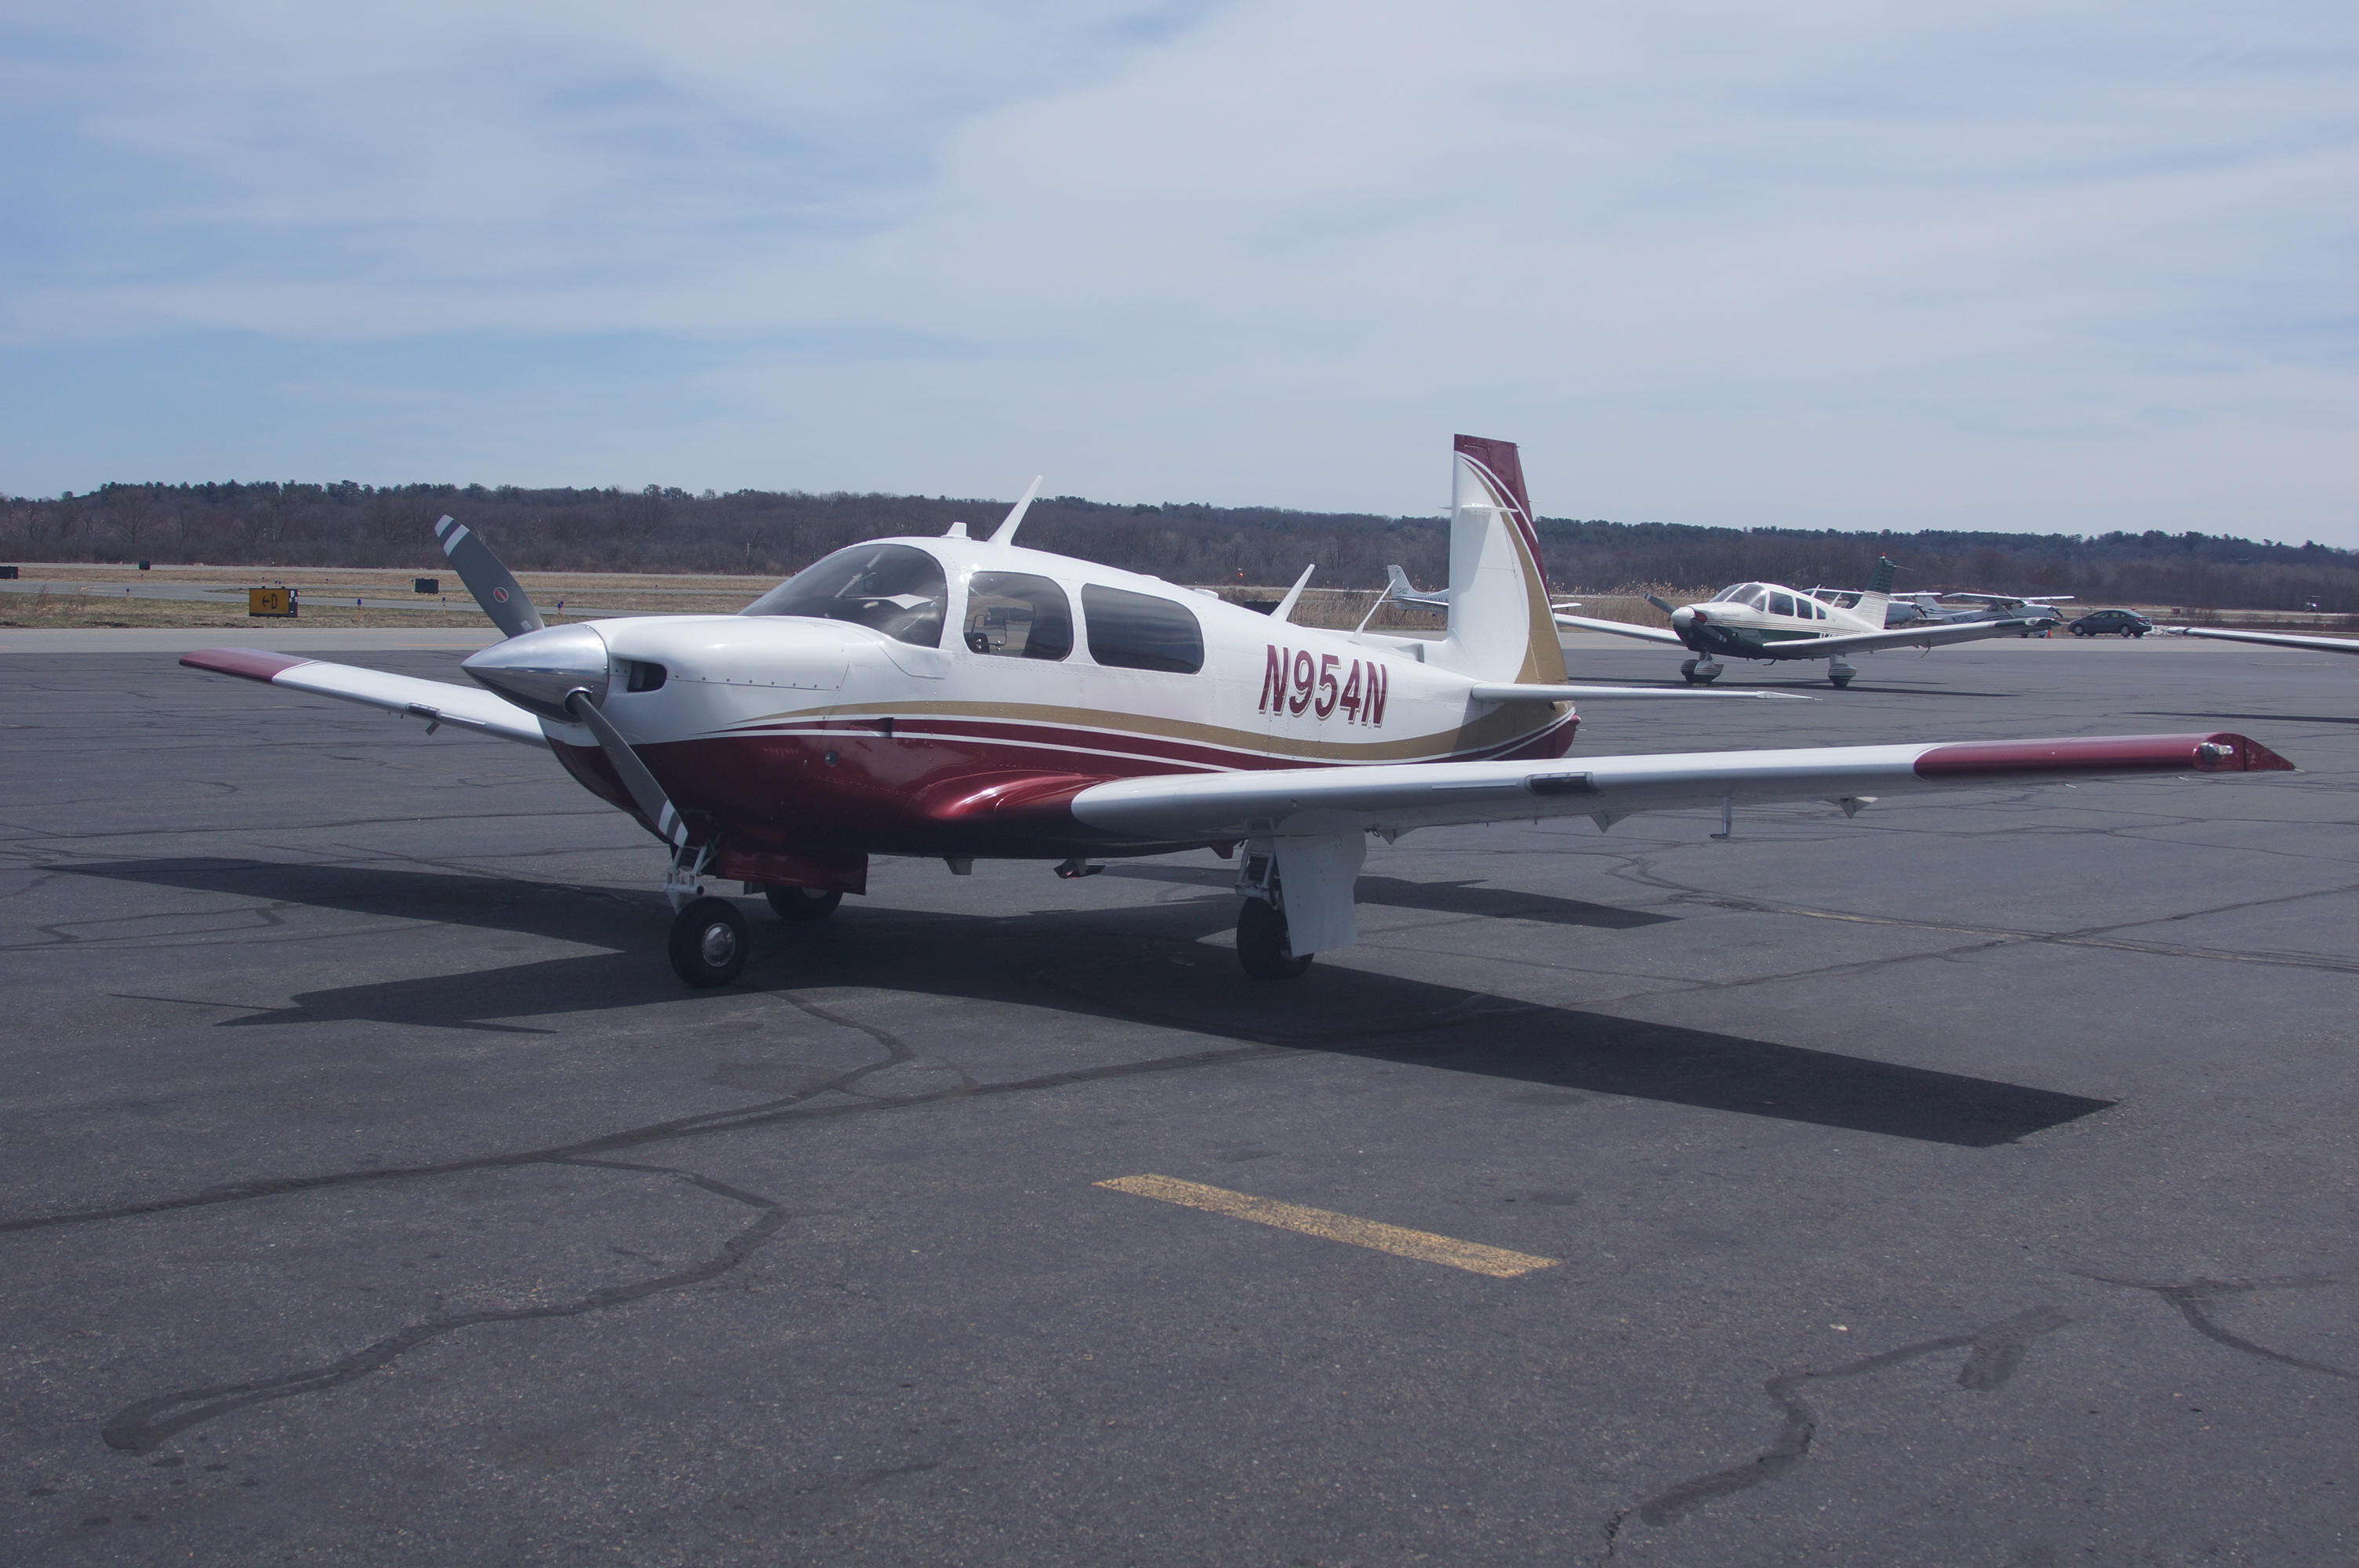
I have a 1968 F model that is highly modified (see my pics). It has a full Ovation interior, with the Ovation rear seats as well that recline, and also with removable backs. It did require approval and i used a DER to write said approval. It can be done. Probably the hardest part is to find the seats but there are damaged Ovations in salvage yards. You might try Dodson Salvage. They had an Ovation. I believe the front seats have been sold. I bought the seat belts about 1 1/2 years ago. I have another set of Ovation rear seat belts which I may never use. I changed them out for the newer Amsafe seat belts. I has have approved data for the alteration. John Breda
-
I keep referencing the words, consider the "risk/reward ratio." I have 2 Meyers jacks bought on e-bay (about $700 for the pair). They are the best jacks I could have found in the industry. Engine hoist at Harbor Freight $175. A fabricated concrete tail stand on rollers made for the aircraft (made when I did my rebuild) - $100 in supplies. Everything has mechanical locking collars and locking pins. I have left the aircraft this stable 4-point set-up for extended times without a concern. Do not be penny wise and pound foolish. You will use this stuff for a long time. John Breda
-
Help With Power Settings For Upcoming X-Country
M20F-1968 replied to GeneralT001's topic in General Mooney Talk
I must support the comment quoted above, respond appropriately, and support the many that have given you good advice. I attended a Mooney proficiency seminar several years ago. The one comment I remembered from the course , more than any other, was posed to the group by one of the very experienced Mooney CFI transition trainers. That question was, "How many of you have a sense of trepidation before any flight in the Mooney?" 2/3 of the attendees raised their hands. I believe the heart of that question addresses the largest scope of safety issues, namely, you do not know what you do not know, until one must also question what may be missed in risk/reward decisions. Flying a military plane or even a 172 is no preparation for flying a Mooney. It is a different airplane with its own characteristics. The problems range from a too fast landing, a bounce, or two, or three leading to a prop-strike, which will leave you recognizing that you should have taken an experienced Mooney pilot with you. Or, something worse may occur leaving your family wishing you had taken an experienced Mooney pilot with you. It is all about the risk/reward decisions one makes. Except for the cost, which you will need and want to make investing in transition training once you realize that the Mooney is not a 172, there is NO DOWNSIDE to taking someone with you. I am not down playing your experience and knowledge, however you do not know what you do not know. There are many CFI's, Mooney ferry pilots and Mooney experienced people who would go with you. Be safe, recognize that your are taking on a task in a new and unknown airplane, with major work that has been performed on it, in a less ideal season (winter in Canada) over inhospitable terrain should something go wrong. Good planning is free. The advice you have received is free. Both are worth much more than you have paid for them. Make smart choice. Too many adverse situations that we see happen are avoidable. John Breda -
Jerry, I may have these handles. John Breda
-
I put the Ovation light housings in my wings with HID bulbs and ballasts. for both Landing and Taxi They are quite bright. More expensive than LED's however. John Breda
-
I had one but may have sold it. I'll look araound. John Breda
-
I have a highly modified F model. Take a look at my album for pictures. The panel that you pictured was one produced by Russell Stallings at Southwest Texas aviation in San Marcus Texas. Russell has passed away, and his company was sold. I doubt the STC is likely orphaned. The panel in my airplane was modeled after that in the Ovation. Such panels, including J model panels, cannot be simply mounted into a E model. They amounted very differently and use an instrument panel bow which is a bent tube which is found behind the top edge and sides of the panel into which the panel screwed. The instrument panel bow is secured by screws into a cylindrical receptacle welded to the steel cage. That being said, you should be able to modify you E model to accept a new panel such as was done in Russell's STC. I have finished panels which you might be able to use. If you're interested I can send pictures. I had one rendition which was all steam gauges in the left pilot panel. I later went to G 600. John Breda
-
Jaeger dual lock side panel fastener
M20F-1968 replied to cirrostratus's topic in Vintage Mooneys (pre-J models)
.I do not understand "IIRC it has the 3M VHB" Please clarify. John Breda -
Jaeger dual lock side panel fastener
M20F-1968 replied to cirrostratus's topic in Vintage Mooneys (pre-J models)
What does he use for adhesives? John Breda -
Cowling mods for ease of access
M20F-1968 replied to NM Mooney's topic in Vintage Mooneys (pre-J models)
Take a look at my album and pictures of my bird. I started with the 1968 F model the satin hanger and pieces. I set out to make it a modern airplane in. The available options for cowling modification are just a few. In my case I used a Mooney OEM J model cowling. Shadrach On this form has a newly designed STC calendar which is a full cowling and installs much like the J model. It would be a choice as well. There are no modifications which split the top counseling down the middle with the piano hinge like the Pipers or Bonanza. That would be a stretch, and would require prior engineering data in the DER. There is no such prior engineering data on the Mooney. Even changing the cowling to a J model cowling would require a DER and prior approval data. That data does exist and I can help with that should you choose to go that route. One needs to give consideration to how much time it takes to take off and put on the entire cowling. The J model cowling can be taken on or off in about 10 minutes. The C model cowling would be 45 minutes or more. if I were replacing windshield, I would go to a full J model style windshield with 1/4 " acrylic. Once you're at that point it is a no brainer to put on a J model style cowling. I would not use an arrow if remote filter as it just add two more hoses to leak. The C model is not that busy under the cowling and servicing the original filter is not that bad. I would change to a screw-on oil filter if you still have the screen. A great option is a turbo normalizer but these are hard to find, rare, and likely not a possibility. I I do not know if it's possible but it will be nice if the right hand foot well could be made to be held on with threaded fasteners since the filter screen in the engine is in that location and barely, if not impossible, to check. I also don't know whether a modification of the firewall such as I said would pass DER's criteria. Presumably you could use high temp fasteners and find something that could work, but that may be an impossible task as well without preapproved data. As for cooling, get rid of the old doghouse if you have it. Make a conventional engine baffling and make sure everything seals as tight as you can possibly get it. If you do that with a cowling change, is suspect cooling should not be an issue. John Breda -
Fuel bladders - do they make fuel gauges inaccurate?
M20F-1968 replied to rwabdu's topic in General Mooney Talk
I would not be looking to burn the last 11 gallons on a long distance flight. The best way to tell what you have burned is to have a fuel totalizer. I would not rely on the tank gauges if you are looking to dip into the last 11 gallons. John Breda -
Designated Engineering Representative. These are people who are recognized to make engineering decisions in the FAA's stead. They like this because it keeps them out of the decision-making process, lightens the workload, and theoretically lightens the liability. John Breda
-
I finally after many years learned how to make the Johnson Bar Boot as the factory did in the late 1960's. It is a bit involved. First you need to know what the thickest piece of leather you can use is which will not inhibit locking the gear when you bring it up. For my airplane that is about 0.040" thick. I have an installation which works exceedingly well, will not bind up, and looks good. I'll get some pictures for you in the next few days. John Breda
-
R model brake pedals and master cylinders will work. I have them in my 68F. You might need to do some paperwork. I did it using a DER. John Breda
-
I just recently sent my Bendix mags out. As I recall, they have lock washers that are part of the screw assembly are are about $8 apiece to buy. Are your Slick mags. It would seem that there should be a locking device. Keeping those 4 wires in place is pretty important. John Breda
-
FYI: I have an old Singer sewing machine that I was given when I was a kid. I used it to make Johnson Bar boots. It is straight stitch only. It is one of two models Singer made with a "potted" motor. That means, the motor is mounted directly on the Sewing machine. Model 15-91 (the one I have) was knick-named the "Farmer's Wife's Machine" It has the bobbin the a vertical position. The other has a bobbin in the horizontal position. Both are similar. The second one was used by Rolls Royce to sew their leather seats. My machine worked well for the job I did. You need good leather needles. Thinking about making some sheep skin seat covers when I have time. John Breda

