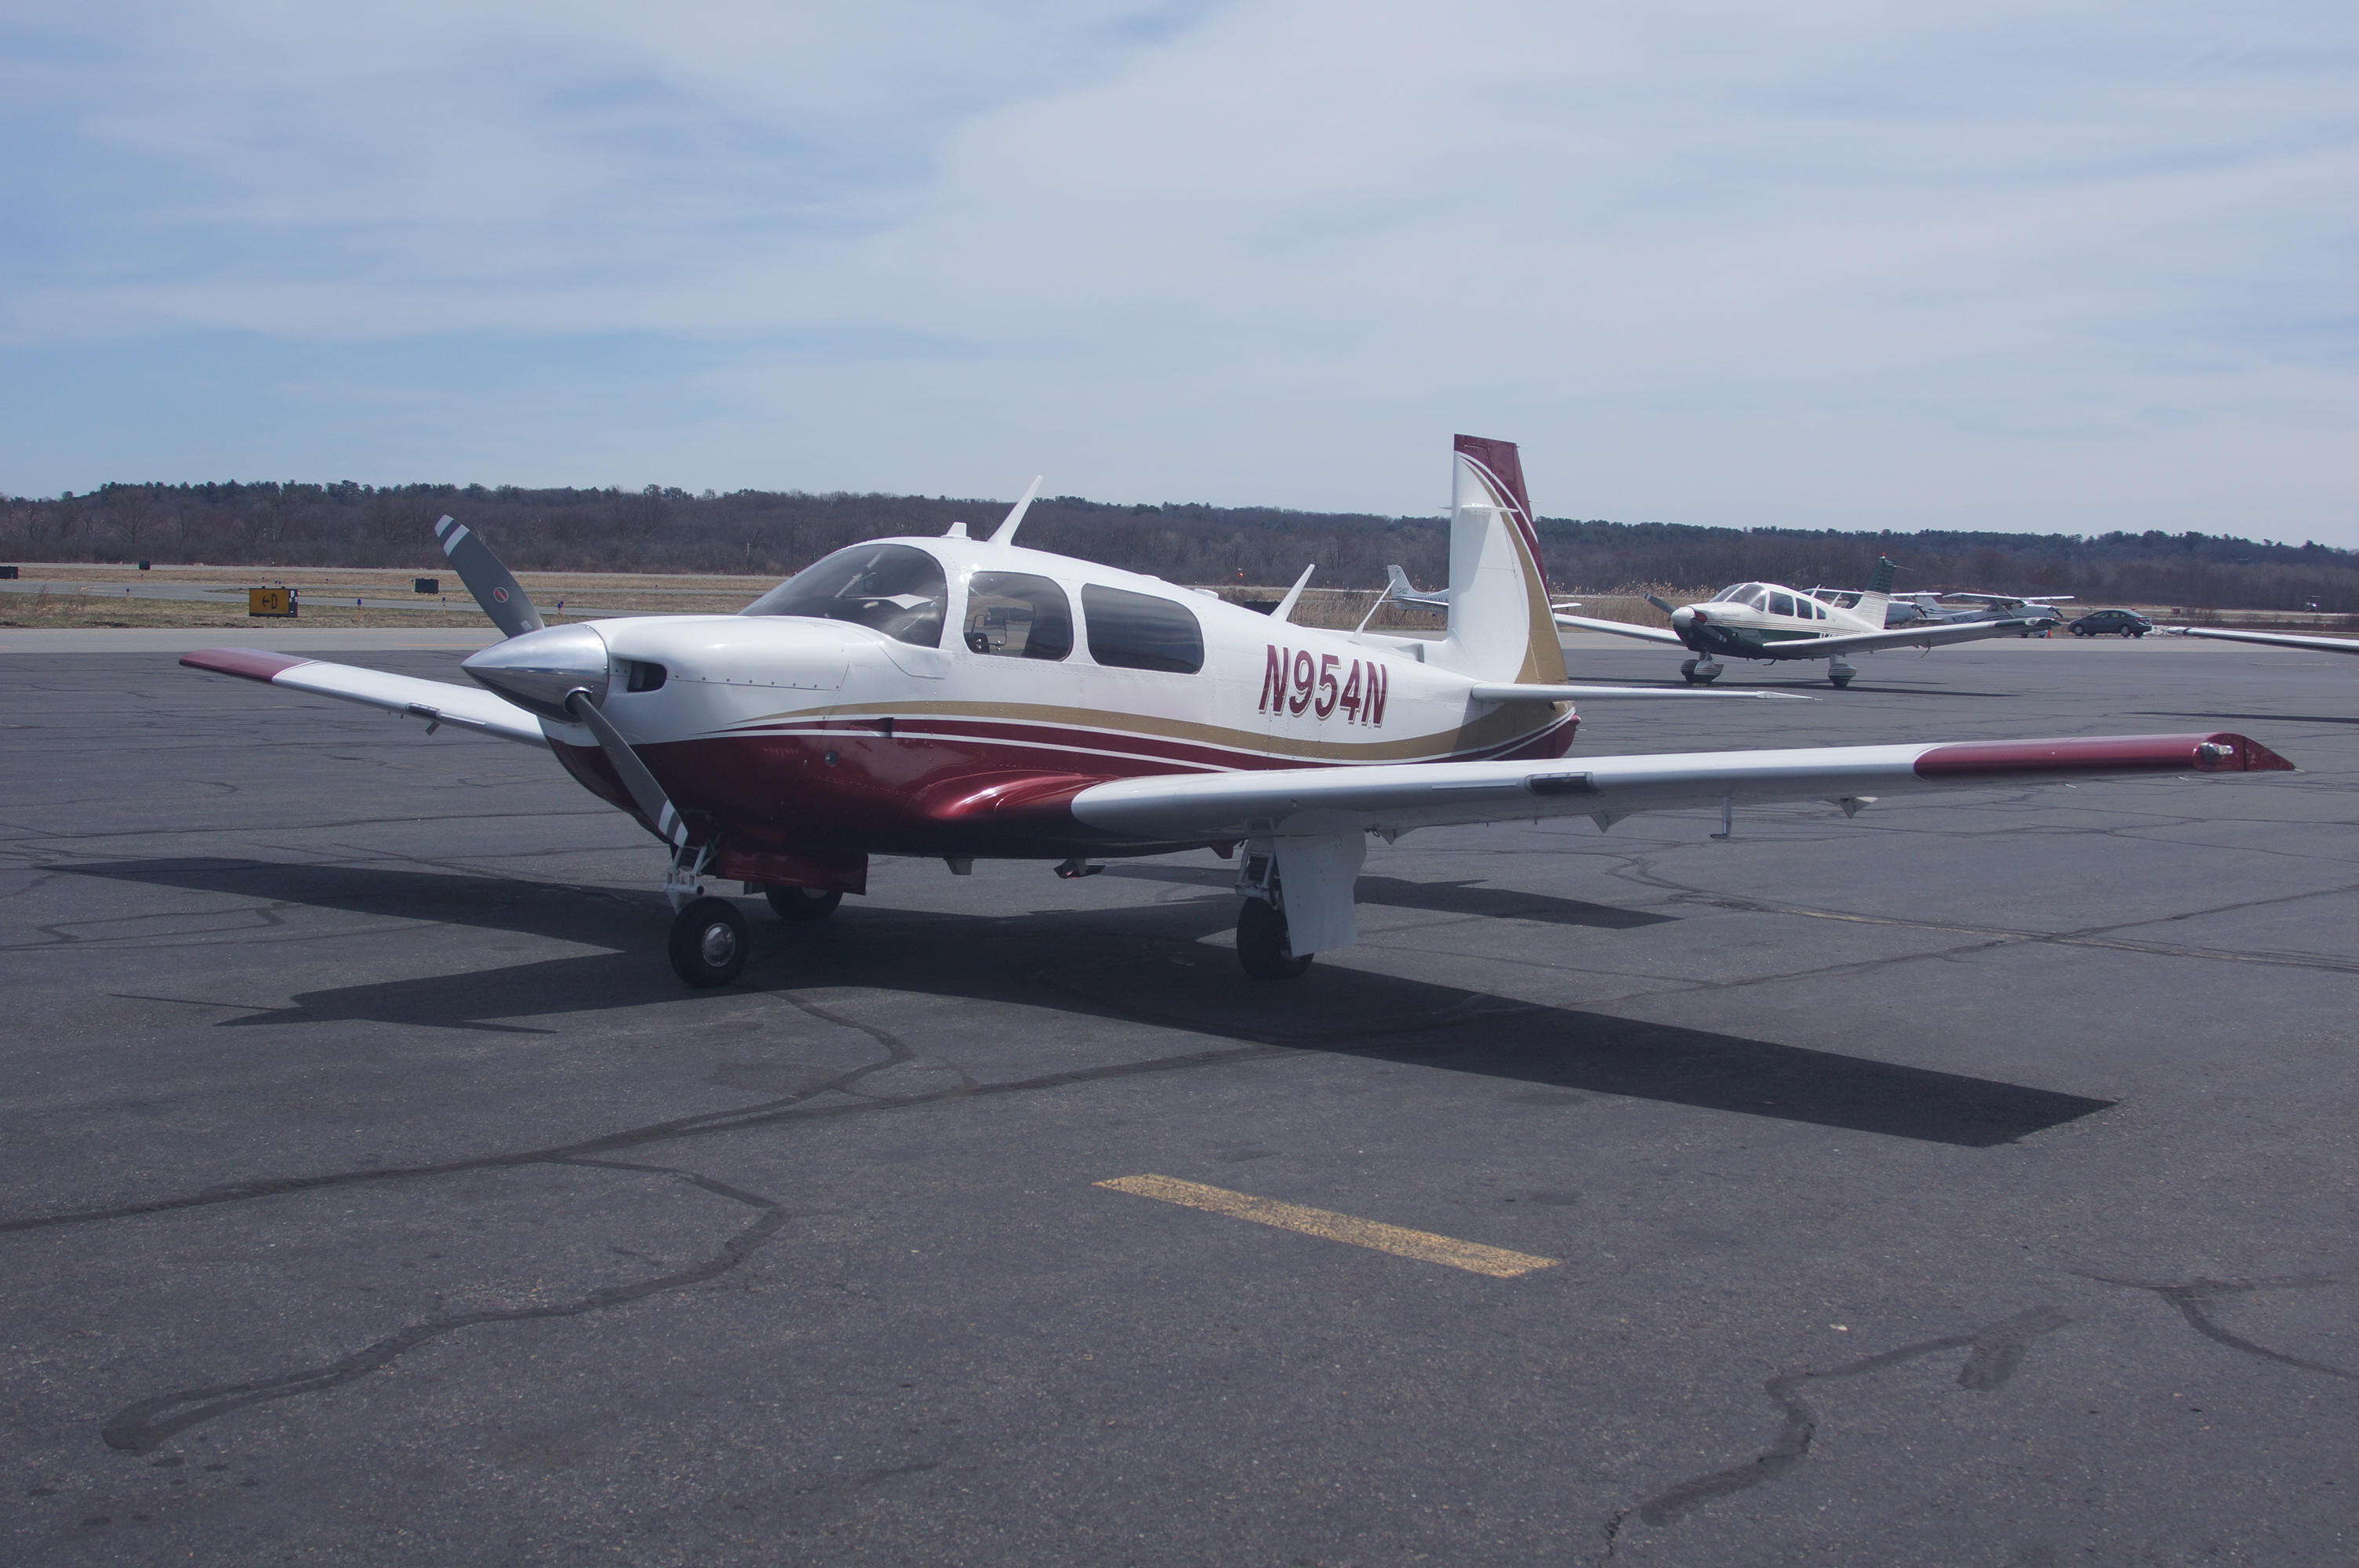
M20F-1968
-
Posts
1,864 -
Joined
-
Last visited
-
Days Won
3
Content Type
Profiles
Forums
Blogs
Gallery
Downloads
Events
Store
Everything posted by M20F-1968
-

Cabin clean up, continued.
M20F-1968 replied to rrodriguzzi1's topic in Vintage Mooneys (pre-J models)
Use an epoxy 2-part primer and/or paint. It is more expensive, but worth the price. It stays where you put it, and is more durable. Clean well before applying. John Breda -
Retractable Step Vacuum Replacement
M20F-1968 replied to 802flyer's topic in Vintage Mooneys (pre-J models)
I have in my notes somewhere the name of a manufacturer in NH that makes rubber products such as this. There may be a part being made that can suffice. I'll try to look for the name. John Breda -
Flap Jack shaft "boot/trim/weather stripping"
M20F-1968 replied to Shadrach's topic in Vintage Mooneys (pre-J models)
I have a 67 F and this is not in my airplane nor any other vintage Mooney I have seen. There are rat socks in the wheel wells and there is the expensive aluminum tape closing off the inside of the cabin on both sides. Use the $100 a roll kind (3M 100 mph tape), not the stuff you buy at Lowes. John Breda -
I have a panel which you could possibly use. It would need to be cut and altered. I built it for my plane when I planned to use steam gauges. The project took so long I ended up with Garmin GTN's. I'll look for a picture. John Breda
-
List of front seat evolution through years/models?
M20F-1968 replied to SLOWR426's topic in Vintage Mooneys (pre-J models)
I have fully articulated seats in my 68 F model. They fit just fine. I would not have it any other way. See my recent reply about headrests. John Breda -
Most drill oversize holes and then use these countersunk washers. However, in the case of Ovation wing mounted landing lights this leaves a very thin amount of acrylic between the hole and the edge of the lens. This area always cracks. To solve this problem, I drilled the lens through hole slightly oversize relative to the machine screw, not relative to the width of the countersink in the washer, and then countersunk that through hole somewhat oversize to accommodate the countersunk washer. For countersinking in acrylic, Aircraft Tool supply has "Zero flute countersinks" where the cutting edge is just one hole in the countersink, thus zero chatter in acrylics. I fitted my lenses this way (I have the Ovation landing lights in my F model) and left the screws snug but not tight, and there have been no cracks. I did not install the frames. It take forever to fit the lenses. I used a bench sander (belt and disk sander combination). John Breda
-
Can't upload photos or documents
M20F-1968 replied to mooneygirl's topic in Bug Reports & Suggestions
I tried to post a picture in a reply and the Add Photo button is now gone. How do you do this now? I tried to meet you at the Summit but could not find you. John Breda -
Torque wrench length for gear overcenter check
M20F-1968 replied to bmcconnaha's topic in Modern Mooney Discussion
How do I contact Williams? I have the Snap-On versions but they are way too overpriced. The tips work well though and perhaps I can get replacements from Williams at a reasonable cost. -
Torque wrench length for gear overcenter check
M20F-1968 replied to bmcconnaha's topic in Modern Mooney Discussion
I bought two dial-type torque wrenches. See Snap-On TE12FUA and TE25FUA. They have 3/8" drive but you can but a compact 3/8"-1/2" adapter from Amazon that works well. I bought the 2 wrenches with different scales so as the gradations are further apart. Excellent, like new, wrenches can be purchased on E-bay. just be sure to but the returnable ones so you can verify calibration before using them. Precision Instruments of Chicago makes these for Snap-On and are every bit as good as those with the Snap-On name. They can also be purchased new on Amazon for less that from Precision Instruments directly or from Snap-On. There is no 1/2" drive option in these two scale ranges. It is longer, but the scale as I remember is 0-600. I have a Snap-On 1/2" drive which I have never used as the scale range is too big. John Breda -
SOLD. Redline Sidewinder for Beechcraft
M20F-1968 replied to Rmnpilot's topic in Avionics / Parts Classifieds
I bought mine on E-bay. It was setup for a Bonanza. I called the owner of Redline and he said he would swap my Bonanza specific parts for the Mooney parts I needed without cost since the Bonanza parts apparently cost more. The Sidewinder works great after modification which I did without a problem. John Breda -
No the Toyota headrests I mentioned are the correct spacing, but are too small in diameter and are too short. The ID and OD I mentioned were the dimensions of the hollow tube used to slide over the solid tube of the headrest. When doing this, they fit perfectly. John Breda
-
I have done some homework on this issue. I currently have Ovation seats but I believe the spacing and tube size are the same as in the F model. The problem with the Mooney headrests is the they are too far back so your head is not against them. I found that Toyota rear seat headrests for the 2007-2011 Camry work well as they are contoured so as to be closer to your head. You can rest your head against them comfortably. The tube spacing is perfect, but the tube size is too small. So, I got some stainless steel tubing from e-bay 1/2" OD, 0.402" ID, 0.049 wall thickness which slides snugly onto the headrest shaft and fits perfectly into the seat. The tube is secured with a roll pin. I am in the process of covering them. I bought a couple of extra ones I likely will not use and can sell them if anyone is up for a project. You would not need to take the headrest apart, just sew a cover over it from marching leather or fabric. John Breda
-
‘65 M20E, Looking for Flap and Trim indicator cables.
M20F-1968 replied to hobbit64's topic in Vintage Mooneys (pre-J models)
These are hard to find. You may find someone to make it. The later years did away with the threaded end, but the threaded end is more secure. There were about $750.00 each if you could find one. I may have one for a short body which I chose to keep due to their rarity. It may be too short for my F in which case I might be enticed to sell it. I'll look and see if it is really usable as a spare for my F. John Breda -
Oxygen refill - Tank size and filler adaptor help
M20F-1968 replied to jrwilson's topic in General Mooney Talk
The welder's supply will pick them up. John Breda -
How much do you need? I have a bunch of the tan color I bought from Bruce Jaeger but never used. Perhaps I can recoup some money and you can get a deal. John Breda (617) 877-0025 john.breda@gmail.com
-
Battery Minder Interface Installation
M20F-1968 replied to MisfitSELF's topic in General Mooney Talk
I did some hoMework of this. The Anderson SB50 connector is too big to stow away inside the standard external power plug. They do however make a PP15 connector. It can be be seen here: https://powerwerx.com/anderson-powerpole-colored-housings Its height and width are 0.31" and can be purchased in permanently bonded pairs. I bought some of these and they will fit inside the standard external power plug. They can be purchased for plugs which will accept 16 Gauge Milspec wire. They sell an inline fuse but the wire connectors are huge. I am working on an alternative inline fuse. The $75.00 "aviation kit" sold by Battery Minder I find have connectors are much too big and expensive the kit is too expensive. The PP15 connectors look to be a good alternative when coupled with Milspec wire. 16 Gauge at first glance seems acceptable. John Breda -
Battery Minder Interface Installation
M20F-1968 replied to MisfitSELF's topic in General Mooney Talk
The connectors Battery Minder is using are much bigger than necessary. The website https://powerwerx.com/ has these connectors and and smaller ones as well. The PP15 connectors should be able to be stowed into the standard sized external power plug receptacle without needed an oversized door as pictured here. 16 gauge milspec wire can be used, 10 amp fuse, and a connecting cable can be fashioned from aircraft quality parts. I do not see that the in-line fuse that Battery Minder includes is milspec wiring. The PP15 connector is 0.31" wide. Will that fit inside the external power plug box in the typical Cessna style power plug that we have in our airframes? John Breda -
yoke shaft phenolic block maintenance/replacement
M20F-1968 replied to Vance Harral's topic in Vintage Mooneys (pre-J models)
When I did my rebuild, I replace the phenolic blocks in the belly which are meant to protect the pushrods with nylon blocks. My DER approved the replacement. The phenolic material is abrasive and the nylon seems to work much better. Perhaps a similar exchange can be done with the yoke shafts. I don't have a problem with the yoke shafts in my plane as my parts are out of innovation and the the parts are made differently. John Breda -
If you have the attachment points that I am referring to you are golden. That is the best way to put in visors. The attachment arm is longer than the type you have pictured, and the visors that I pictured, and similar ones that have been made by Don Muncy could be used. I second the suggestion that you contact Don as you can speak with him directly, and he van make modifications to his usual visors that you might need or want. John Breda
-
Can the Orion OR5001V be synced to the LED A600 wingtip strobes? John Breda
-
The part I am talking about is welded onto the tubing and is specifically made to accept to bolt to hold the visors. You likely do not have that welded onto a C model. You are probably best to think about mounting to the center post and you will likely have to make parts to do what you want. John Breda
-
No. You need to have the mounting hardware installed (welded) to the structural cage in the left and right front corners of the cabin. This part has been factory installed since the fiberglass interior has been used (since about the mid to late 1990's). It may have been installed in earlier models as well. I installed them when I did my rebuild. The Vintage C's, E's, and F's had a visor that was installed on the center tube, not the ceiling. John Breda
-
These are the Rosen Visors I have mounted. https://skygeek.com/rosen-rmy-300-1-mooney-sunvisor-kit-1968-thru-1999.html?utm_source=googlebase&utm_medium=shoppingengine&utm_content=rosen-rmy-300-1-mooney-sunvisor-kit-1968-thru-1999&utm_campaign=froogle&gclid=CjwKCAjw6MKXBhA5EiwANWLODNLXvfWSAPH7Jad24FMvwFbV8uP0rIRyyqilOJ8xTvF-wvtwrL-iGBoCK-sQAvD_BwE John Breda
-
I have never seen a Rosen visor mounted in the center of a bowl like attachment you have pictured. When I rebuilt my F model I welded on the factory part to the steel tubing in each front corner. The original style Rosen visor mounted with one bolt in the single articulating arm will work as I described. It also allows you the option of reducing the size of the Plexiglas so it doesn't cover the switches. Do not use just any drill or saw to cut the Plexiglas visit will crack. You been get Plexiglas Drills and you may want to use a jeweler saw and cut straight areas by hand and then file or stand afterwards to avoid cracking and avoid heat production. John Breda
-
I have the Rosen visors mounted in my F which has an interior from 1998 Ovation. I initially thought I would trim the Rosen visors so when stowed in the usual fashion they do not cover the ceiling switches. However, I left them at their full size and stow them along the headliner above the left and right pilot and copilot window. They fold up against the headliner lengthwise which allows retaining the benefit of the larger visor. John Breda

