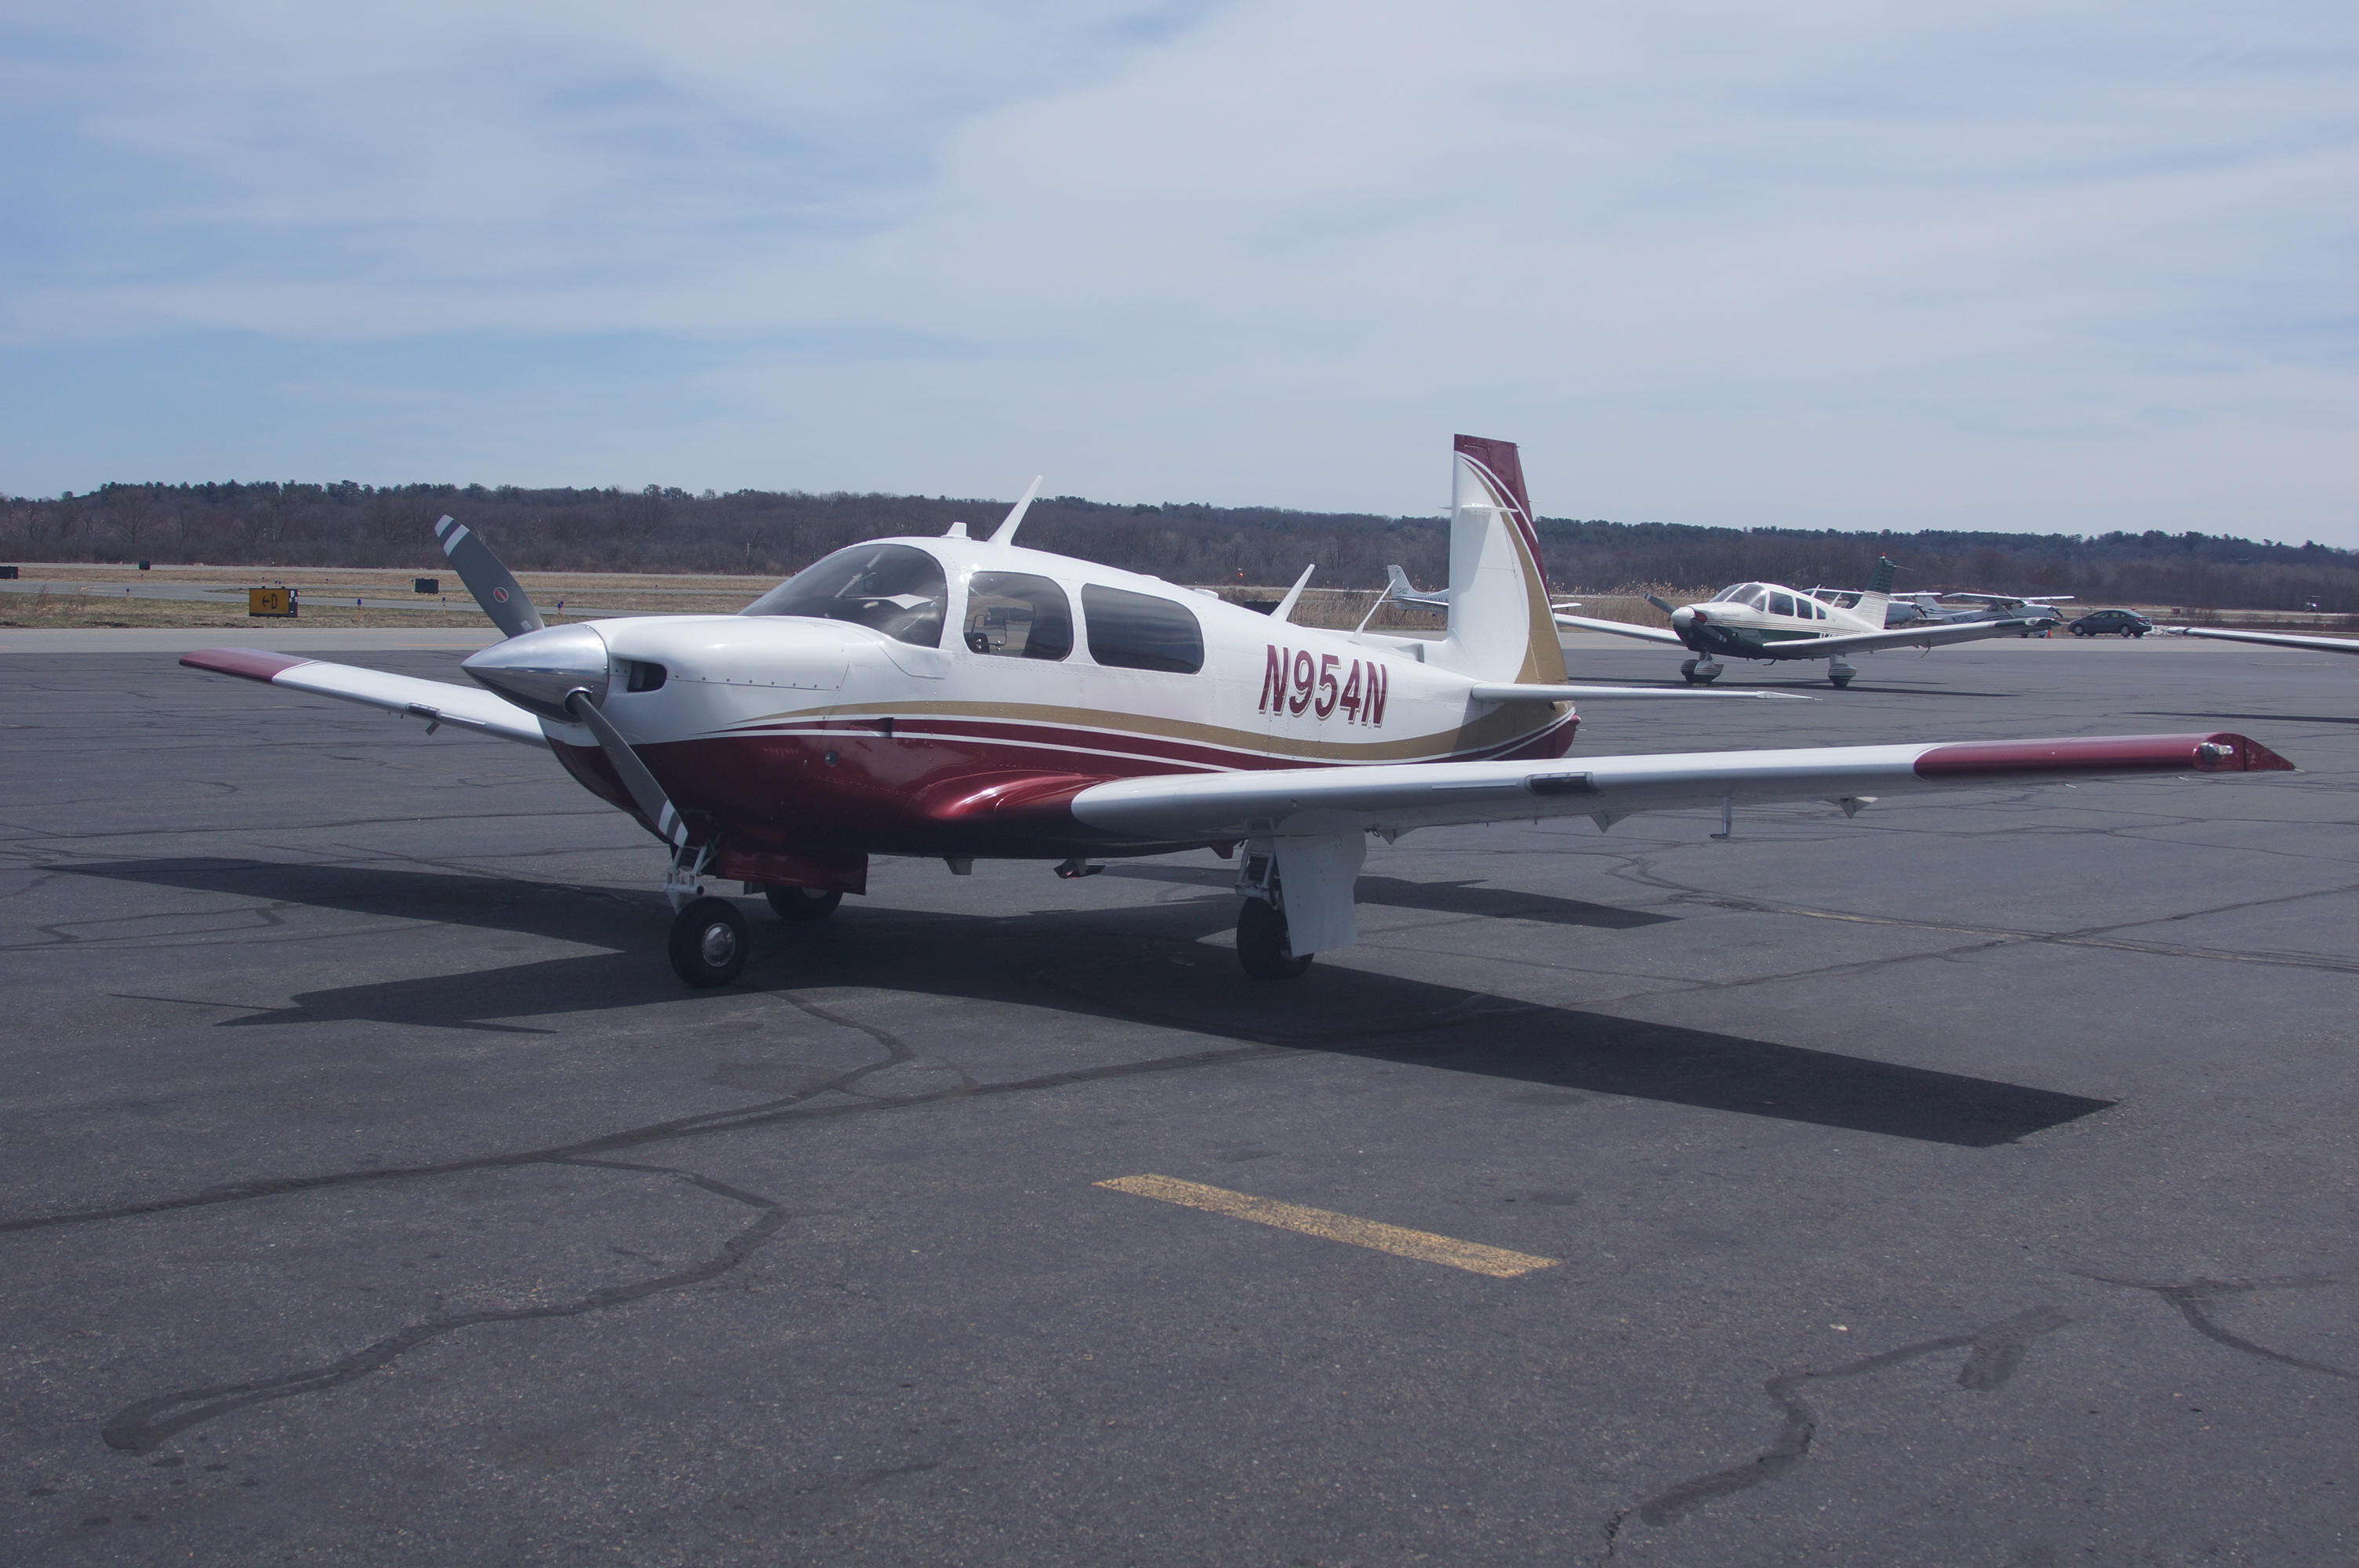
M20F-1968
-
Posts
1,864 -
Joined
-
Last visited
-
Days Won
3
Content Type
Profiles
Forums
Blogs
Gallery
Downloads
Events
Store
Everything posted by M20F-1968
-
You might just be surprised. I brought my plane to NJ for work just before COVID in March, 2020. I did just what you are doing and found a Mooney owner who just wanted to fly, so we did so. On the rental car side of things, at the time one could get a one way rental for surprisingly not a lot of money so you might just call around. John Breda
-
You have an E model which usually comes with an aluminum cowling. But, the damaged part looks to be fiberglass. Likely it is polyester resin fiberglass and the best fix would be to use Epoxy resin and fiberglass cloth. Sand the area well so it is clean and roughened up, with a sanded overlap area of at least 1/2" around the damaged area. Cut up the fiberglass cloth, mix it with the epoxy resin mixed with the hardener as per instructions, and use the slurry to fill the hole. Use a couple of pieces to fiberglass cloth and the mixed resin to patch over the top of the damaged are and onto the cowling by about 1/2 overlap on all sides. All areas where the fiberglass must adhere must be clean and sanded of all paint. Your damaged area is very close to the edge, and you will likely need to curl the new fiberglass around the edge. Wetted fiberglass does not want to bend 90 degrees or more. I have sometimes taken off the part, hung it up and allowed the wetted fiberglass to bend on its ow with the help of gravity. Be creative, it is not rocket science, you just need the fiberglass to stick to a clean, roughened surface without air bubbles beneath the new piece. If the damaged part is aluminum, use an aerospace body filler. All can be painted when dry. John Breda
-
You have an E model which usually comes with an aluminum cowling. But, the damaged part looks to be fiberglass. Likely it is polyester resin fiberglass and the best fix would be to use Epoxy resin and fiberglass cloth. Sand the are well, cut up the fiberglass cloth, mix it with the epoxy resin mixed with the hardener as per instructions, and use the slurry to fill the hole. Then, use a couple of pieces to fiberglass cloth and the mixed resin to patch over the top of the damaged are and onto the cowling by about 1/2 overlap on all sides. All areas where the fiberglass must adhere must be clean and sanded of all paint. If the damaged part is aluminum, use an aerospace body filler. All can be painted when dry. John Breda
-

M20F air filter replacement?
M20F-1968 replied to Dieselsnplanes's topic in Vintage Mooneys (pre-J models)
I have the K&N filter on my F, however, given my turbonormalizer, it is the same K&N installed on the J (behind the L Cowling air inlet) The gasket seems spongy and not very durable. I worry about it coming apart and getting ingested into the engine. Is this your concern about the OEM K&N gasket? I thought of making a new gasket from the reddish silicone (about 1/8" think) gasket material I purchased from Aircraft Spruce (such as what the Real Valve Cover gaskets are made from). What does the audience think of that substitution? John Breda -
The aluminum foil tape to be used is: 3M ALUMINUM FOIL TAPE 425, 3" wide. It is sold on Aircraft Spuce's web site. https://www.aircraftspruce.com/catalog/cspages/3malumifoiltape.php The aircraft insulation to use is made by Soundex, also sold by Aircraft Spruce. It comes in sheets in various thicknesses. Hold it in mechanically, as opposed to using adhesives, so it can be taken out for inspections and maintenance. The web site is: https://www.aircraftspruce.com/catalog/appages/soundex7.php John Breda
- 15 replies
-
- 1
-

-
- sb m20-208b
- interior
- (and 1 more)
-
Start with the material of your choice. You can get various material to use. Look for fire retardant and solid material so that is can be cut and shaped with a router. Then spray paint with an epoxy paint. John Breda
-
You may want to have co-pilot brakes in the long term. There is not much added weight. The work to install is not that much. I spoke with Bill Wheat when I added the hydraulic lines for mine. He said the best system is the one without the shuttle valve. I have drawings and installed them with DER approval. The right and left brakes are interconnected. The master brake cylinders I used were from a 1998 Ovation. They are the same on both sides. I got rid of the original parking brake and used the one from the Ovation which only pressurizes the lower part of the system closer to the main wheels. Depending upon how mechanical you are, it should not be much of a project if you were to measure, make up and bend the hydraulic lines. They will need to be flared and hand fitted. You should be able to work with an A&P on this. Bleeding the brakes can take some time. Brake pedals and parts have been available on e-bay. John Breda
-
I do not have a good picture but I replaced the original ASI with one I bought from Lone Star Aero in Austin, TX. They had the ASI face repainted. I seem to remember that it was done by Central Texas Avionics. It is in knots only and has a TAS movable ring. Cleans things up and gets rid of the unneeded MPH scales. I have a check list made into a booklet form, which has the information in the owners manual (NO POH in those days) converted to knots. John Breda
-
I am looking for a reasonable and cost effective method to test battery capacitance. Does anyone have a used unit for sale? My system is 14 volt and I understand that it needs a load of 35 amp per hour. Correct me if I am wrong. Are there alternatives to the $1500.00 plus units designed for the aviation market? John Breda
-
I sent my L mag out to be checked. They found that the terminal for the retard points was not torqued properly, was loose and likely not making good contact with the ring terminal attached under the screw head inside the case. Hopefully this solves the problem, however when we tested the input voltage to the shower of sparks with the starter turning to crank the engine (under load) the voltage dropped from 12 volts to seven volts. The magic number it reportedly needs to be above is 9 volts. So, I may be on a hunt to find a reason for the voltage drop. Also, there is 12 volts at the red terminal (volts in) at the shower of sparks before the key is turned to start. Does anyone know if this is normal with a Bendix ignition switch? It seems more logical that the voltage would not be on to the shower of sparks until the key is turned to start. I will check this again when I am at the hangar. John Breda
-
On my calendar as well. Please advise as to the particulars. John Breda
-
You might also want to look at the HID options. They are likely brighter that LED lights. I have the HID. They are expensive but work well. John Breda
-
Brad, Was looking through this old thread and saw your reply to my post. I am still in Boston, trying to be mostly retired. Have worked 120 hour weeks day and night for a long time. It is time to take a sane approach to life. Are you still coming to Boston? PM me or reply here. John Breda
-
There is no reason to sweat this one. I would look to a more permanent fix. I would think of installing a nut plate of the type that has 2 rivets, one each on the end of 90 degree legs. Use a floating nut plate so there is some room for error. Lay out the holes from the outside. Rivet with whatever small blind rivet you can use. It is only holding the last few inches os a fairing. Even a quality industrial pop rivet from Grainger can work. John Breda
-
Can you explain you answer more fully and provide specifications and/or part numbers. I have a pressure relief valve and it apparently fits the requirements of the STC. Please provide more information so I can understand the difference you are pointing out. Thanks.
-
There is no reason to quibble on a valve that pops off at 32.25" v. 31.5". The 31.5" is actually preferable. The intent on this valve is to save the engine should manifold pressure go above 30" The Operation manual does not advise any operations above 30" (if it even allows that). Replacing the Valve with one that pops off at 31.5" is well within the operating specifications of the system, and likely within the working tolerance of the valve. This kind of problem can be solved with a propulsion DER if needed. John Breda
-
I believe the wastegate is the same as Mooney used in the fixed wastegate equipped 231. The prints are the same parts that were designed by Rocket Engineering and used in the Turbo Bullet. I understand Bill Sandman obtained the prints and started producing the same turbo system except installed it as a turbo normalized system without any modification of pistons on the IO-360. John Breda
-
Ordering a new starter, needs advice
M20F-1968 replied to flyingchump's topic in Vintage Mooneys (pre-J models)
Never had an issue with either. John -
Ordering a new starter, needs advice
M20F-1968 replied to flyingchump's topic in Vintage Mooneys (pre-J models)
When I did my rebuild, I sent the engine to Penn Yan. They chose and installed the starter. They would not have used the starter if it was inappropriate. I have an approved modification on the engine and have a J Cowling and a J style air filter. That is why I changed the starter. John Breda -
You stated: "Of course I want to go to IFR very soon. Its good to have goals, right?" It is good to get your IFR certification right after getting your PPL. However, recognize that at that point you are still a newly minted Private pilot and an even newer IFR pilot, flying a high performance plane. This sounds like a potential recipe for an unexpected incident you might have been able to avoid if you had more experience. When I got my IFR license, I used it to punch through cloud layers at altitude, and continued to fly with an instructor to practice approaches. IFR skills are lost quickly, and need to be used to be safe and useful. The new avionics are a huge help, but should not be a crutch. It seems that no one ever practices partial panel flying any longer (whatever that means to you with your choice of back-up instruments). Just wanted to make sure you were aware of the pitfalls. It seems that you are doing well on the project, are taking the proper steps with the airplane. Just wanted to make sure you give proper consideration to the preparation and education of yourself as well. Fly safe. John Breda
-
Looking for S-Tec 30 or 50 Autopilot STC and Photos
M20F-1968 replied to Anzaldi01's topic in Vintage Mooneys (pre-J models)
Work with a DER who will write up an approval on a Form 337. The DER will need to research like components. The only part of your plane that is metal and original appears to be the fuselage. He will need to show that the E wing and K tail are appropriately mated to your fuselage and structurally equal or superior to your original wooden wing. Likewise he will need to do the same analysis with the tail. After that he will need to show show that the aircraft is structurally like a single model, such as an E, and will need to show that the K tail is the same as an E tail. Once you have confirmed that your plane is essentially a single model you can use the STC for that model for the basis of the 337 approval. If the E and K tails are not similar, then you need to show that the differences are trivial and likely use two STC's, one for the E and one for the K. I think you get the picture. Once you have the modification written up on a 337, you are good to do the modification. Once completed, have an IA inspect that the mod conforms to what the DER approved, write that up and file it with OK City. This process is the way I got through my rebuild. Without a willing DER, I may have never completed my airplane, or would have been frustrated as hell and alot poorer. John Breda -
Ordering a new starter, needs advice
M20F-1968 replied to flyingchump's topic in Vintage Mooneys (pre-J models)
I have a Skytech LS 12 Volt Starter for a Lycoming IO360A1A. It is the original Skytech starter, and not the NL inline starter. It has less than 100 hours on it. I replaced it as my as the previously installed starter acted up. But, in late 2020 I decided to change to the inline starter as I have a J type baffling and the solenoid of the LS starter impinged upon the area where the air filter was installed. The LS starter looks and acts like new. I will take pictures if anyone is interested, otherwise I will post it on e-bay. New Aircraft Spruce price is $677.00. If you can use this model, I would sell it for $450.00 plus shipping. You can contact me at (617) 877-0025, here or e-mail me at john.breda@gmail.com John Breda -
I thought I'd post more details about my starting problem saga. I made the jump or lead as described in an earlier post by disconnecting the output from the shower of sparks and connecting in its place a lead that goes to the retard points on the left magneto and a further connection to the P lead terminal. An attempt to start the engine in this configuration, which takes the ignition switch out of the picture, showed a continuation of the same problem; namely a failure to start the engine in the start position. The engine started only when the key was released and allowed to return to the both position in when the engine started on the right magneto alone. This confirmed that there is a problem in the left magneto. For completeness, my next step is to confirm that there is in fact 12 V going to the starter vibrator while cranking the engine. I do not expect there to be any discrepancy here but will check anyway. If there is not a drop in voltage, the left magneto will be taken off and sent to be serviced. A year ago Aircraft Accessories of Oklahoma didn't want to hear that there may have been a problem with their repair of the Left magneto. The diagnostic work recently performed confirmed (assuming proper voltage to the starter vibrator) that the L magneto is not functioning as it should. This may have to be subject of a second thread. John Breda
-
Andy, Thanks for your reply. It seems that you may be able to help me think through this problem. You are saying something very similar to my excellent but out-of-state mechanic. He suggested that I make a jump or lead consisting of a 3/16 ring terminal with two 18 or 20 gauge wires coming from it, one short and one long. The other end of the long wire will terminate in a spade terminal and attached to the black connector on the shower of sparks. The short wire will terminate in a 3/16 ring terminal and connect to the primary post P lead on the magneto itself. This jumper is intended to bypass the ignition switch to determine if the problem lies in the ignition switch (or its related wiring) or with the magneto itself. Neither one of us has been able to reconcile why this problem happened after the left magneto was worked on. Further, the problem went away when the magneto was removed and the points cleaned. After three good starts, the problem returned. From that history it sounds like the problem is inherent to left magneto. Are the points in the magneto finicky enough that contamination or some other unrecognized abnormality of the points could cause this problem? Your further input is appreciated. Thanks, John Breda
