Leaderboard


Popular Content
Showing content with the highest reputation on 04/15/2024 in all areas
-
Hello Mooney world. When the time comes to seal or repair your wing fuel tanks I highly recommend working with Edison and Wet-Wingologist East (KFXE) as the THE place to receive high value for your investment and excellent results! My previous PIREP was after Edison resealed the tanks in both wings in March 2016 for my 1990 J Model. In that PIREP I recounted my high satisfaction with the value delivered and results achieved. This update covers my recent warranty leak repair experience, 8 years later, during which Edison worked my airplane into his rather full schedule on a Saturday morning, charged me nothing the, and had the airplane ready for pickup by Sunday. If you prefer short PIREPS, you can stop reading now. Otherwise, below are additional details in the spirit of contributing to the knowledge of the Mooney community. After the initial, reseal the right wing periodically (and inconsistently) developed minor seeps in 2016 and 2019 in the same outboard tank area that would not last and I could not find the conditions to replicate them. In each case after discussions with Edison, I decided to postpone taking the airplane to him and continue to monitor instead. Edison was always ready to schedule the in-warranty repair without question. There were no signs of leaks between 2019 and late 2023. During the November 2023 Annual Inspection, my A&P/IA found signs of a small leak at the bottom of the outer right wing fuel tank, none evident on the outer wing skin, and we could not determine for certain if it was old or fresh. I called Edison, who suggested letting the airplane sit in the hangar with the right wing filled to where it could take no more fuel. After a flight that started with full tanks and included left/right steep turns and maneuvering flight, I topped of the tanks as suggested. After a few hours in the hangar with the right tank completely full the leak was evident in the area my A&P/IA found. Edison thought a sealant bubble at the top of the outer tank had broken and was allowing the fuel to leak when the tanks were left sitting and completely full, and that it would require a small repair. I confirmed this by draining fuel to where the fuel level was 1-2 inches below the fuel cap, and the tank did not leak after a day of monitoring. Following discussions with Edison, and setting a date for the repair, he called me back a few days later to explain the leak could also be coming from the fuel sensor gasket located on the vertical outer wall of the outermost tank. Before taking the airplane down several days for repairs, and the added cost of the trip to/from KFXE, Edison recommended that my A&P/IA replace the sensor gasket and check again. After replacing the gasket and topping the tank, the leak returned after a few hours. At this point I decided with Edison it was time for a repair, and we agreed on an earlier date than planned provided I could get the airplane to him the next Saturday morning. I flew to KFSE early Saturday morning and taxied the airplane directly to Edison's shop; Edison started work immediately; the airplane was ready on Sunday, 8 years after the initial reseal; Banyan Air Services towed it to their ramp late Sunday; and I picked up the airplane on Tuesday 4/9/24. My assessment is that the source of the inconsistent seeps in 2016 and 2019 was the same repaired by Edison in 2023, with the fuel just finding its way out to the bottom wing skin by the path of least resistance. Finally, fuel is expensive at KFXE, but Banyan gives a discount to Edison's customers, so I added the 10 gal minimum they require to wave some of the ramp fees, and flew the airplane home early Tuesday afternoon. The folks at Banyan were a pleasure to work with. With dry wings and in great appreciation of Edison at Wet-Wingologist.... Hank4 points
-
We've flown into the SLC area a lot over the past 7 years. I haven't gone into KSLC but have heard they are GA friendly. Depending on which family we are visiting determines where we fly into. In the Salt Lake Valley, South Valley Regional (U42) is the easiest. It can be busy but everyone seems to make good traffic calls and you can coordinate for a rental car to be there waiting. I think the overnight is around $10. The fuel is the same price if you pump it yourself or have the truck do it so we just let them fill it up. There isn't much space under the Bravo, the shelf is just above TPA but it is doable. Looking at my logs we have been there 15 times and it is my preferred airport for the Salt Lake area. You can easily get an Uber if you don't want to rent a car. If you are coming from the south stay over the 15 freeway going past the point of the mountain. It will keep you away from the restricted area over Camp Williams and away from the paragliders and powered gliders that are directly above the point. We've been into KOGD as well because it's 5 minutes from our family up that way. It is convenient if you are going to stay in Ogden, but the drive to Salt Lake is not as good as going from U42. Skypark (KBTF) is just north of KSLC, we've been there once. It's a friendly little airport but is very tight to the Bravo surface. Provo KPVU is great, they have Go Rental on sight, but they are more expensive than going into U42. We use it if we are just going to be visiting family down there but I would not use it if you are going to Salt Lake. It might not look like a drive but the traffic at the point of the mountain can be a mess. Not CA traffic mess but still a pain. It's only about 10 more minutes of flying to get to U42 and saves you 45+ minutes of driving.4 points
-
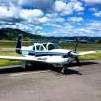
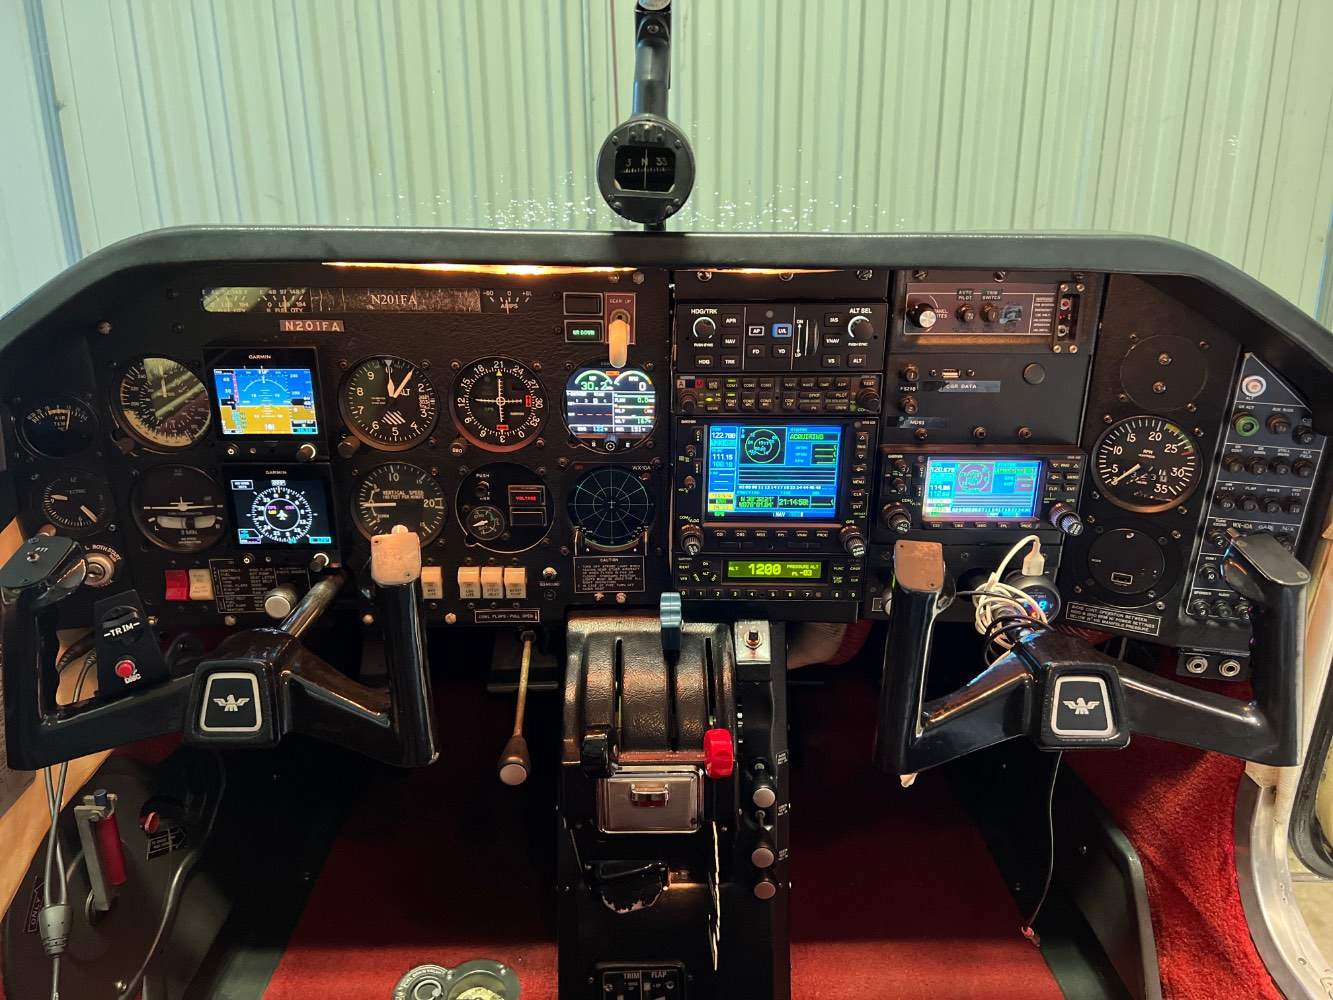
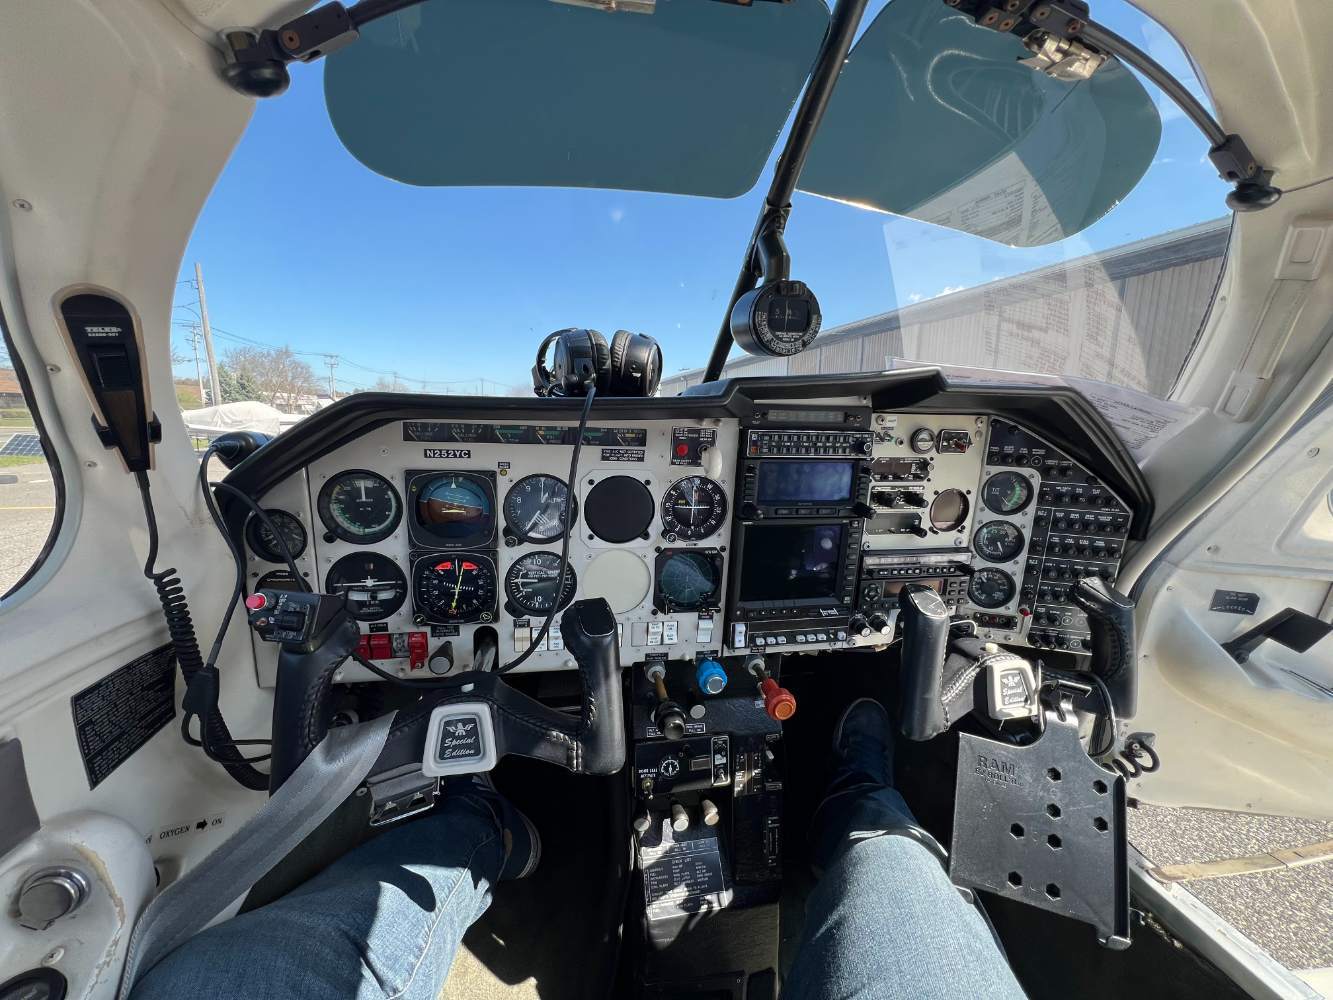
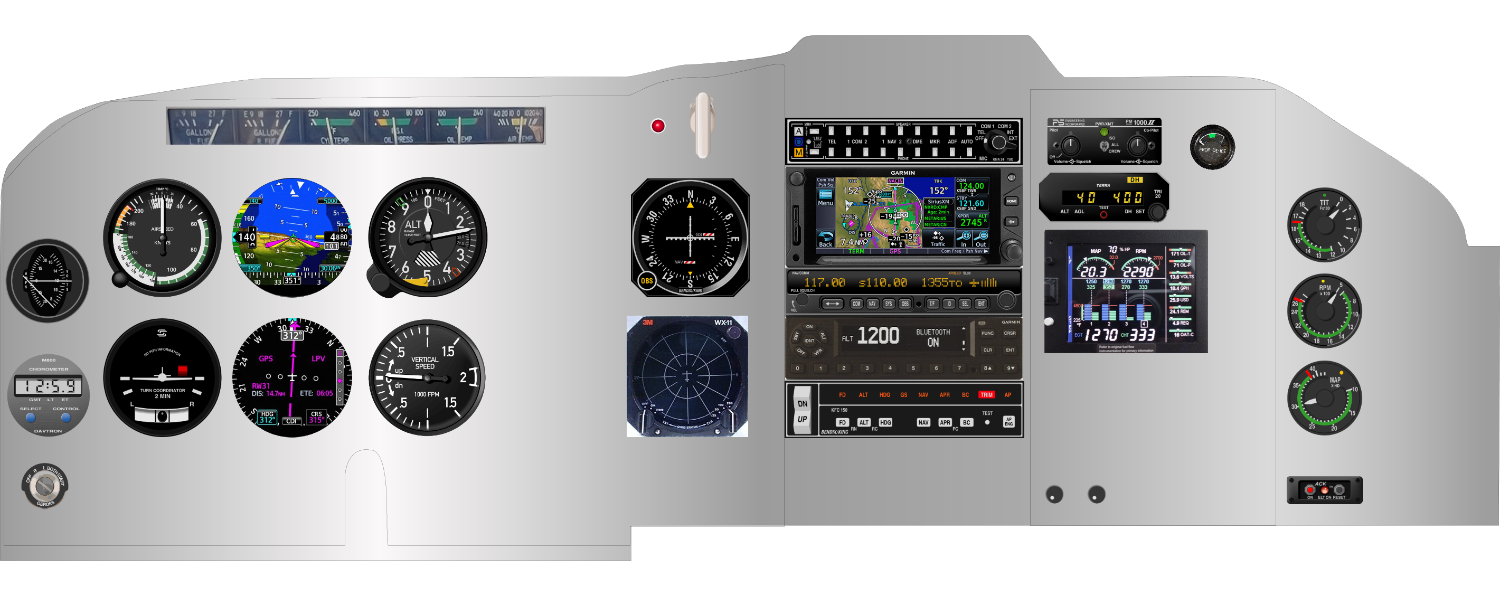
Figured I would dust off the cobwebs on this thread. Still own the old girl. Many avionics updates, fuel tank reseals and everything in between. 380 hours logged now since this thread started. The biggest question everyone was always worried about and asking….”is it still the same original engine? Yes. Top end was overhauled as a precaution a few years ago. However, No metal. And SOAP sheets are looking good still to their day. Flew her into Sun N Fun this past week for the first time. What a great product we all have and get to play with! #teammooney Will post some before and current pics of the panel. Thanks for following along. before: After:

 3 points
 -
BTF just north of SLC. I flew in 2017 and needed to leave the plane a while / month and take airliners home. I asked the guy in the FBO how much for a monthly rate. He asked " you buying fuel ? " i said yes and he said just tie it down over there...... There was no charge. That's where ill go back. BTF Tom2 points
-
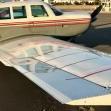
This is one reason I am not planning on painting my airplane. Right now it doesn't matter if anybody scratches it a little bit, and life is just much easier that way. That said, even in A&P school we were often reminded to not put tools on the airplane surfaces, cover stuff up if you need to be on it, etc., etc. Some shops and mechanics are just better at it than others.2 points
-
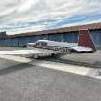
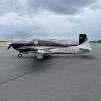
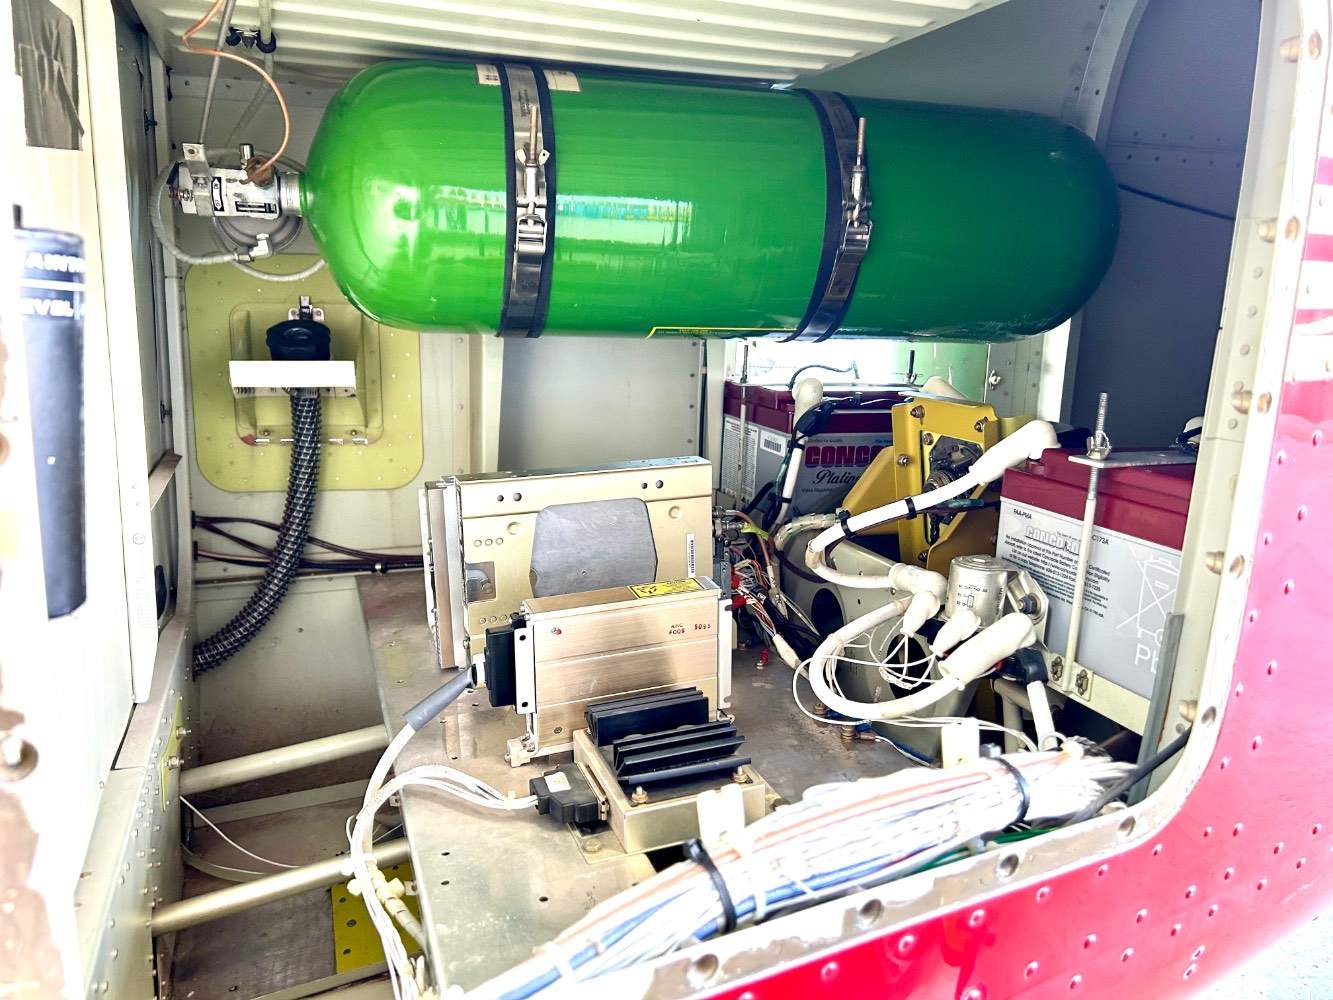
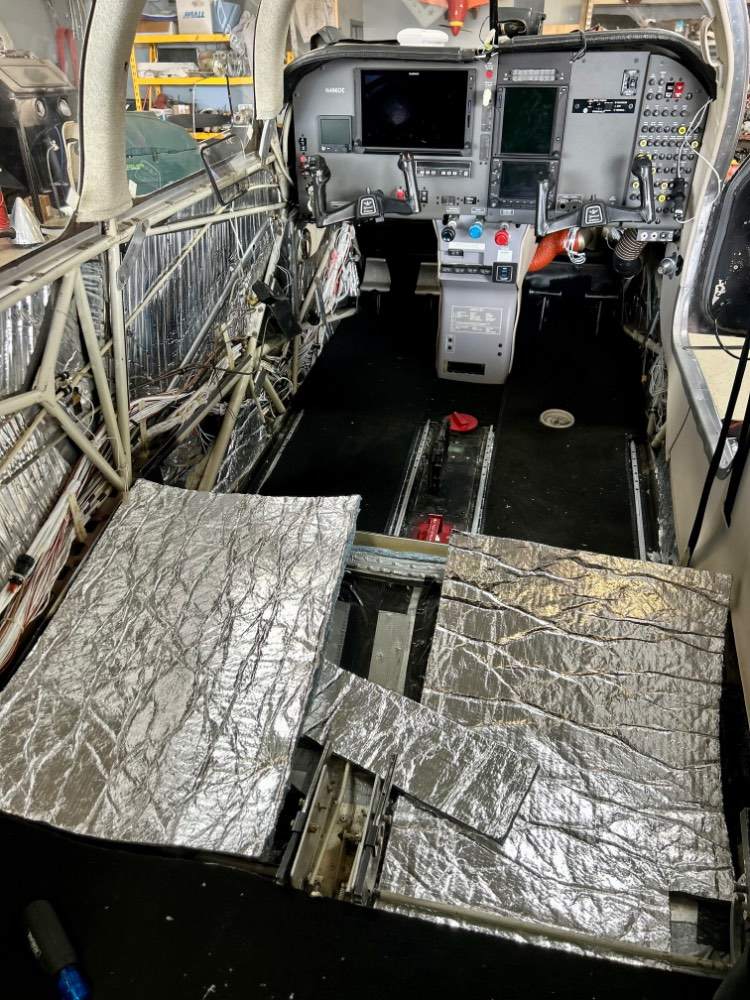
The Story: I bought an Ovation last October that needed some attention. My son and I are going to travel in it and he is building time for a flying career. It had a new and very nice glass panel in it but everything else was well used. The airplane flew about 35 hours in the last 5 years. The paint was very oxidized, carpet old and dirty worn through and the seats looked like a frat house couch. Both wings had fuel leaks. It had been well maintained but it was tired when i bought it. I used the Winter months from then until now to refurbish the airplane. I tackled a bit more than i wanted to but my thinking was to fix everything now and fly it versus fly-it-and-fix-it etc….. So, this is what we did: Firewall forward is all new. Every line, hose and connector. Factory new IO-550. New engine isolators. Stripped and painted the engine baffles. Prop Governor Overhaul Prop Overhaul to include new internals. Compete external light conversion to Whelen (WATT) LED’s. New wingtip and taxi/ landing light lenses. New tires and tubes. New batteries (2) New O2 bottle and fill. Polished the spinner and took the dents out. 18 hours with a buffer and ceramic wax to bring the paint back to life. Complete fuel tank seal scheduled for this year. New Interior. (I started with the just carpet but I had to take the seat out to take out the carpet………and one thing led to another and i just took everything out). I also removed most of the old adhesive, cleaned every inch of the inside and added insulation and sound proofing to the interior. FIRST FLIGHT: Accomplished the first flight and first two hours of engine break-in yesterday. The new engine and prop are powerful and smooth. Everything else mostly worked as advertised. After the first hour I landed. We took the cowlings off to inspect. No leaks. We adjusted the prop governor for full take-off thrust and the gear warning horn on the throttle cable. We flew another hour and I got two more landings in since it had been awhile in GA for me. I would have added 4 more hours to the break-in except i was limited to lower altitudes and high power settings for the break-in and it was VERY windy. TAS was 176-178 on 24/24 at 3500” so I am guessing 180-185 higher. It was a rough ride. I have a fuel pump that needs overhauled so that is going out. I also have a small box in the avionics bay that controls glareshield and panel lighting that needs overhauled. Maybe one EGT probe as well. Otherwise, for the amount of work we did on the airplane……everything went well.


 1 point
 -
I flew my F model today for the first time since annual was completed last month. My plan was to do a timed climb to 10k and gather speed data. It was 81° so I opened the vent in climb. To my surprise, I was blasted with high heat. It was like running a heat gun in the cockpit. I closed the center vent, but by 4500’ the heat radiating from the duct itself caused me to RTB. On the ground I started trouble shooting. It turns out, the cable mount was disturbed while reclocking the prop governor. This prevented the internal flapper valve from fully seating in either the open or closed position. A simple repositioning of the Adel clamp holding the cable rectified the situation. Those of you with heater issues would do well to simply ensure that the valve is moving over its full range of travel. As you can see the heater box and the seal are in fine condition even at 57 years old. The seal material look like table tennis racket rubber. Heat on heat off Adel clamp after repositioning.


 1 point
 -
Hey Hank. Edison did a great job on my C back in 2011. Recently had a tiny leak in the bottom of my left wing--tightened two screws about 1/4 turn each, and it's gone. He did the work on time and on budget, and even drive me to the other airport to catch my cheap flight home when I dropped off the Mooney.1 point
-
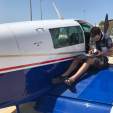
Ok dropped her off this morning. And of course, when I get back to the office 2 weeks of work out of town work show up.
 1 point
 -
Thanks. I looked in section 27-20 but missed the bolt. It is interesting that the parts manual doesn’t match the service manual. The wording in the service manual explicitly says in bold type to install the bolt with the head in the rear. Lee1 point
-
Just outside Hangar A!
 1 point
 -
The Transmitter and Receiver are different circuitry. So you could be hearing the side tone and still not be able to Transmit. You could actually be hearing the Side Tone through your Intercom too. Also, how's your voltage? It takes a lot more power to transmit than it does to receive. So maybe something with the Voltage Regulator? First I'd loosen the radio and slide it in an out a few times (5-6) and then tighten it back in and test it again. Next it sounds like a Bench Test is in order. If you can get your hands on the same model you have you can also slide it in to confirm the backplane connections, etc. are all good and that the issue is in the radio.1 point
-
Since your mic and sidetone work properly when in intercom mode and the intercom 'cuts out' when you key the mic, I think you have an intermittent mic wiring issue between the intercom and the radio. I suspect you are keying the transmitter (need to verify the TX indicator is active) but the mic signal is not getting to the transmitter. Have you tried reseating/reracking the 430? Probably a long shot, but easy to try.1 point
-
I may not be following correctly, but I think what @N201MKTurbo is actually asking is if, when the PTT is depressed, is there is a difference in the sidetone when transmitting successfully and when you can't transmit; not the difference in sidetone when you release the PTT (that's when it goes back to the intercom sidetone).1 point
-
BTF is a good choice. But they are doing construction there and ramp space is very limited. They will charge you a nominal nightly fee of $5. They are friendly and fuel is considerably cheaper than at SLC or PVU. U42 would be my second choice. Ute1 point
-
Posting a little late, but here’s a little write up from the trip to Arkansas to meet up with @0TreeLemur to watch the eclipse… https://wordsaloft.substack.com/p/flying-far-for-four-magical-minutes Hats off to Fred for picking the winning destination. Clear skies, ramp space, and a fresh grilled lunch courtesy of the local maintenance shop.1 point
-
No, he said to test the gauge, hook up a 15 ohm resistor to ground is it should read 1/2 tank.1 point
-
Most of my scratches are my fault. I might suggest discussing your concerns with the shop manager before they start work. Maybe he can tell the mechanics that the owner is particular and to be careful. After the fact there isn't much the manager can do except apologize. As for putting tools on the airplane, I've been known to do it myself, but it is a bad idea. I had an A&P friend that worked at the United Airlines maintenance depot at SFO and she told me that they had so many instances of opening up airframes and finding tools left inside that they instituted a rule that you could not set a tool down on the aircraft. It's a good policy.1 point
-
There is a period of “valve overlap” at the end of the exhaust stroke/beginning of the intake stroke when the exhaust valve is closing and the intake valve is beginning to open.1 point
-
Yeah, it would piss me off if I had a nice new paint job. Thankfully, I can't swing $20K for paint so I don't worry about it much1 point
-
You can also do it from the exhaust side, too. If one cylinder has both valves open it'll pressurize the intake, too, if the inlet is blocked, which isn't that hard to do. I've done it both ways, from the intake and from the exhaust. Imho, from the exhaust side is a little less likely to blow something into the fuel servo ram air tubes, but maybe a little lossier to try to control more leaks.1 point
-
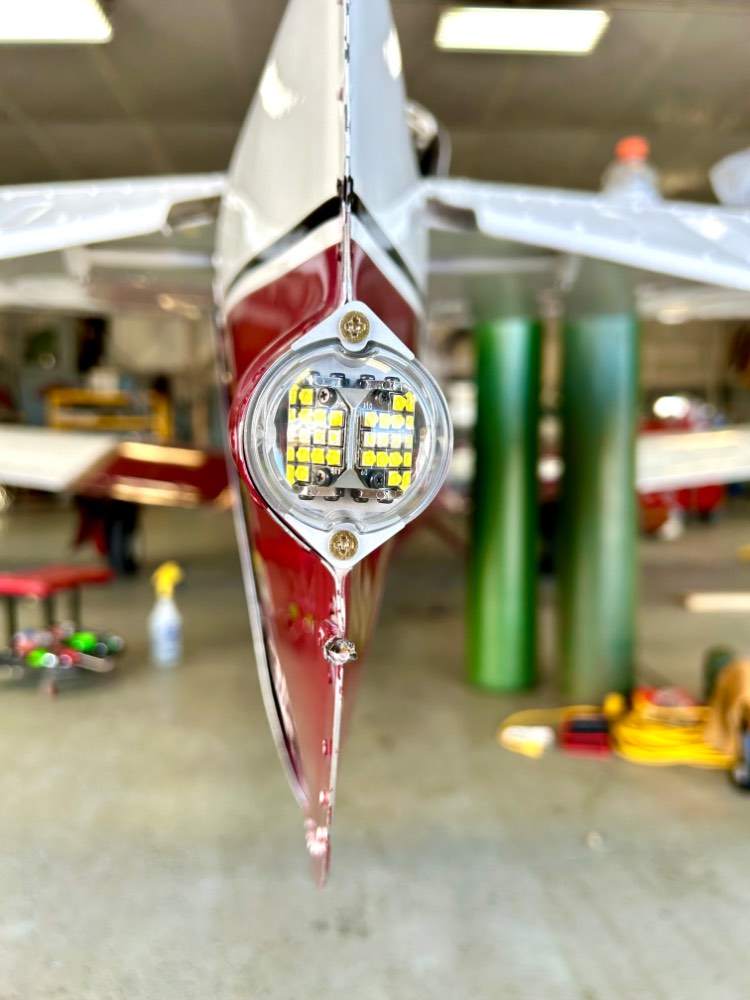
This thing is red-iculous, so bright and absolutely tiny, bet i gained a knot or two 20240413_144613.mp41 point
-
Things have changed there are many avenues to get to the bigs, I have a friend pilot who had his daughter go the route without attending college I just finished her tax return which was her first as an officer, this being her first real job BTW at PSair, her w-2 was in excess of $155,000, not bad for a country girl emulating daddy. Get those kids up and flying I have quite a few pilots, mechanics etc, one mechanic for Delta made $100+, gosh I’d be great to be young again. Hell I have a surgical nurse making just under $200..1 point
-
“Gila” static cling film. You can get on Amazon or at autozone. it’s about $35 per roll which is almost enough to do the whole plane. You can cut it into squares or rectangles, or install like regular tint. I actually applied it on the entire back windows, and carry four or five squares to put wherever I need it, you can double it up when the sun is really bad. it doesn’t get in the way like those useless factor visors, and folds away neatly when you don’t need it. even if you end up wanting something else you’re only out $35…1 point
-
Very happy with the service. Occasionally, their serving as an intermediary slows things down. That drawback is more than mitigated by knowledge, having a second ear, troubleshooting, break down service, etc. Last year, I saved so much money on a complicated problem, after their negotiation, the service easily covers itself for over the next decade.1 point
-
Savvy Breakdown, which is now included in the lowest tier (SavvyAnalysis?) of paid subscription, has been useful to me twice. I'm an involved and knowledgable owner but I'm not a mechanic so having a number to call for assessment and recommendation saved me from two AOG situations away from home. Knowing I have them to recommend a good shop if I need one away from home is good peace of mind for me. I don't subscribe at the SavvyMX level but I probably would have benefitted from it earlier in my ownership. I do recommend the SavvyAnalysis level subscription for the regular Report Card and FEVA Reports, as well as the detailed engine data analysis available on request. Cheers, Junkman1 point
-
The gathering on April 8 for eclipse viewing at 42A (Melbourne, Arkansas). The crew of that large grey military airplane (single engine turboprop) landed just before the totality started. They landed long and filled the air with tire smoke as the pilot slammed on the brakes with the end of the runway rushing towards him. I've never before seen an airplane fishtail like that! There were four Mooneys in attendance, including @Pasturepilot and family!
 1 point
 -
Had no idea that Porsche "owned" Mooney at some point...1 point
-
Not as much as Americans, here is a 5 seconds summary Cousin Avi (Snatch film, Guy Ritchie)1 point
-
Installing the MVP-50 was one of the best decisions I made with my upgrade. In my opinion it is the best stand alone engine monitor out there. Yes, JPI is worthy, but the MVP-50 has more versatility for my usage. I've attached my worksheet to show how I set mine up. With the M20C you won't have TIT. The small box between the MP and RPM turns red and shows gear not down, if the gear is not down below a certain MP. There is an extra register on the fuel page that displays trip totals and resets on engine shutdown that I find extremely useful. There is the ability to set 2 automatic fuel levels when adding fuel; in my case 89 gals to the bottom of the neck and 100 gals topped off. There are too many other benefits of the unit to mention in this small space. At the time I upgraded my display the cost was a little over $1,400. If you are buying new, you will get the new display. The functionality also increased with the upgrade, in particular the ability to see time to destination instead of time to waypoint--to me a MAjOR improvement for trip planning. and execution. MVP-50 Worksheet 8:23:2013.pdf1 point
-
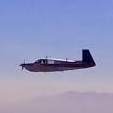
Over Lake Pend Oreille in Northern Idaho at 12,500. Going nowhere and loving it on a beautiful day!

 1 point