
rrodriguzzi1
-
Posts
58 -
Joined
-
Last visited


rrodriguzzi1's Achievements
")


-
Bird-proofing Empennage
rrodriguzzi1 replied to catchman86's topic in Vintage Mooneys (pre-J models)
Aviation skydrol. Just a drop where it doesn’t affect your paint or on a piece of rag. No birds will ever be a problem after that. -
I used a Quinn, 1/2 inch drive 25-250 ft lb. adapter from Harbor Freight. Digital Torque Adapter. It's not certified or official, but I used it as an additional aid. Just another idea.
Good Luck!
-
No. Thanks. Trying to send a reply to another member.
-
Almost there! Still got to do a final clean up.

-
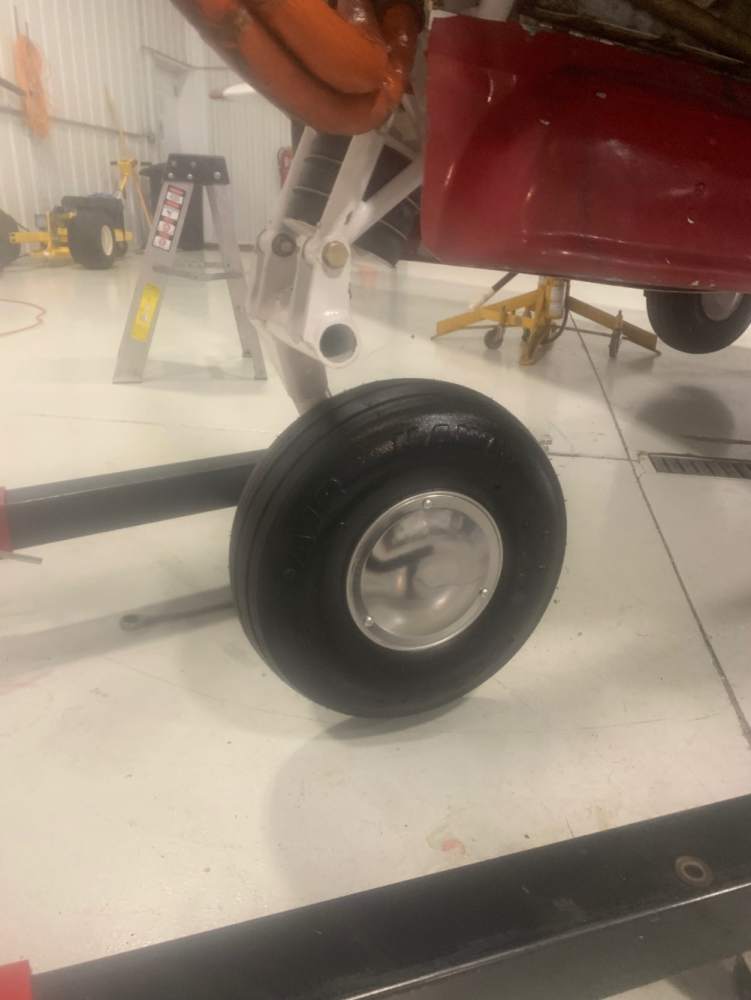
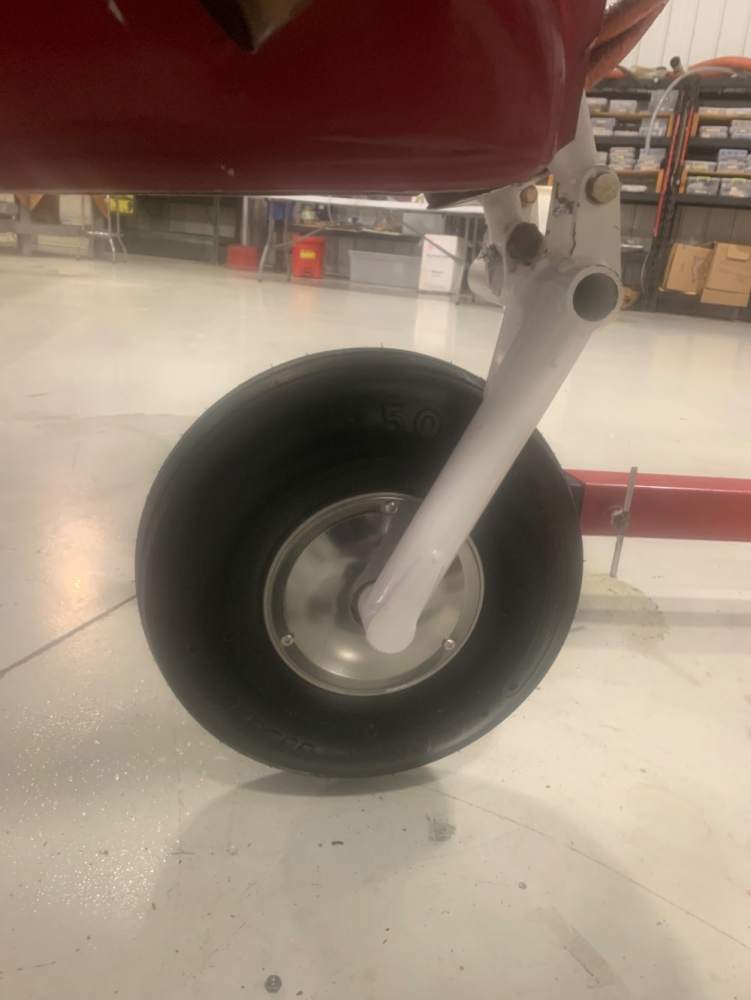
That should have been noted on a landing gear swing test or plenty of them before releasing that aircraft to the owner. Hard to tell from my iPad and knowing the previous history of the aircraft. This was mine a while ago.

-
Is M20C brake bleeding possible?
rrodriguzzi1 replied to Kelpro999's topic in Vintage Mooneys (pre-J models)
Oiler, clear hose from the lowest point or caliper works every time. Just make sure your clear hose stays on the bleed port and have another clear hose off the reservoir to clean container. You or somebody helping you can see the air come out. It's a bit hard sometimes on your hand. -
Cabin clean up, continued.
rrodriguzzi1 replied to rrodriguzzi1's topic in Vintage Mooneys (pre-J models)
Hello, Bonderite CIC33, 79, M-CR 1200, AkzoNobel Epoxy paint and primers. It's expensive, but its really good stuff. And I know, it will be nice if you could buy this product in smaller amounts. -
Great work! Did you do all 4 bays? I have been looking at my outboard one and it looks perfect. Hate to do things half way, but I also don’t like the idea of fixing something that’s not broken. I have seen this with other fuel tanks on vintage aircraft way bigger than a Mooney were we mainly replaced the center section structure of the aircraft / fuel tanks due to be the lowest points were water and moisture rest for the most part. Lots of Sheetmetal work and then reseal. I am using AkzoNobel fuel tank primer on mine just for the age of this aircraft. When it comes to the Polygone… they just need to add a few more revs to it. It’s like using a low speed hand dryer. Also there’s some rivets that I am replacing on mine. There’s are a few leaks thru this rivets which looks like somebody tried to fix before, way back in 1993. Those rivets are located at the inboard side of the left fuel tank. Thanks for sharing your work!


-
Cabin clean up, continued.
rrodriguzzi1 replied to rrodriguzzi1's topic in Vintage Mooneys (pre-J models)
More progress. Not much, but still progress.


-
fuel outlet (not sender) gasket 610261-001
rrodriguzzi1 replied to tmo's topic in Modern Mooney Discussion
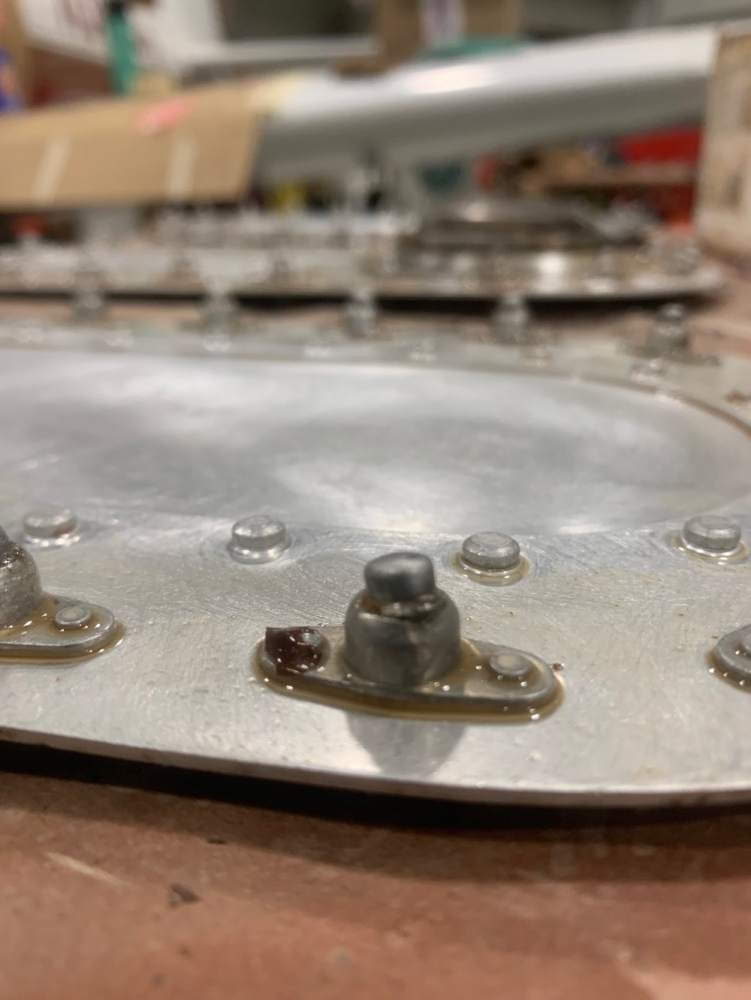
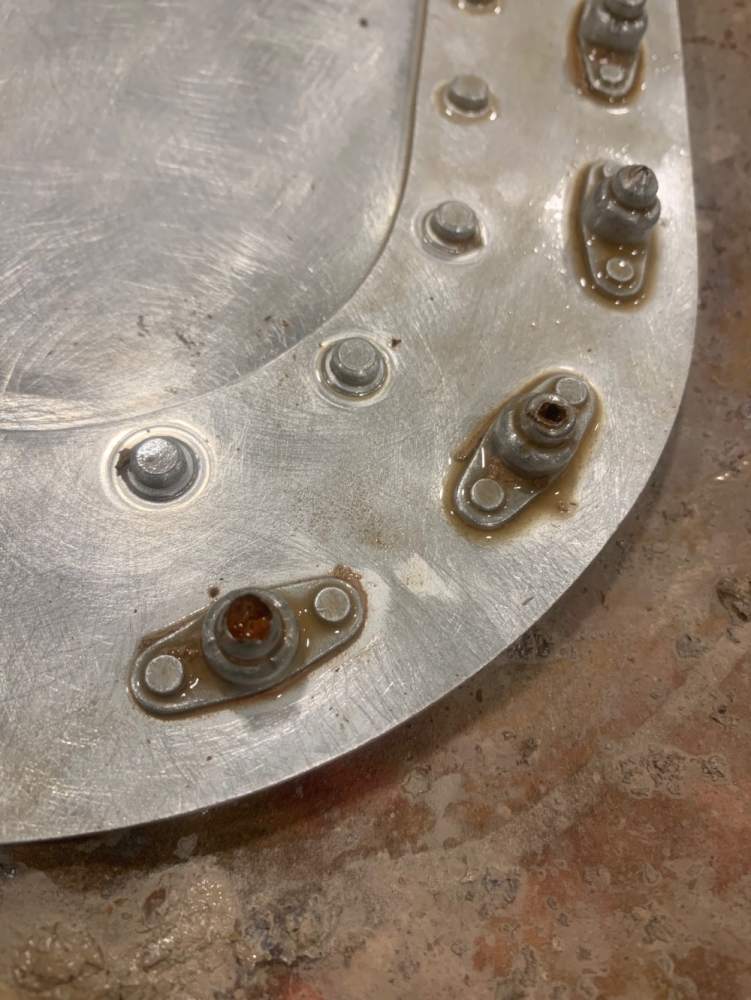
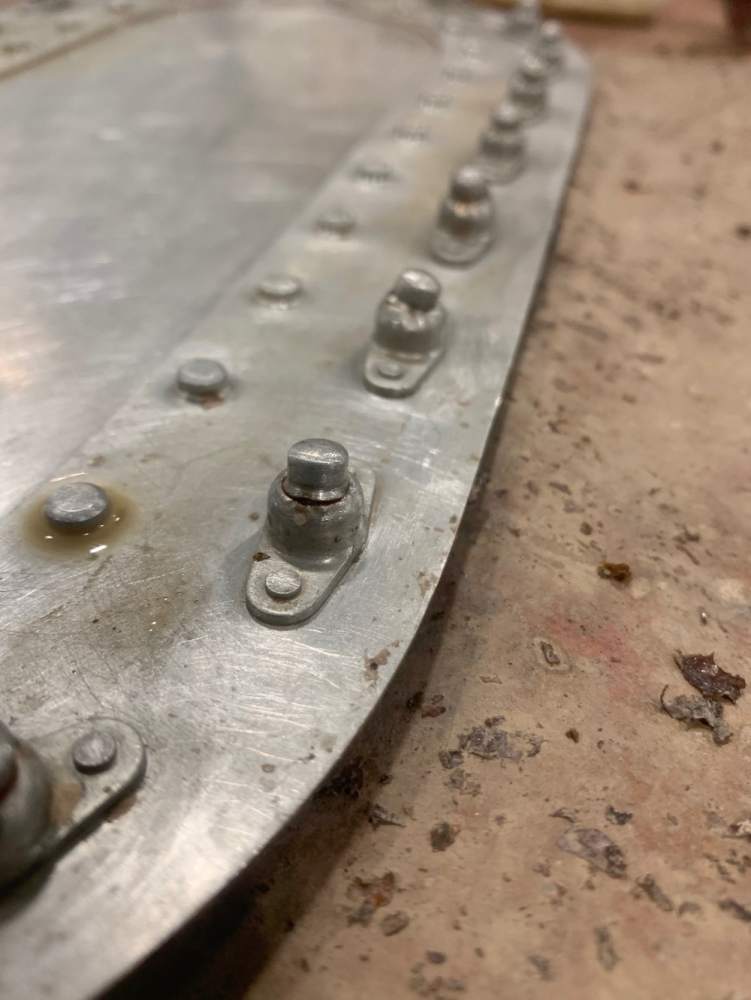
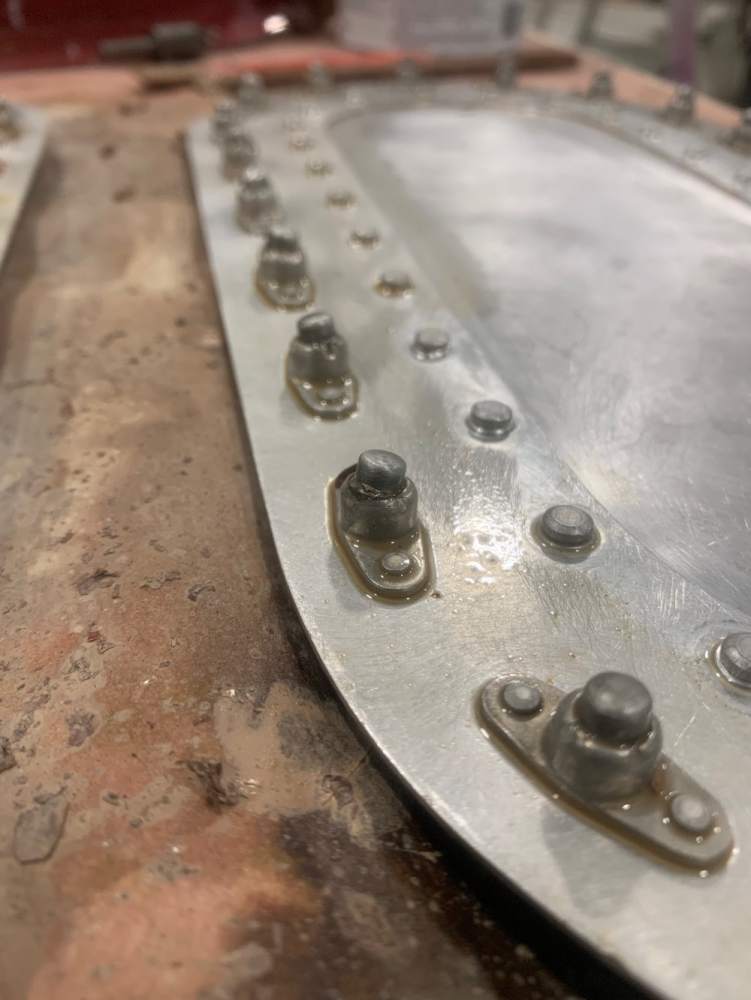
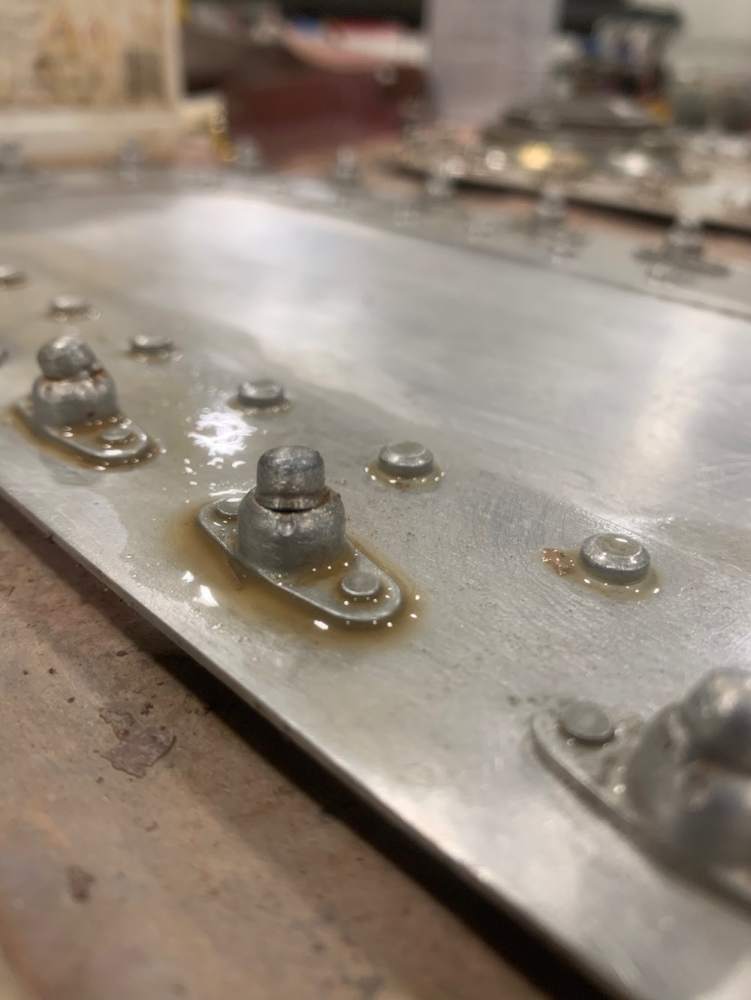
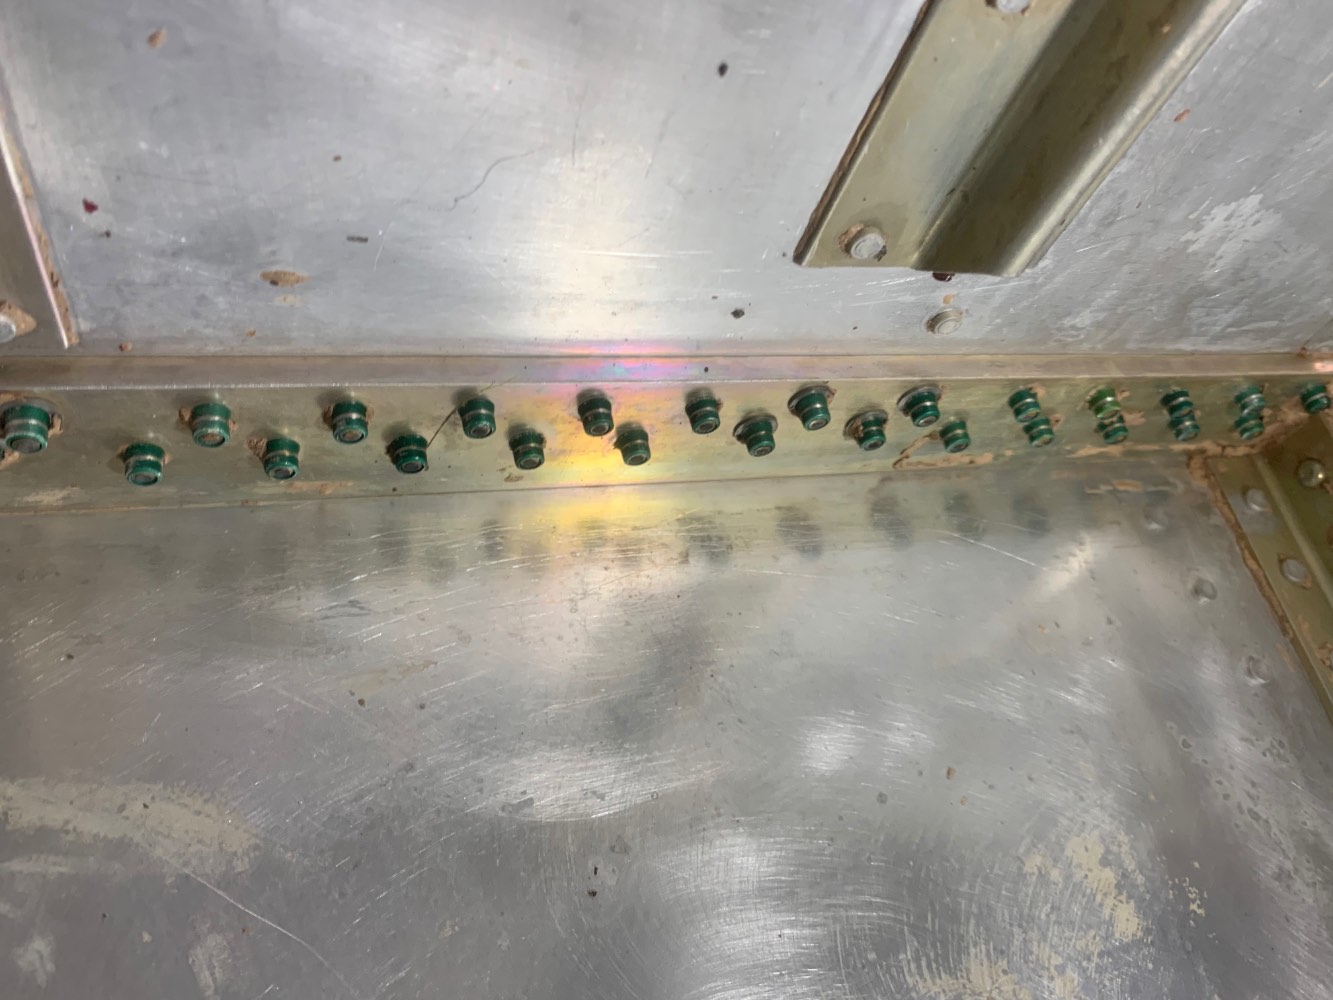
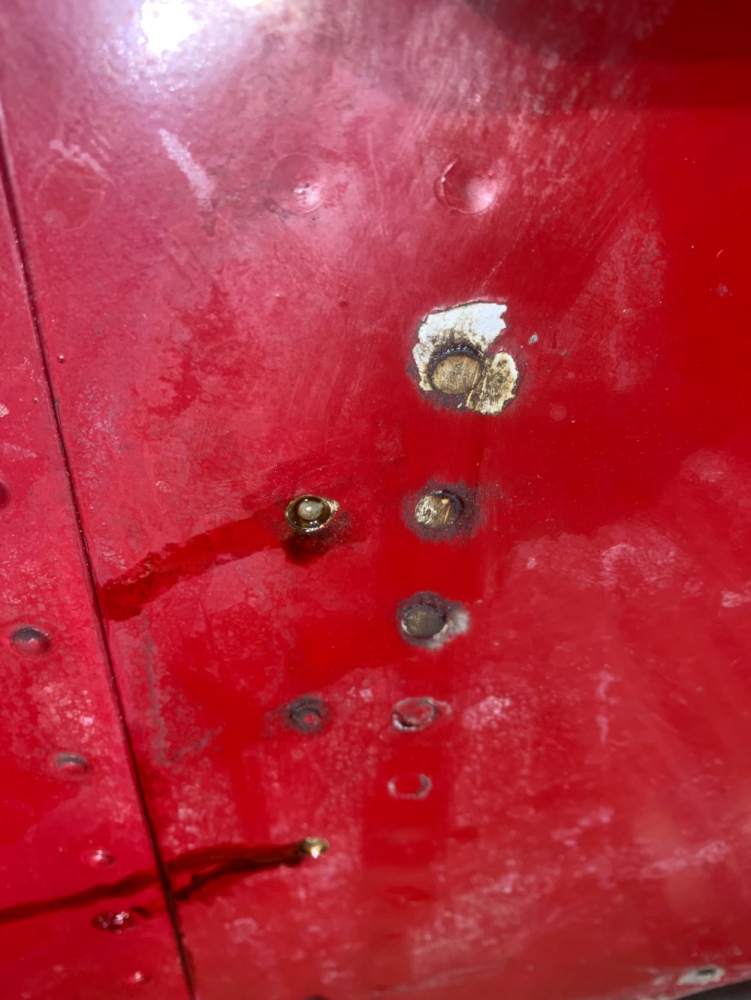
That looks like damaged dome nuts. Maybe and depending on when it started at some point somebody probably used the wrong size screws damaging the domenut. That’s off an access panel, but I see a possibility that this could be your problem.
-
fuel outlet (not sender) gasket 610261-001
rrodriguzzi1 replied to tmo's topic in Modern Mooney Discussion
That looks like damaged dome nuts. Probably somebody at some point used the wrong size screws. -
Right, that I will evaluate once everything is cleaned up.
-
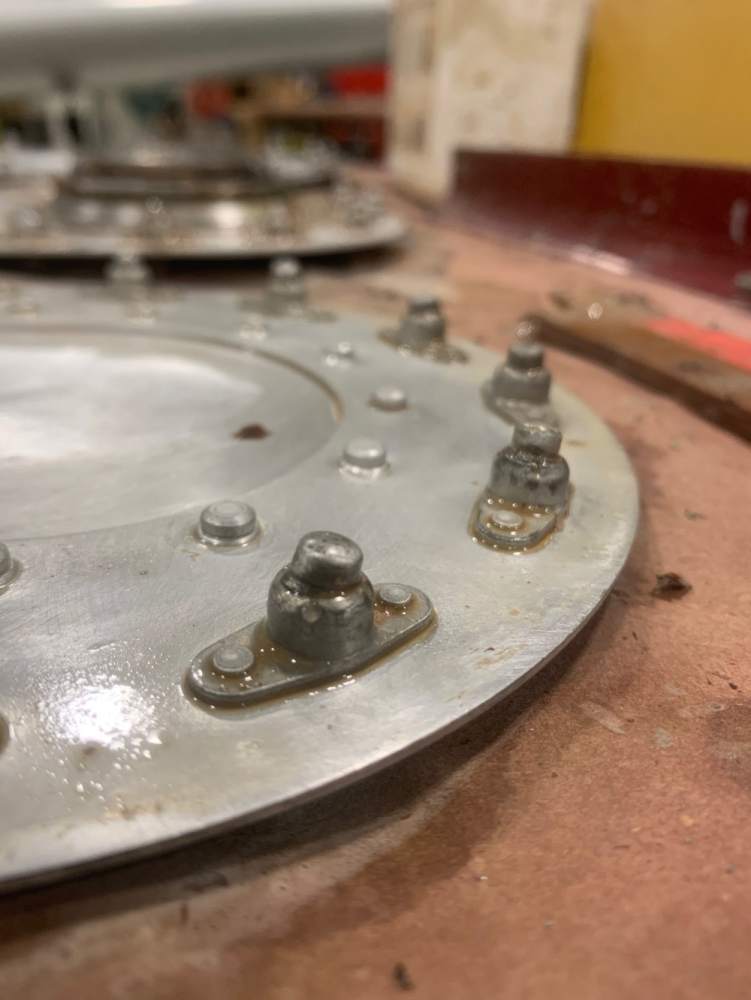
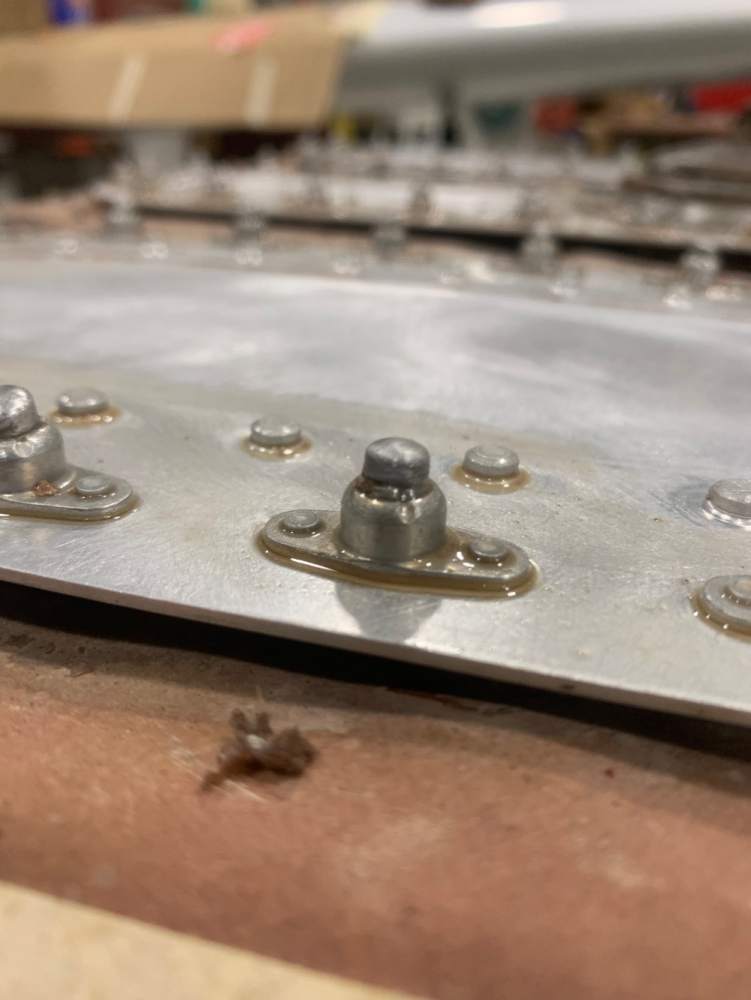
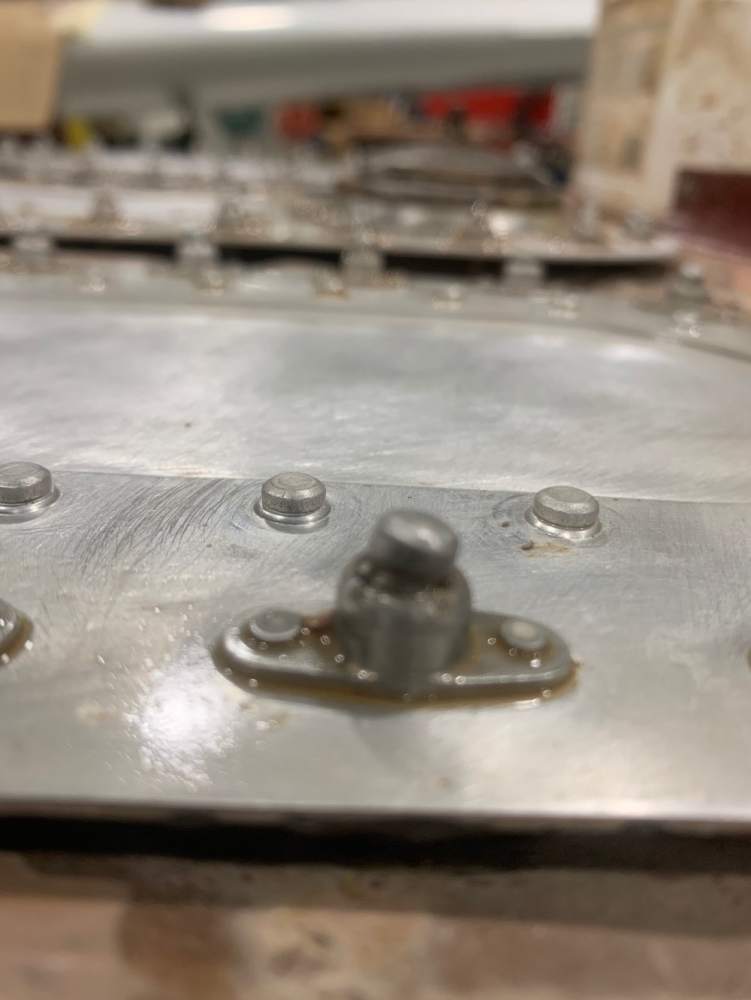
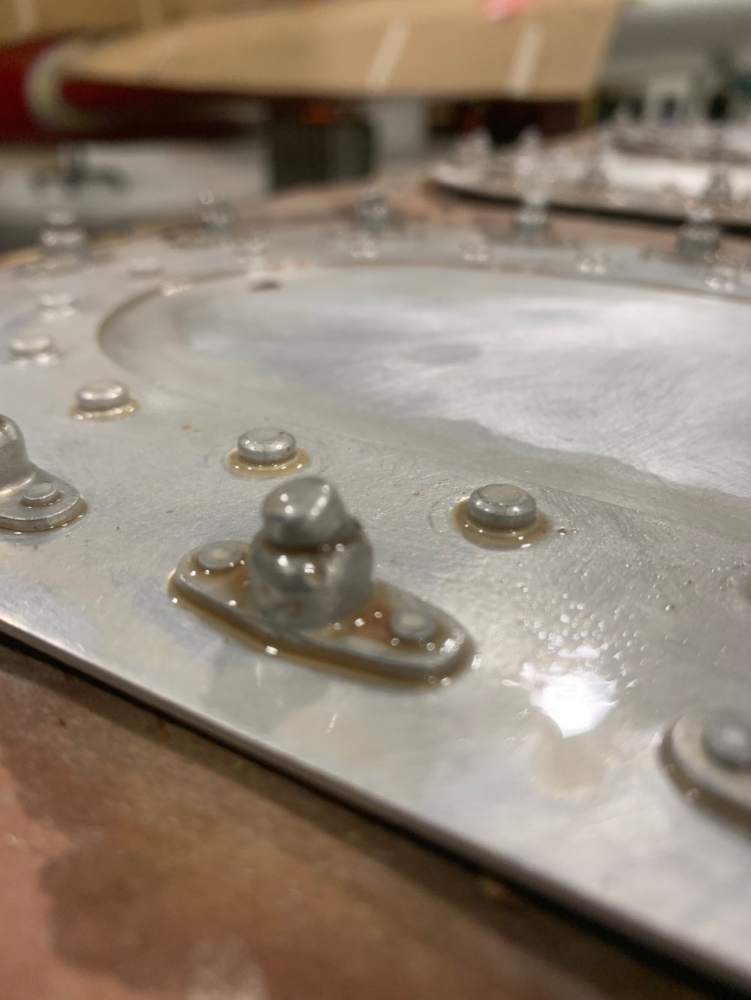
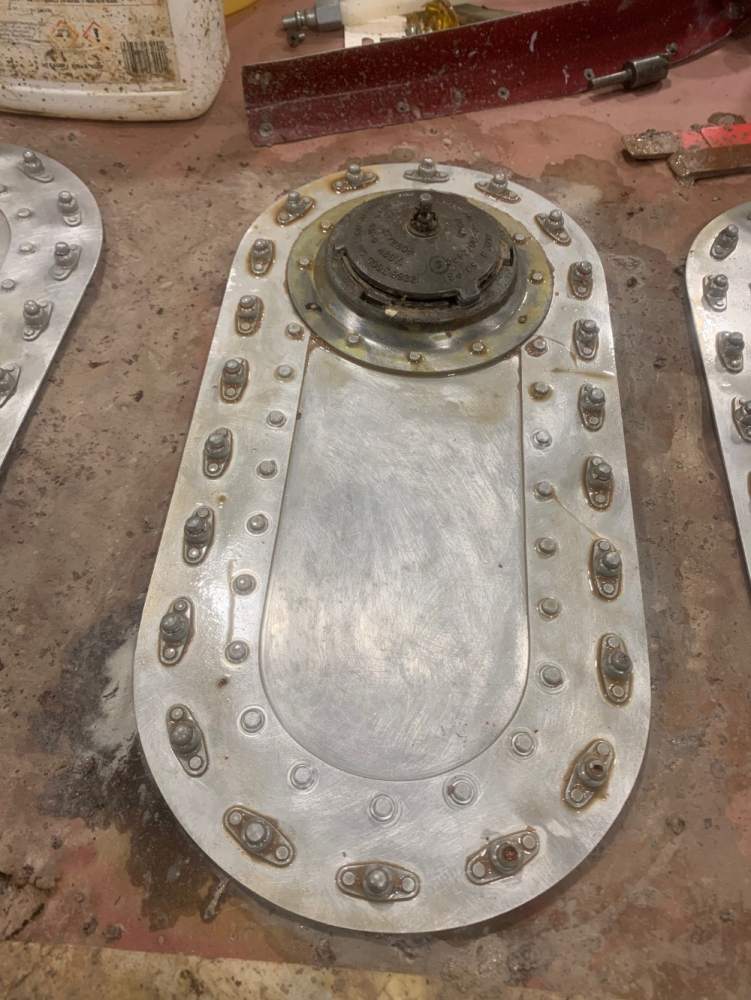
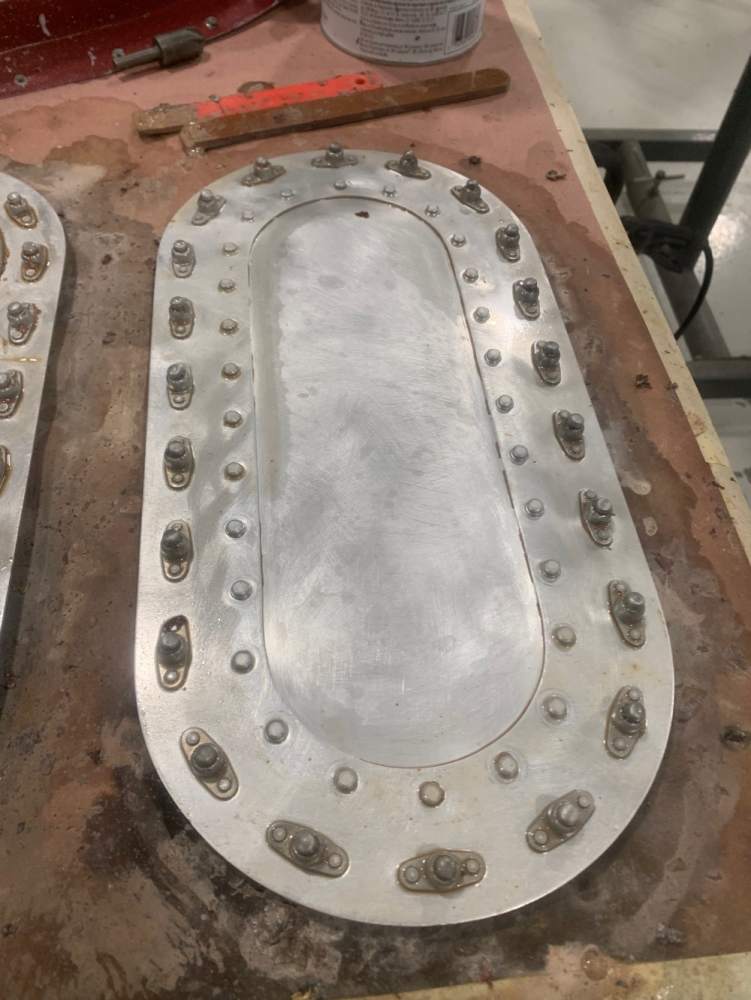
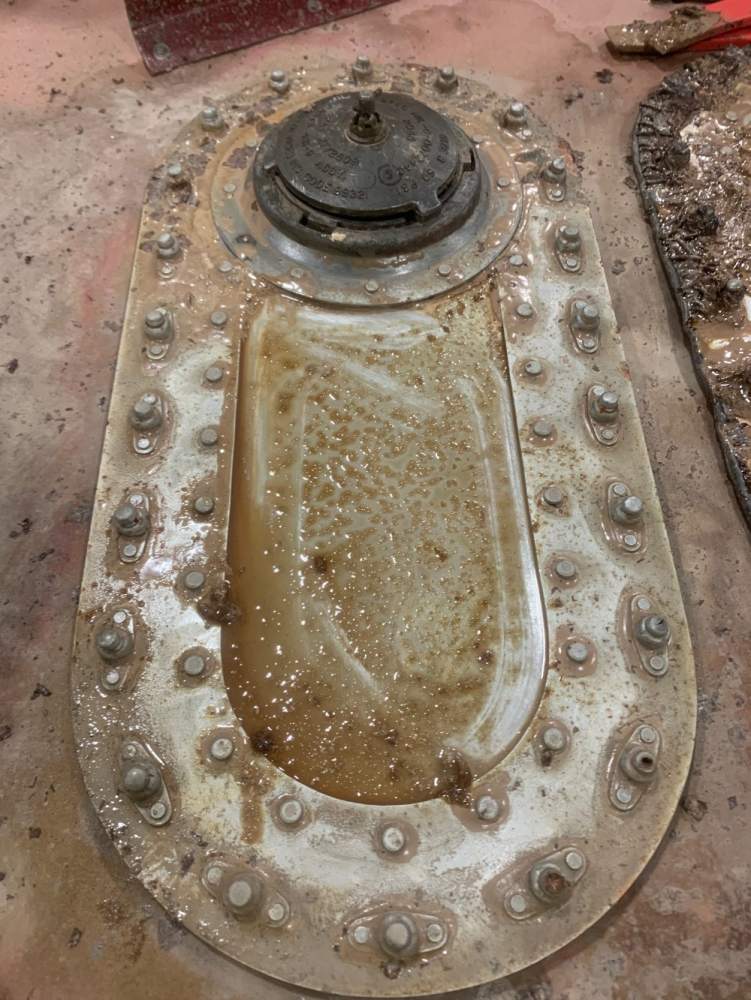
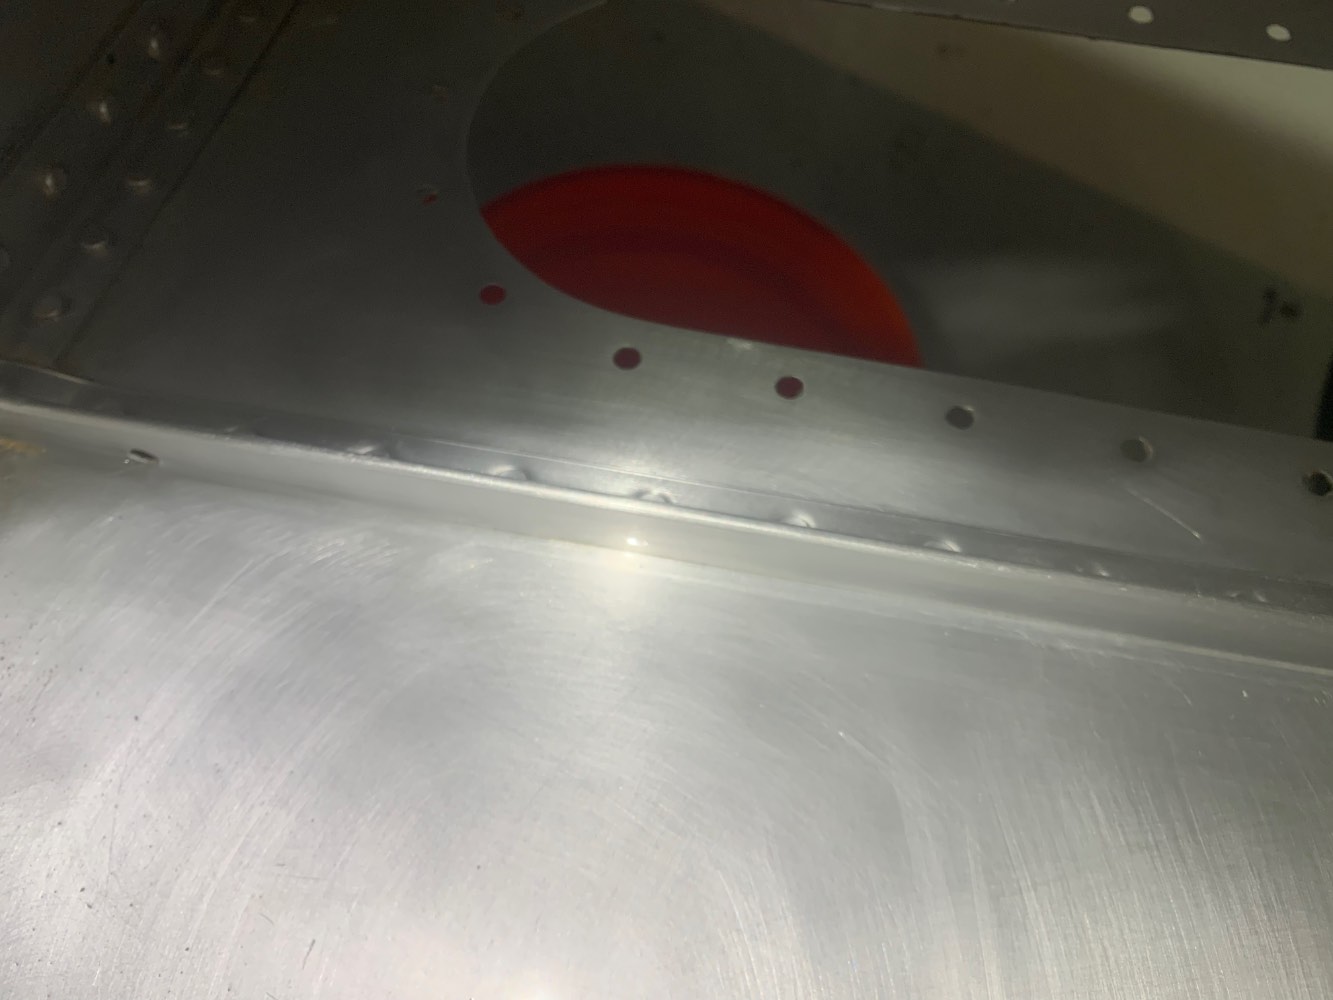
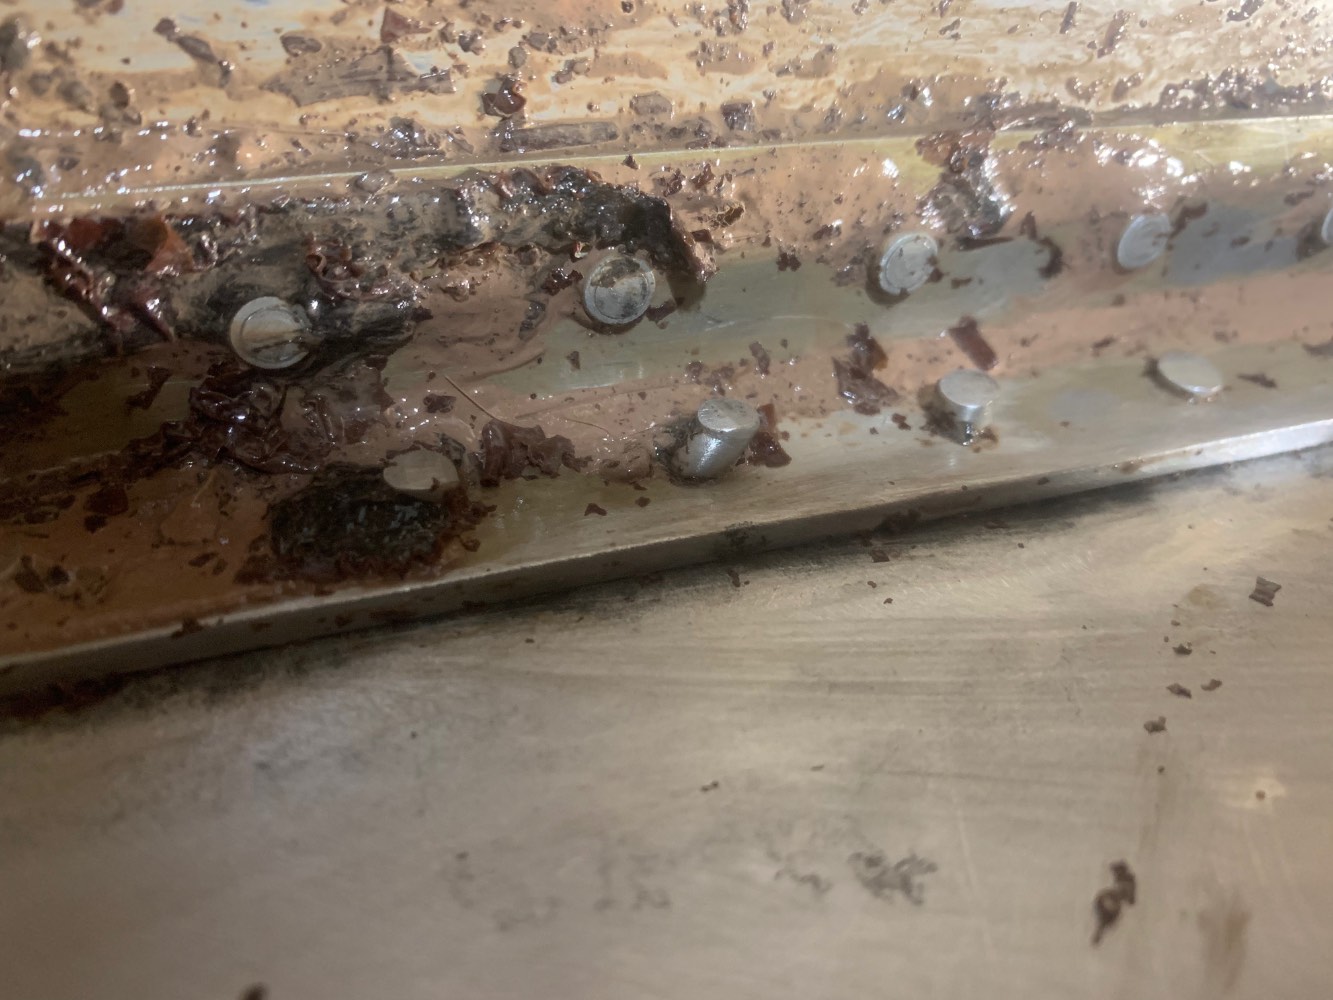
Here’s a few. Not completely cleaned up yet. Also they used a few blind rivets in this tank. It was probably somebody’s first day or week at the job. And even with this bad rivets it’s been flying since 1968. One of those things.

-
Yes. You just have to know when to stop. Talking about rivets, there’s about 8 to 10 rivets in this tank that were unairworthy right out of the factory. I will add pictures of that later.
-
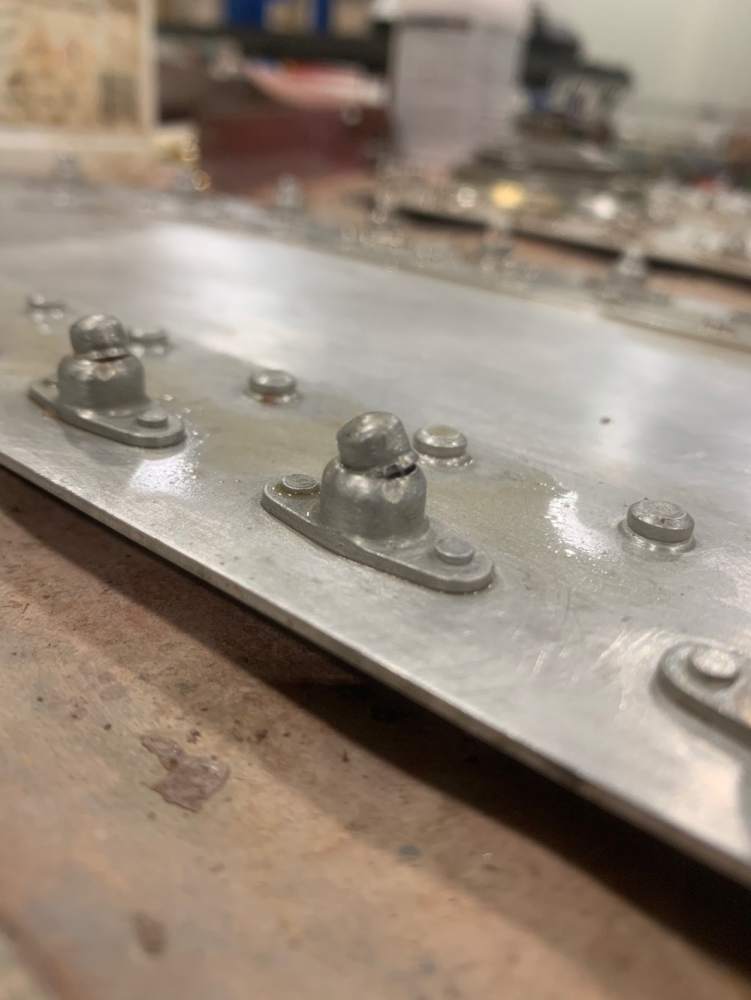
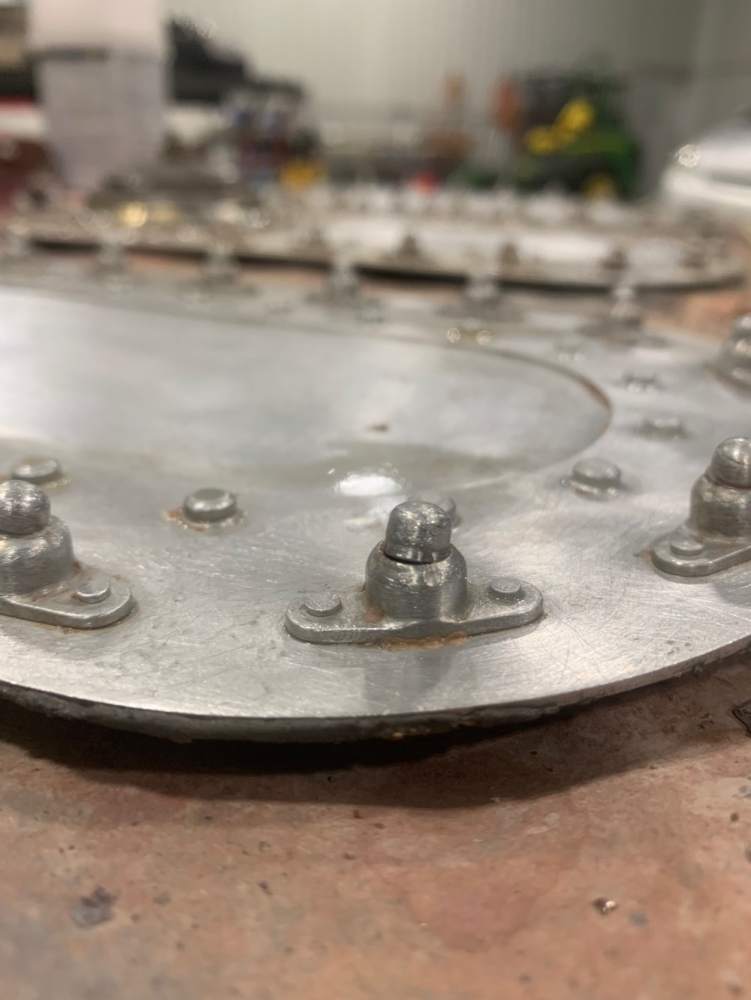
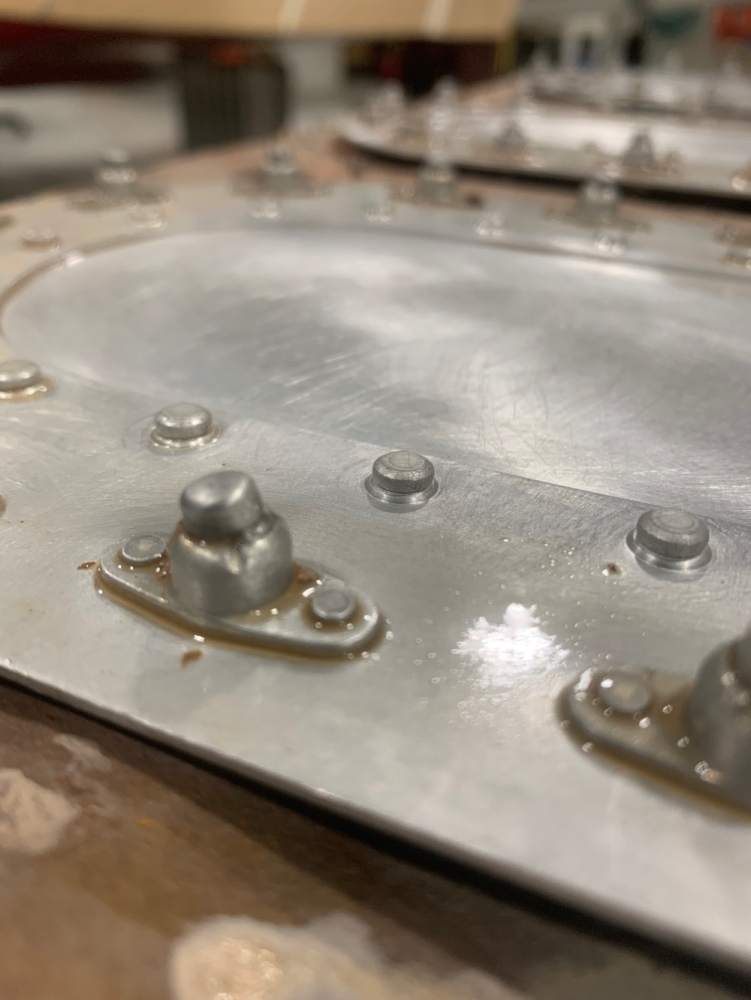
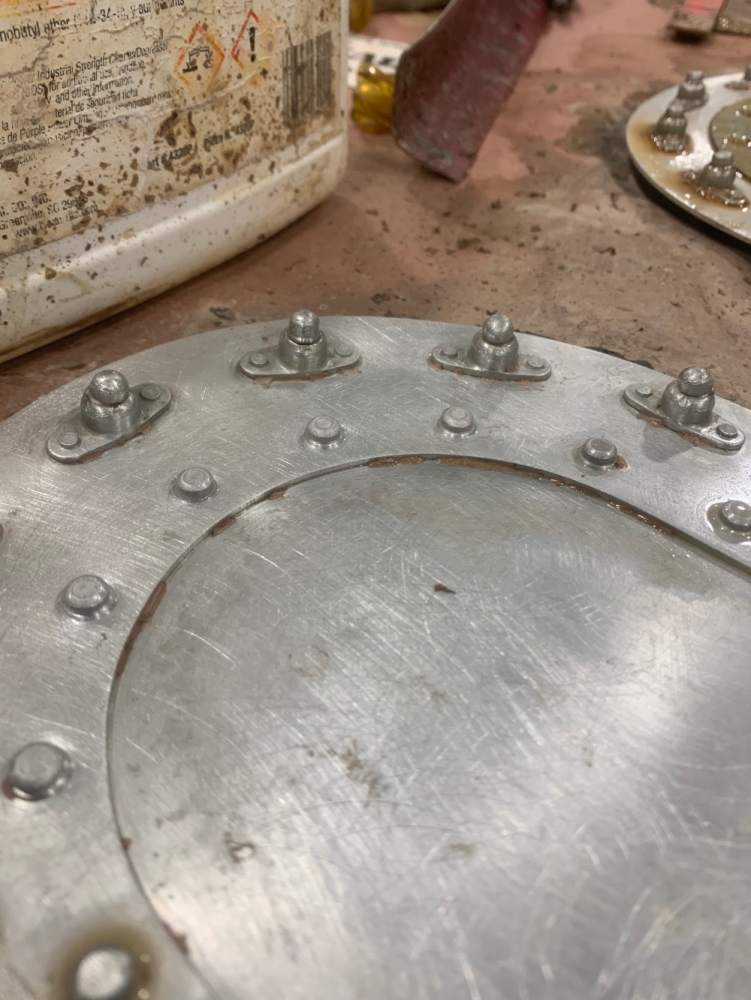
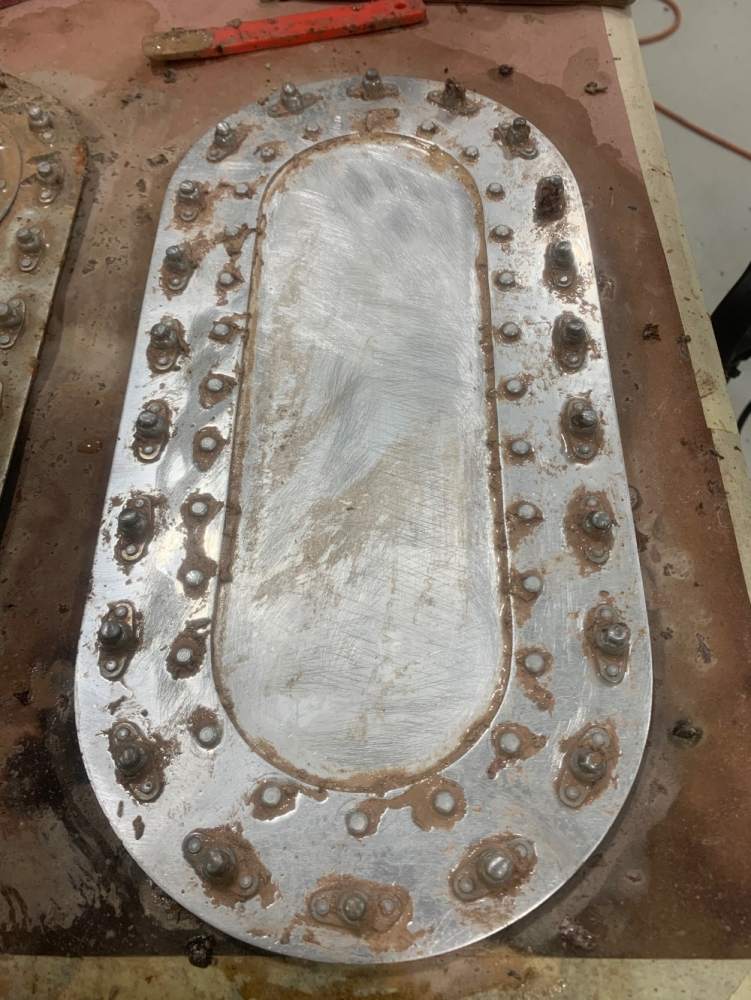
I haven’t got to the materials part yet. Busy with other airplanes. I will post the information as soon as I get to it. Now, here are some pictures of what using the wrong hardware ( too long ) to your access panels. can do, creating more leaks in the process. That’s also PolyGone at work on the access panels with original sealant.