Bob E
-
Posts
213 -
Joined
-
Last visited
-
Days Won
1
Content Type
Profiles
Forums
Blogs
Gallery
Downloads
Events
Store
Everything posted by Bob E
-
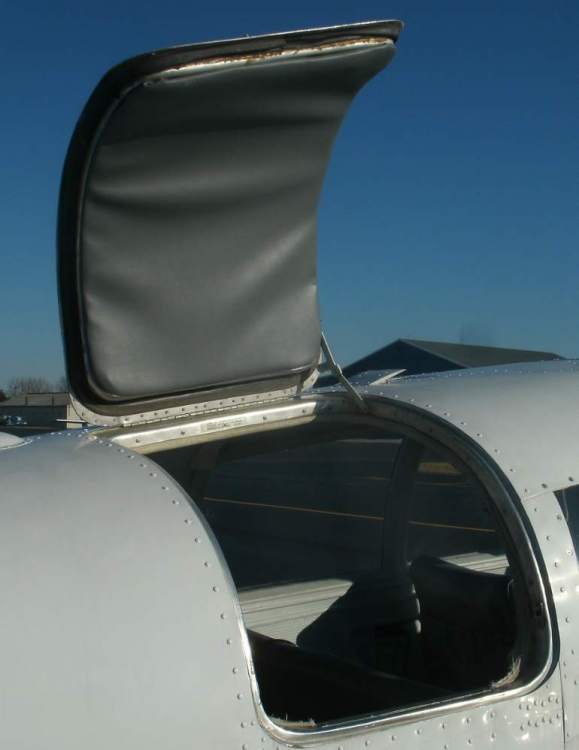
For what it's worth, here's what the factory-original baggage door seal for a '65 C looks like. The liner is much newer but the inner welting was also original and has since been replaced.
-
I'm no expert either! But as the IIHS puts it, although they occur most often in rear collisions, "whiplash injuries can be sustained in any type of crash." Here's a video that illustrates how, after being thrust forward in a frontal crash, the head then rebounds back. https://www.youtube.com/watch?v=6Nv5Qzia0-0&t=9s Anyway, I've been flying around with just lap belts, and I think a shoulder harness is actually a more effective upgrade.
-
Everyone's talking about the panel, but there's one other thing: Although this aircraft is equipped with shoulder harnesses (or at least one for the pilot judging from the available photos), it does NOT have head restraints. If the shoulder harnesses ever save the front-seat passengers' lives, the lack of head restraints will seal their fate about a second later.
-

Changing overhead map light bulbs
Bob E replied to aviator22's topic in Vintage Mooneys (pre-J models)
Here's what the bottom looks like. What works for me is: using a soft thin cloth, push down firmly and twist counterclockwise to remove. Regarding an LED replacement: The two overhead lights are the only incandescents remaining in my M20C, for two reasons: (1) these are behind the rheostat dimmer, which LEDs don't like (I experimented), and (2) I haven't been able to find LED replacements for this particular bulb anyway. The LEDs that fit the base aren't short enough to allow the torpedos to fit back on the clips. However, FYI, it is possible to add dimmable 12v red LEDs in parallel to the existing lights. That leaves the original lights intact. It's a great solution, especially since I found some tiny LEDs mounted on a swivel base, which I simply added to the torpedos. Now there's light wherever I need it: flap and trim indicator, notepad, whatever, and the LEDs dim right along with the original lights. I lashed the LEDs to the to each torpedo with wire ties, with a thin layer of insulation in between since the torpedo gets hot. It turned out that four LEDs were more than I needed (6 lights total), so I removed them from one torpedo. Result = four independently adjustable lights. I've used them for a couple of years now.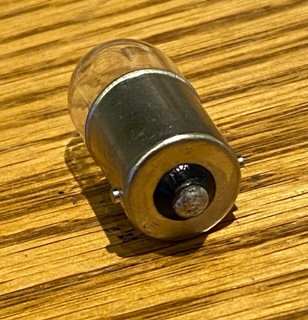
-
In 2019 I paid $28,500 for a Lycoming remanufactured O-360-A1D (after credit for sending them the old engine), plus shipping which was $600 as I recall. I believe the difference betweens the A1A versus the A1D is that the latter has newer designs for the magneto and the pushrods. And since I was springing for a 0-time engine, bit the bullet for $3k for exhaust system overhaul, $1.5k for engine mount overhaul, and $1k for oil cooler overhaul and some parts, and $2.5k to replace a prop governor that was past the end of its service life.
-
I'm based at OSU and had used their shop for years, but as they switched to more fleet work and higher-end aircraft, my annuals got slower, much less thorough, and much more expensive. I just couldn't seem to get them interested in working on my aircraft. The local flying club at KOSU had the same problem. That's how I ended up trying SkyVista. Super happy with them.
-
SkyVista Aviation at KMRT, Marysville Ohio -- about 25 NM northwest of Columbus. They are a great full-service Mooney shop. David Holden, who runs the place, is a Mooney owner himself and super easy to work with. He's also an A&P, IA, and ATP. They have something like 4 full-time A&Ps. They've done my annuals for years and are thorough and professional, yet quite reasonably priced. Last year they installed a zero-time Lycoming engine in my C. 937-644-2055, mx@skyvistaaviation dot com.
-
I breathed a sigh of relief too! Glad you didn't let your enthusiasm cloud your good judgment.
-
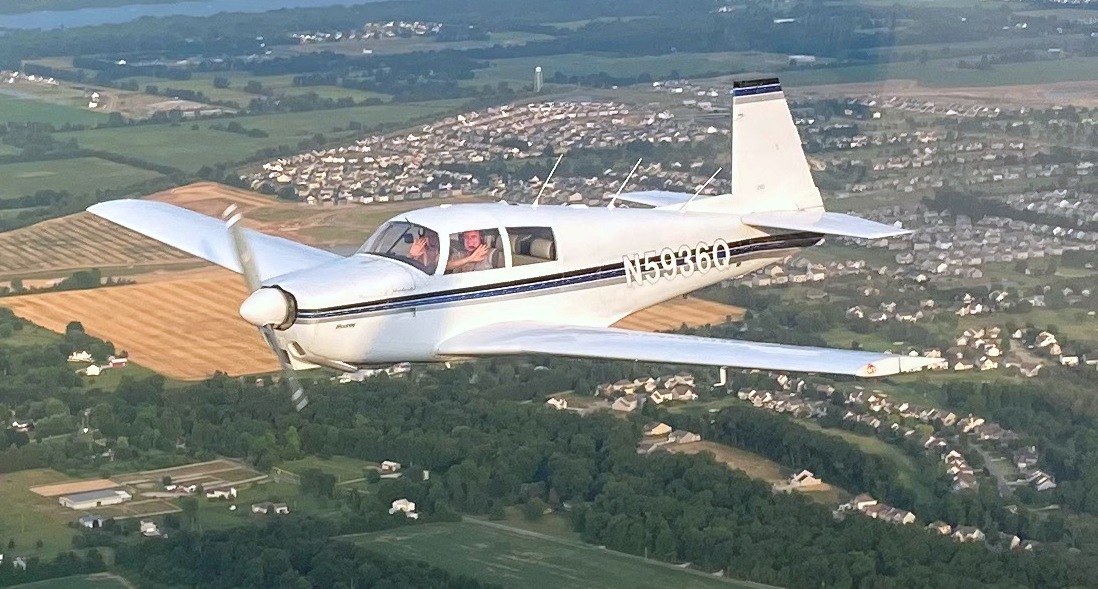
@Prestonalton's post got me to thinking, I haven't seen a lot of discussion about paint and paint shops lately. I'd love to hear people's thoughts regarding the following: 1. Is IMRON still the gold standard for general aviation paint? My M20C was repainted with Imron in 1991 and still looks great (photo), even though it's been a ramp airplane in Ohio all that time. 2. What techniques have people found to be useful for preserving the paint as long as possible? For my aircraft, I've basically just degreased it, power washed it, and applied NuFinish twice a year. Just this year little flecks of aluminum are beginning to show through on the leading edges, which is why I'm thinking about repainting. 3. Has anyone had a shop paint everything other than the underside of their aircraft to save money? On my aircraft, the paint underneath the wings and fuselage still seems quite serviceable. 4. What experiences have people had getting their aircraft repainted? I'd especially like to hear about good experiences and recommendations about shops currently operating (for me east of the Rockies). And of course I'd love see the photos!

-
Value in 2021 - M20C out of annual
Bob E replied to Stephen Slate's topic in Vintage Mooneys (pre-J models)
Stephen, are you "asking for a friend"? What's the N number? What's your location? Since there is no pilot with your name listed in the FAA pilot registry, you might want to let all the folks who have answered your questions in good faith know that you're actually the seller. You were using this forum to find out whether anyone is gullible enough to pay $50k or maybe $30k for an aircraft that has been neglected and flown illegally by someone who has utter disregard for safety rules. An engine that has to be considered junk. Logbooks that are almost certainly inaccurate or forged. If I'm wrong, by all means please set the record straight. But I doubt that you'll respond; your 4 posts were all on March 17, the day you joined. -
I did basically the same thing - removed the vacuum instruments for dual G5's - but I also removed the entire vacuum system. I lashed the step in the up position with the intent of getting a Flight Enhancements electric step conversion later, but so far I haven't seen any need for the step. The PC wing leveler was more trouble that it was worth -- expensive to replace the boots, not to mention the gyro (which is in the back in my '65), and I don't miss it at all. Now I don't have to worry about vacuum failures or gyro overhauls. (Except for the one remaining electric gyro: the turn & slip.)
-
Wow! MEK is hard to find; it's a standing item on my wish list. All I can find is the substitute. Next time I'm in AZ I'm bringing an empty cannister and maybe some top-grade Hennessy and we'll see if I can talk you into parting with a little of it.
-
I suggest there's a third type too: Those who definitely value mastering new skills - any pilot fits that description? - but who either (for reasons of job, family, or whatever) don't have the time to master and perform this particular skill, or who know their own limits when it comes to do-it-yourself work on an aircraft and don't wish to exceed them. Regarding DIY I've posted a number of items here on MS that seem have been useful to others. With respect to sealing fuel tanks, though, I fit into both categories of that third type. Even if I had the time to devote to such a project, I wouldn't trust my own ability to seal fuel tanks without screwing up the fuel senders or who knows what else, and to do it properly.
-
Squat-method landing gear disc replacement
Bob E replied to FlyingDude's topic in Vintage Mooneys (pre-J models)
This works to lift the nose. A solid steel bar (such as a breaker bar) is pretty stable. Use a longer bar than in the photo if you want to lower the nose onto jack stands.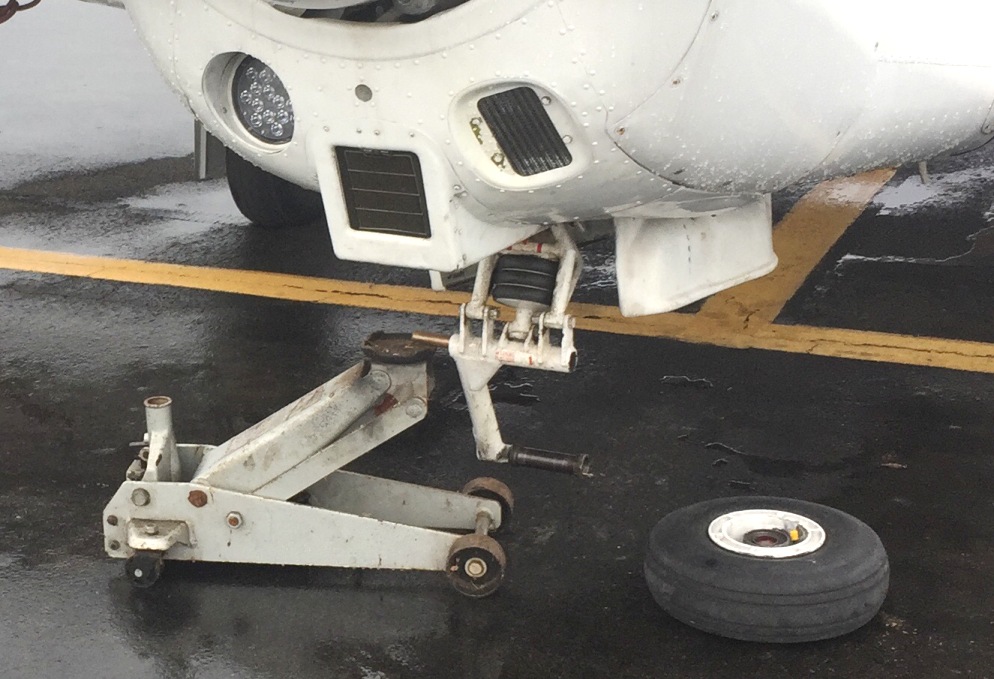
-
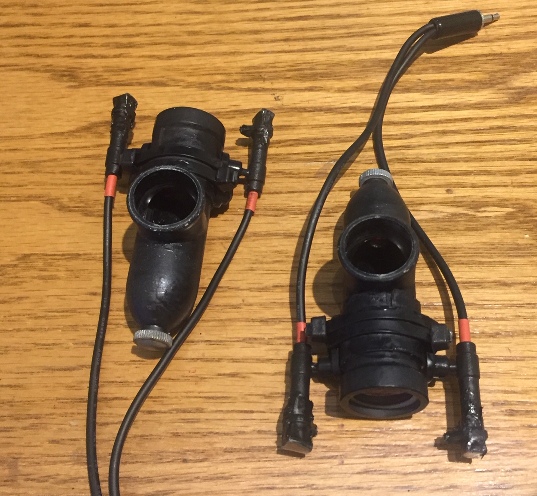
Anyone one have a couple of these?
Bob E replied to Nukemzzz's topic in Vintage Mooneys (pre-J models)
Solid, not bonded leather. A piece of an old belt is perfect for this. Looks good and lasts for years. As for the aluminum cover piece, that's probably the easiest Mooney part to fabricate yourself. Worth a try. -
Thanks for the post, Rprieb. Again, that was a textbook example of how a good pilot handles an emergency! If you have any other links (NASA report?) that would provide more info or "the rest of the story," I'm sure there would be a lot of interest.
-
3434X is finally airborne again! (Video)
Bob E replied to Nukemzzz's topic in Vintage Mooneys (pre-J models)
As long as you had a look at it and there's no crud and the selector moves freely it should be fine. -
3434X is finally airborne again! (Video)
Bob E replied to Nukemzzz's topic in Vintage Mooneys (pre-J models)
Great video! Nothing like success at the end of a long project! The cost will fade into history as you enjoy the aircraft on an ongoing basis in the present. One thing you might want to add to your list as long as you're bringing everything up to speed: Check the gascolator and fuel selector for smooth functionality. (Often overlooked.) -
See the downloads section of Mooneyspace.
-
1966 M20E Instrument panel post lighting
Bob E replied to Arnold D's topic in Vintage Mooneys (pre-J models)
Wow. Caveat emptor. I had Gulf Coast Avionics do my "official" LED upgrade a little over 3 years ago. Excellent service; cost was $1800 but that included some additional work on the radio, which now looks and feels like new. -
1966 M20E Instrument panel post lighting
Bob E replied to Arnold D's topic in Vintage Mooneys (pre-J models)
Nukemzzz, the one thing on your newer panel I noticed were the two built-in USB charging ports. Nice move. -
1966 M20E Instrument panel post lighting
Bob E replied to Arnold D's topic in Vintage Mooneys (pre-J models)
No, I upgraded my 155 to an LED a few years ago before this new upgrade was available. The only obvious difference I can see is that the expensive official upgrade uses LEDs that are indistinuishable from the old gas plasma display -- same orange color, same look -- so if you have two 155's like I do and upgrade only one, they will still match. But the cost of this new upgrade is so low that I could have upgraded both my 155's for less than the price of one official upgrade. Plus I like the newer look of the white LED display. -
1966 M20E Instrument panel post lighting
Bob E replied to Arnold D's topic in Vintage Mooneys (pre-J models)
Hi QRC_M20E, and welcome from me as well. Even if breaking the bank weren't the reason for going slow on upgrades, it's still a good approach. Keeping the aircraft airworthy and legal is Priority One. Preventing expensive problems via proper preventive maintenance is Priority Two. Everything else is icing on the cake. It's an ongoing sort of fun to gradually make your aircraft newer. Going slowly will give you a chance to absorb a lot of information and come up with new ideas you hadn't thought of initially. The KX-155 is still ubiquitous and with proper care it will stay in service for many years to come. You can get a fairly inexpensive LED upgrade for the display and never have to worry about it again. https://www.kx155display.com/product/kx-155-display-oled-replacement/ This is an aftermarket upgrade and is much cheaper than the official Bendix/King upgrade. They also refurbish anything that needs refurbushed. From that nice high-res photo of your panel it looks like you'll need to upgrade your transponder to an ADS-B. -
I tried submitting a comment but got a "server error" message. Tried it on several different browsers. Anyone else having the same issue? Mooney Factory, if you're reading this, consider this my response to your invitation to comment!

-
Yep, it was something like that. I had the specifics written down at the time so I wouldn't screw it up. I don't remember what portion of the flight was at full versus almost full power. It was at 5000'. (I wasn't actually trying to describe the precise break-in procedure here! ) Thanks for the kudos on my handwriting! (ditto caruosam!)