All Activity
- Past hour
-

The Hunt for Alternator Brackets
N201MKTurbo replied to Samir13k's topic in Vintage Mooneys (pre-J models)
Does your engine have the mounting boss for the alternator? If not, there is a bracket that bolts to three of the case parting bolts. - Today
-
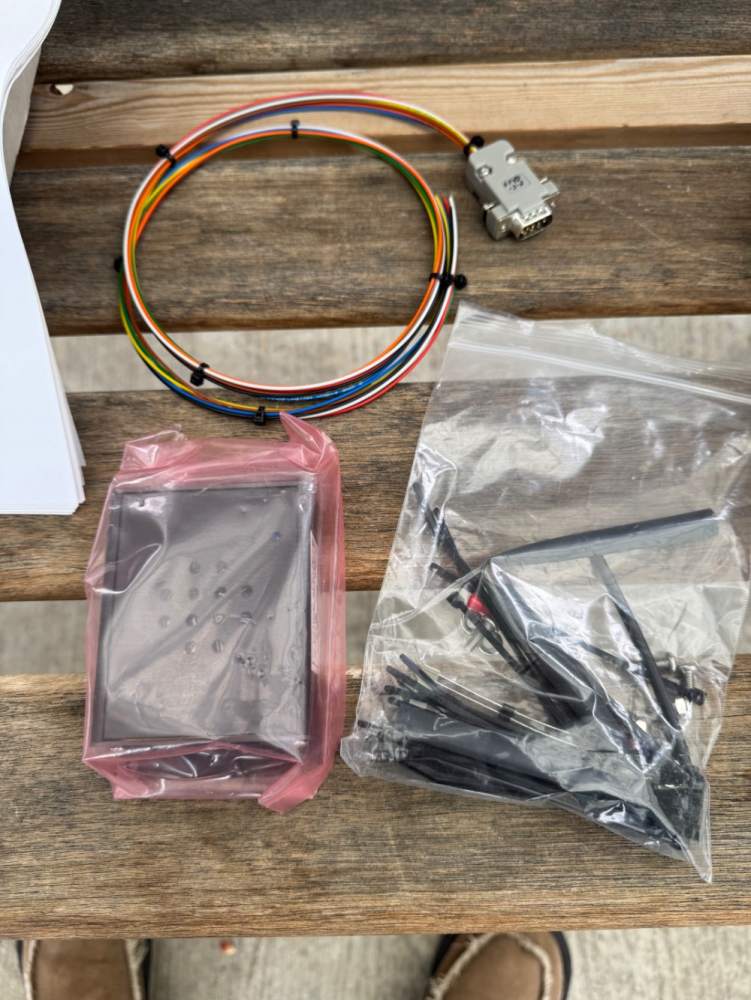
Garmin Yaw Damper - Weight & CG Implications
oisiaa replied to oisiaa's topic in Vintage Mooneys (pre-J models)
My wife is easily motion sick. -

Garmin Yaw Damper - Weight & CG Implications
Jackk replied to oisiaa's topic in Vintage Mooneys (pre-J models)
Yaw damper in a light straight wing piston single seems kinda silly to me -
Good catch!
-
Garmin Yaw Damper - Weight & CG Implications
Scooter replied to oisiaa's topic in Vintage Mooneys (pre-J models)
Have you done a current weight and balance? If the aircraft has been modified or changed it might be cheap knowledge. -
I thought there was something in the GFC 500 STC that said the G5 or GI275 had to be the PFD but i’ve heard of others with that set up too.
- Yesterday
-
Priced as shown plus actual shipping Gustlock $10 Ram suction mount $20 Tam suction ball $5 Lycoming belt 7245 $free KLN operators book $15 Bendix/King Kg 102A DG $100 2X David Clark ISOCOM both for $10 NEW—-Aircraft Components 2040-1-2 Stall and gear voice alert $300 some stuff was in a box in my 201 when I bought it and priced as such also have a wx xm weather box that I don’t know how it works $free
-
Hello , Thanks for the answers and help. I had an A&P look at the plane yesterday and we discovered that bolt was indeed from my plane. It was part of the alternator mounting bracket or a supporting bracket. Nothing serious but important to get right, nevertheless. Thanks, everyone!
-
Garmin Yaw Damper - Weight & CG Implications
oisiaa replied to oisiaa's topic in Vintage Mooneys (pre-J models)
Thanks for the tip! I'll consider that when the time comes. -
kortopates started following Landing flap setting for "normal" landings in a J
-

Garmin Yaw Damper - Weight & CG Implications
LANCECASPER replied to oisiaa's topic in Vintage Mooneys (pre-J models)
This is one of those rare cases on a Mooney where the lightweight Earth X battery might make enough difference to make it worthwhile. -
Where is the “Ice Hole” on the Ovation breather tube??
GeeBee replied to William Munney's topic in Ovation Owners
The problem with the breather tube is as said, it can separate. The problem with going in from the top is you need to bypass the breather tube which connects at the top of the oil filler neck. I took a small skinny funnel, I put the tube. down the funnel until it was flush with the exit of the funnel. I then filled the funnel with "Flex Seal" liquid rubber and let it sit overnight. Now the tube is fixed in the funnel. I remove the dipstick, stick the funnel in which bypasses the breather outlet and nearly connects to the oil tube below with a seal. The funnel nicely seals around the oil filler neck and the dry air gets down into the crank case. I will post a picture of my unit. -
100% on the missing washer. Learning as a new M20J owner and didn't know about SB without asking here :-) If anyone could provide OD and length of bushing 914020-001 I'll work out the rest...Thanks!
-
Prop Spinner for 66’ M-20E
Dick Denenny replied to JohnMooney66's topic in Vintage Mooneys (pre-J models)
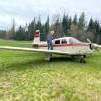
I really don't mind spending a few shipping $s to get it to you to see if it works. For whatever reason there are no parts number on anything. Let me know and I'll work with you. DD- 15 replies
-
- propeller
- spinner hartzell
-
(and 2 more)
Tagged with:
-
Matthew P started following how to start without an electric fuel pump
-
how to start without an electric fuel pump
Matthew P replied to bdavis3223's topic in Vintage Mooneys (pre-J models)
Following the checklist would rectify that -
The SB doc that @47u linked is relevant, and the last page shows a figure indicating the other washer goes between the cowl flap and the cowl. With that additional washer it may help prevent the bolt from backing out since it'll let the bushing rotate more freely. Early Js had some trouble with the cowl flap hinge design and the SB shows the relevant serial numbers. Mine has been reworked a few times and needs it again, and I have to replace some of the bushings every couple of years. Your looks very good in comparison. On mine I make the bushings from brass hollow rod stock. Just saw off a piece the right length.
-
Vibration dampening for PAR46 landing lights?
bcg replied to bcg's topic in Vintage Mooneys (pre-J models)
I'll try a heat shield, it certainly can't hurt and heat is just as likely as vibration. Thanks for the suggestion. -
You are correct. I referenced IPC Figure 2 incorrectly for my serial number. IPC Figure 1 would be correct, but I don't have the setup shown with Cotter pin. From pic you can see it seems to match SB M20-231 setup as shown in Figure M20-231-5. Figure M20-231-5 does give me a better idea. I don't have the extra washer between the baffle and hinge assembly. But I'm not sure there is a bushing inside the hinge assembly at all right now which may be contributing to bolt slowly backing itself out of nut plate. What is the correct OD and length of bushing 914020-001 (so I can source one)?
-
I have NOT looked at the IPC, but are you sure that spacer is in the right location? To my eye the more logical location would be between the cowl flap and bracket with a washer on each side of the bracket (i.e. one under the bolt head and one next to the spacer and bracket). Hopefully, a few J owners will have input/pictures to settle this.
-

Where is the “Ice Hole” on the Ovation breather tube??
Scott Ashton replied to William Munney's topic in Ovation Owners
re: going up the breather tube, when I went to depart on Friday for MooneySummit, with I pulled on the tube to remove it, it separated inside the tube at one of the joints. Not far enough where I couldn’t get it with a pair of needle nose, but enough to end that practice and putting it into the oil fill tube from now on! -
Is the installation of the ALY-8520 accomplished with an STC? I’d think that paperwork would include the part numbers for the brackets? If I remember, @Ragsf15ehad an F model (and he’s since upgraded to the Encore) but if you can track down the STC paperwork that might help your search for the right bracket.
-
Vibration dampening for PAR46 landing lights?
47U replied to bcg's topic in Vintage Mooneys (pre-J models)
I did almost the same, but used a scrap piece of baffle. Not installed yet in the picture, I ran a .032” safety wire between the screws so the baffle wouldn’t fall off. (And I replaced the exhaust ball-joint hardware with castellated nuts and cotter pins.) The landing light lens cover may cure more vibration than you realize. When previous owner installed the 3-blade McCauley, he didn’t like the vibes. Had the prop dynamically balanced, still not happy. Smoothing of the cowling surface with the lens cover is what finally made him happy. -
I don’t think it’s from your Airplane. If it was maybe look near the alternator attachments and brackets. There is a lot of movement up there. -Matt
-

Vibration dampening for PAR46 landing lights?
Andy95W replied to bcg's topic in Vintage Mooneys (pre-J models)
It’s probably heat, vibration, or a combination of the two. On my 1964 M20C, the exhaust runs very close to the back of my LED landing light. I put an insulator on the back of the light and also the power wire to protect from the heat. I leave my landing light on 100% of the time. https://www.amazon.com/Peastorm-Automotive-Aluminum-Material-Insulation/dp/B0BX4LHQFV/ref=sr_1_10?crid=3R301M5FCJOXT&dib=eyJ2IjoiMSJ9.X8-E20apS5KXh8QN_b2ysQPcg-5W6PvzAMLy8BQfSbqvILP4mASqnNseqp2rW4I6j8JqD-oXaF7l1GnwUCJW_8rs5hSXKTElz_sx3pXhjTXnvxSq8NET-NCNiXvSmsbfqhp5Mvq3VtzONdFH5awIGq1UP-Y08o2mWh53k9DWp4YmqpUF6vxB5VlcVWMamJGtJhdA-en1V8bBDbTa2sgWmhu_VJUhTszke-j7AXj2rj4.fFEuNCWLzF4Qz9QR2Im_sMCBTc-MDD44aUslEwS_1UA&dib_tag=se&keywords=car%2Bexhaust%2Binsulation&qid=1757866707&sprefix=car%2Bexhaust%2Binsulation%2Caps%2C126&sr=8-10&th=1 -

Landing flap setting for "normal" landings in a J
Ftrdave replied to Ftrdave's topic in Modern Mooney Discussion
I forgot to mention that my comments about Mooney's lack of information in the POH are relative to the 1977 POH for my J. It appears that later aircraft POH's included additional information and recommendations that align to my findings today (and a lot of your recommendations) and would have been greatly appreciated if included in my POH! -

Vibration dampening for PAR46 landing lights?
GeeBee replied to bcg's topic in Vintage Mooneys (pre-J models)
One thing you can do if you are using incandescent is to orient the filament vertical. That makes it less susceptible to breaking. The factory did this on the R models and up. It requires cutting a new orientation notch in the retaining ring. That said, do not discount the value of prop balance. It makes everything from avionics to fasteners last longer. I usually get 3-5 years out of a balance.


