

hammdo
-
Posts
2,986 -
Joined
-
Last visited
Content Type
Profiles
Forums
Blogs
Gallery
Downloads
Events
Store
Everything posted by hammdo
-
Interior plastic repair recommendations?
hammdo replied to lanejacobs84's topic in Modern Mooney Discussion
I did some work on mine, maybe this will give some ideas..,, -
M20C thermos style fuel cap replacement
hammdo replied to markazzarito's topic in Vintage Mooneys (pre-J models)
@Sabremech did a modern upgrade on the one I bought from him. Very nice. Both caps are like the Ovation version and readily available. -Don -
Break-in run today, oil consumption is very stable after another 2 hours (tach). Cylinder temps great. Couple of more hours, change to Phillips 20w50 X/C! Looking good so far! -Don
-
Just changed the oil after 6 hours of break in (tach time) and oil consumption has slowed for sure. Filter showed magnetic and non magnetic metal flakes — not a lot but obviously break in material. I am doing another 5 hours of break in with Phillips 20w50 mineral oil then I’ll change it and start using Phillips 20w50 X/C with up to 10% of Phillips 20w50 anti-rust additive - per Phillips recommendation. Then the next oil change after that I’ll start oil analysis… So far, still waiting on transponder… -Don
-
Is the crank ground down? have you tried Air Power with the part #s? https://www.airpowerinc.com/ -Don
-
Carl Lundstrom (Pirate Bay co-founder) Mooney Crash
hammdo replied to natdm's topic in Mooney Safety & Accident Discussion
Interesting they call it a ‘Piper Mooney’… hate to hear he perished… -Don -
lol… I hear ya! Don
-
nice! I might want to add the gray to the 1 like the 2 or 0 has… optics ;o) -Don
-
Out the door, ~$23k for labor, RnR, IRAN and new items. The case/crank etc was certified 800 hours ago. Discussed with a few A&Ps, IRAN was my best option - took 3 weeks vs 6 months of down time. Also, no metal in previous filter checks, this one showed up and oil analysis showed it went up a lot. Decided I didn’t want to fly with more metal being made… Still breaking it in… -Don
-
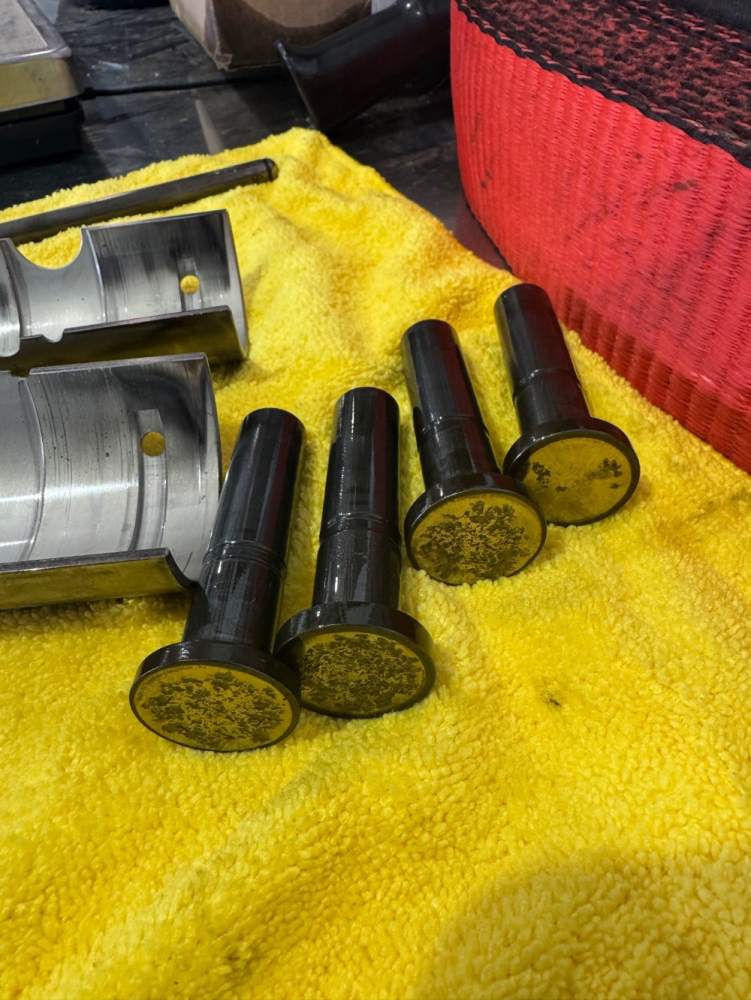
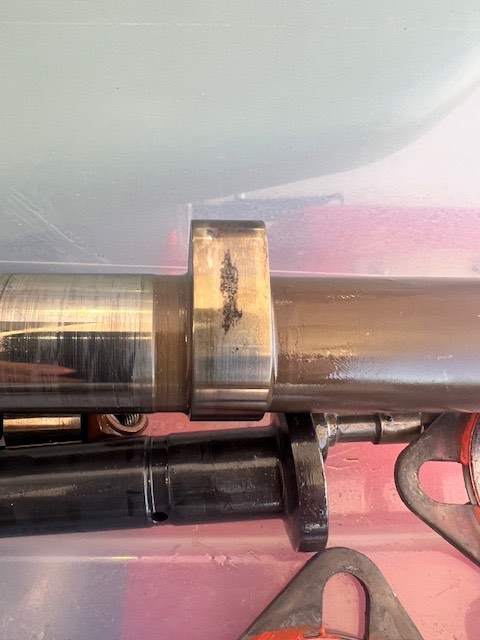
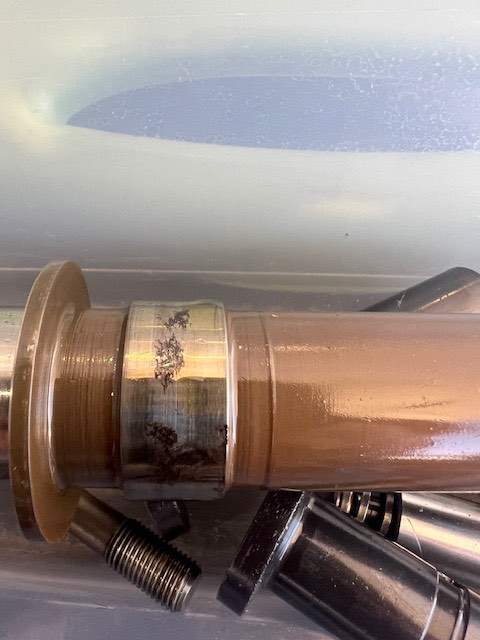
I just went through this: what I found in the filter: what it came from: did an IRAN with new cam, DLC lifters, cylinders, bearings etc… -Don
.JPG.b3ed1b2a239ea7b64409bf45e975ec06.JPG)
-
Got a loaner from the shop - seems this is not unusual for the GTX 327. Mine lasted 4 years since the last Garmin repair. This one totally died…Auto Pilot is gonna have to wait a bit… Got to fly a couple of hours so more engine break in. In 6 hours total so far, added 1 quart so it’s stabilizing… -Don
-
Transponder went out again. Not the best of luck for sure but when it rains sometimes it pours… hoping to get a working 327 while mine is repaired again by garmin… this repair lasted just over 4 years… -Don
-
Yep, GDL 82 is bricked, nothing is recognizable. Gonna bypass the unit so at least the transponder can be tested. Really curious why it bricked… shop is checking with Garmin, shop hasn't seen this before… -Don
-
Antenna was hooked up. Ran the GDL 8X program on my PC, all settings lost in the GDL 82. Checked with the shop before doing anything. We’re going to see if a factory reset will get it ready to reconfigure but, that appears to be why I lost ADS-B and transponder transmissions. -Don
-
Nice! I need 2 of them! Called JD and left a message… -Don
-
Yep, gonna pull the one piece and check it… Appreciate the idea to check… -Don
-
McFarlane:
-
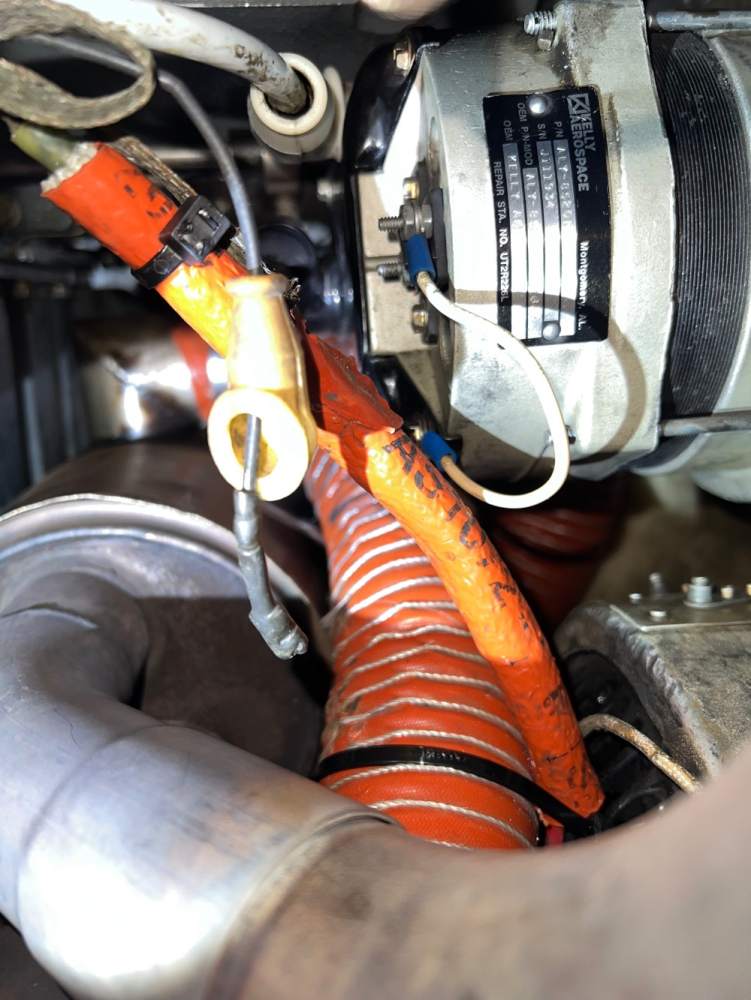
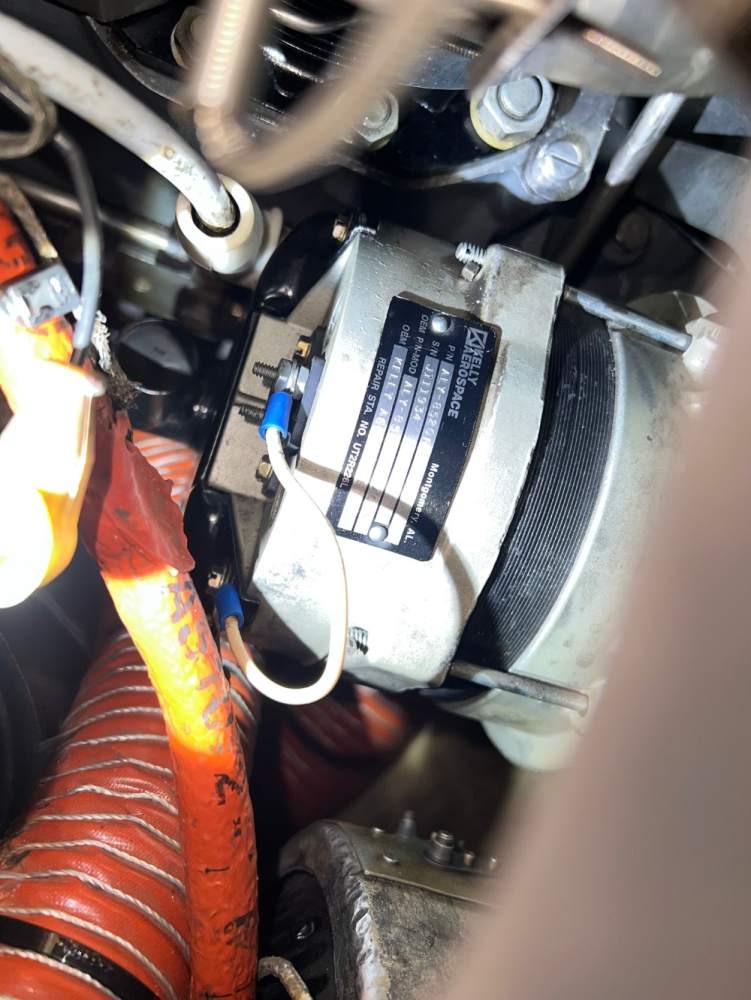
Alternator fixed! Did another break in flight today - getting closer. It appears the transponder is not squawking (ATC said noting is showing up). I’m guessing the antenna cable popped off or the connector is having issues. Talked to the shop and I’ll be bringing it in for diagnostics. -Don
-
Pics…
-
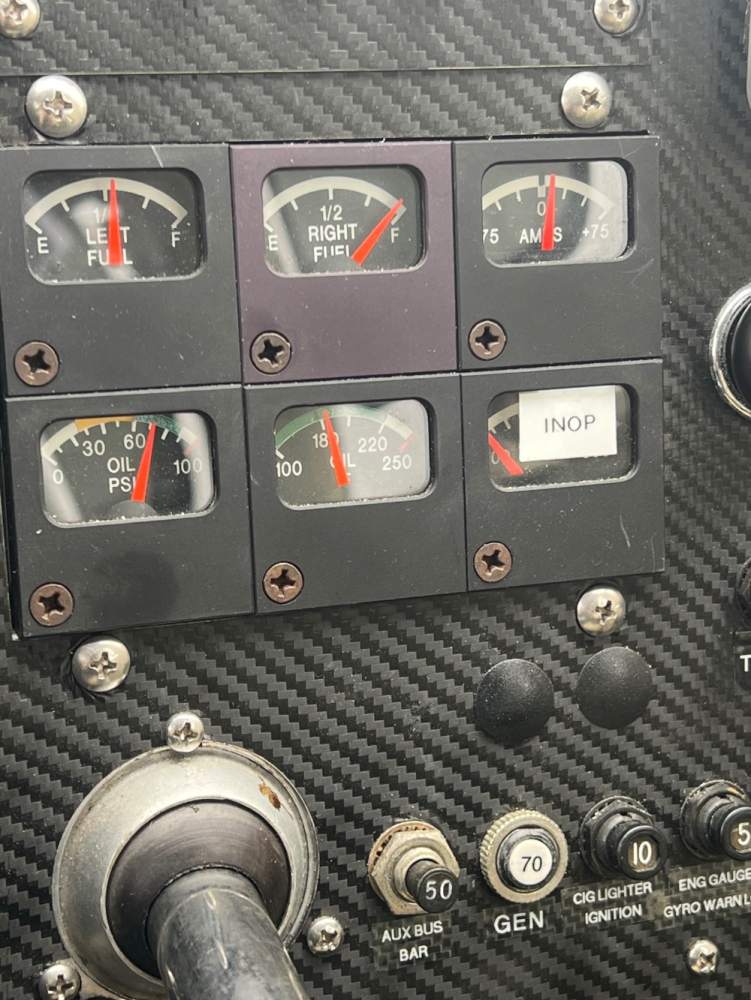
Another break in flight today - almost 2 hours - lost the alternator due to broken connector so cut it short. Found the broken connector and will fix it tomorrow. Gotta figure this will happen since all the removal/installing of the older connectors. Takeoff, cylinders 1 and 4 were hottest but once I got moving they tamed down well. Had to add a quart of mineral oil and will be monitoring that. Planning on flight tomorrow after fixing the broken connector. -Don
-
It was fast, having most of the new parts already helped too. Most accessories were either overhauled/IRAN already, did the new mechanical fuel pump (bleed-off is real slow now) while the engine was off. With all the new stuff, she should be in great shape. I’m still scheduled for AutoPilot in April - that will pretty much finish off the avionics. I have 3 other things I want to do, the controls in the aft section of the tail, prop balance, and fuel tanks - once the AutoPilot is done. I’ll put some hours on the engine for a while before launching out or doing anything else… -Don
-
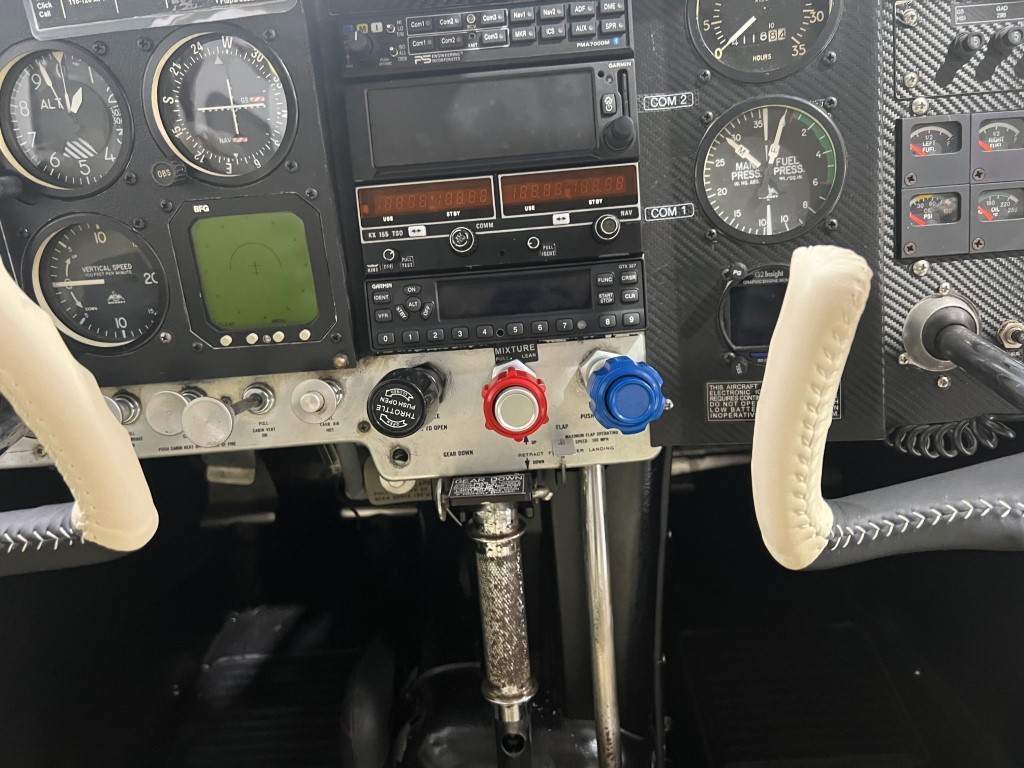
Shes back and broke in! Ran strong, had to fix EGT on #4, gear warning needs adjustment but that was it. Flew her back to Mesquite after 3 hours of breakin run. 2 more hours and I’ll change the oil. 2600 RPM, touch of carb heat, cowl flaps closed…


-
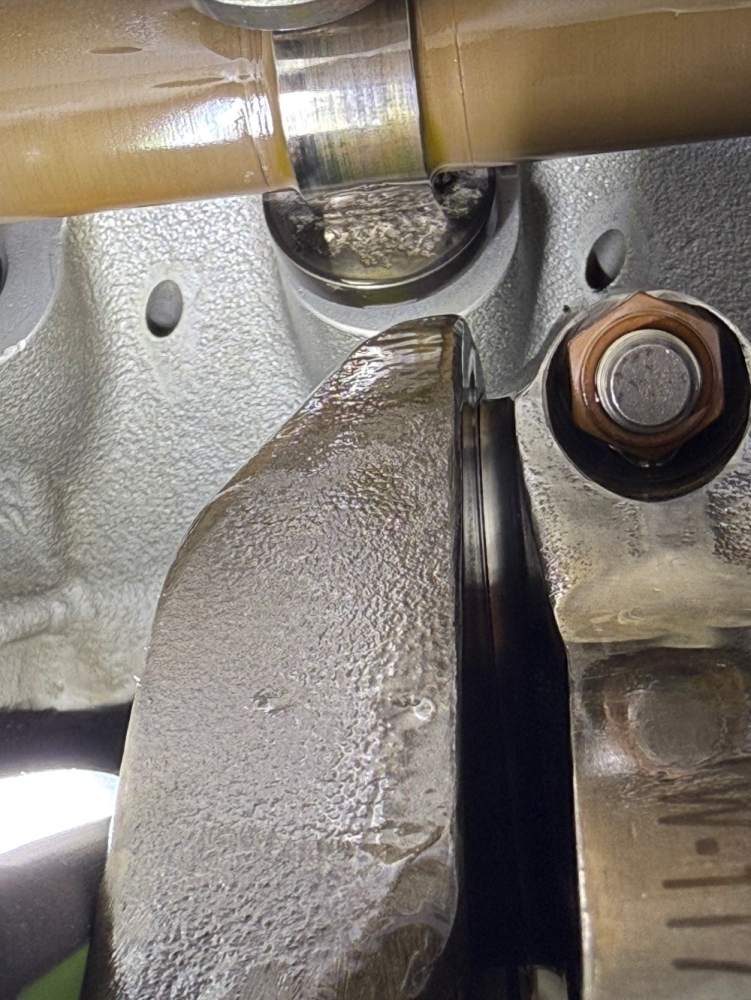
Where the huck bolts are looks like corrosion… -Don
-
Seriously? Another unleaded avgas thread . . . ?
hammdo replied to 76Srat's topic in Miscellaneous Aviation Talk
Like my Camaro on e85 - I need 30% more fuel to run - on cold days I have it set for even more to kick it off. I would find it hard to use without some form of computer/ecm. Cooler running and more power - its even hooked on ‘meth’anol ;o) -Don -
The dye works great… clean then fly in pattern once… https://www.amazon.com/gp/product/B002M4G24U/ref=ppx_yo_dt_b_search_asin_title?ie=UTF8 -Don
