

1980Mooney
-
Posts
3,588 -
Joined
-
Last visited
-
Days Won
7
Content Type
Profiles
Forums
Blogs
Gallery
Downloads
Events
Store
Everything posted by 1980Mooney
-
Is your hanger owned by a city/county or is it owned by an FBO that’s been consolidated by private equity? Regardless, it sounds similar to what Hartzell has done with product pricing. And now Mooney – across the board 30% price increase…
-
Let's buy Mooney - Crowdsourced Version - Straw dog.
1980Mooney replied to Yetti's topic in General Mooney Talk
Good point -
Cracked spinner and deformed bulkhead
1980Mooney replied to SilentT's topic in Modern Mooney Discussion
Wow - you are really having more than your share of issues shaking down your "new to you" plane. Is that a crack from the hole on the spinner going up to the edge? And is that another crack near your thumb also going up to the edge? And what is that line that goes at a diagonal from your hand holding it past your hand holding the iphone? - Is that a crack also?? -
Let's buy Mooney - Crowdsourced Version - Straw dog.
1980Mooney replied to Yetti's topic in General Mooney Talk
This is like alchemy. "Massively improving the process of building similar parts"??? Mooney is a job shop that builds a few things at a time at most. From comments here and myself included, there are few owners here that buy more than $100/year of Mooney factory built parts (exclude all third party Mooney parts - wing sight gauges, flexible intake cowling for Vintage models, landing gear actuators, etc), With a fleet of 7,000, that will generate $700,000 per year at most. Then if you say that there are 100 gear-ups/landing FUBAR's per year that generate $7,000/incident in Mooney part sales that is another $700,000 per year. And if we are generous and say maybe another $600,000 per year in parts for hangar rash, hail, corrosion, etc then that brings total Revenue per year to a whopping $2 million. After material cost and overhead (rent, utilities, security, insurance, legal, accounting, etc), I bet that they can barely afford 10 employees and a manager. There is no time or money to change anything. -
gear-up destroyed belly skins...
1980Mooney replied to jimbob's topic in Vintage Mooneys (pre-J models)
Air Mods Inc. in Colorado. Not Air-Mods in New Jersey. -
gear-up destroyed belly skins...
1980Mooney replied to jimbob's topic in Vintage Mooneys (pre-J models)
@jimbob Right - this was discussed before. The old ones are the perfect template. -
Let's buy Mooney - Crowdsourced Version - Straw dog.
1980Mooney replied to Yetti's topic in General Mooney Talk
If Kerrville is "just a warehouse for the engines" then Lycoming and Continental could pull them "out of the warehouse" and sell them to others as they get orders..... -
Let's buy Mooney - Crowdsourced Version - Straw dog.
1980Mooney replied to Yetti's topic in General Mooney Talk
They are effectively doing that. If you do into the Kerrville County Central Appraisal District page that you copied above you will see that Mooney has not paid their property taxes for 2025 which were due in January, 2025. And half of the items above, totaling $3.37 million are "leasehold improvements" (on Mooney's Balance Sheet as an "asset") which Mooney loses if they move out of the facility to save money. Ironically, they have to pay property taxes every year on those improvements. -
Let's buy Mooney - Crowdsourced Version - Straw dog.
1980Mooney replied to Yetti's topic in General Mooney Talk
When you say "Buy The Factory" and "Extinguish All Existing Shares" it sounds like your "straw dog" is proposing to buy only the Assets of Mooney. There is liability both on and off the Balance Sheet. Mooney has the liability related to the planes that they made since 2007 per GARA. There may be other on-balance sheet liabilities. In order to "extinguish" those liabilities and the stock, they will need to go through Bankruptcy. Mooney does not own the factory building. They lease the premises from the Kerrville City/County Airport Authority. They own the tools, jigs and inventory in the "factory". Mooney has made improvements to the "factory" premises over time but they do not own those improvements - those are "leashold improvements" that stay with the City/County should Mooney move out. -
Determining value of plane to sell.
1980Mooney replied to Dick Denenny's topic in General Mooney Talk
From the picture on Flightaware, it looks like it has a 201 windshield speed mod. That is a plus you should mention. There is a 1966 M20C on Controller with basically the same panel, the 201 windshield, recently recovered interior 8/10, exterior 7/10, the same Rayjay turbo and has 1,642 hours on the engine. 1,602 hrs since Prop OH. New shock discs. They are asking $75,900. Using @Vance Harral $30/hr metric, your fresh engine might command $48,000 premium. Would someone pay $124,000? As a point of comparison there is a 1979 M20K on Controller with 1,222 hrs on the engine with 105 hrs since top overhaul. 134 hr since Prop OH. It has Avidyne 540 and an Aspen but the autopilot is INOP. The exterior is clamed a little worse at 6 and interior at 5. They are asking $115,000. I am with @201Steve - someone looking for a simple plane without an autopilot, with just a 6-pack plus 430 probably is likely just looking for a VFR daytime fun plane. Likely they will not plane to fly a lot. I believe they would desire a lower priced midtime engine that they can fly and will last for quite a while - likely longer than they will ever need or want it. Therefore that buyer may not place much value on the low time engine. I bet that type of buyer is looking for something below $100,000....well below. -
As you said, the dimensions are the same, so that means they use the same mold for the elastomer – the only difference is the composition of the elastomer. Chlorobutyl rubber is just a more durable version of butyl rubber. In comparison to butyl rubber, chlorobutyl rubber offers the following advantages: Better resistance to ozone, heat, flex fatigue, improved compression set, lower permeability to moisture, gases, and air. But this is not a high-performance application – it’s just a cowl fastener. You mentioned Durometer specs - You’re never gonna know the difference. How long did the original chlorobutyl last before it got hard or deteriorated?30 years – 40 years? Maybe plain butyl rubber gets hard faster and only lasts 25 years….. I am not A&P but I think you’re just gonna be just fine. You just need to get the right fastener hardware to match the center.
-
I believe that they are. Here is a topic from the past. Clarence, formerly M20Doc before the bastards here ran him off, provides helpful clarification. Also below is Mooney Service Instruction 67 from 1983. Mooney originally used J7444-30 mounts and fasteners but changed to the -34. It has some useful instructions on how to replace. SIM20-67.pdf
-
Your 84 M20J is a 14 volt system. And you say it has been in the shop idle for 1.5 years. Did this happen while cranking or immediately after engine started or after bring RPM up? Was the ammeter pegged to full draw the whole time? Was this before he turned the avionics master switch on or after? I always look for the obvious problem first. Was the battery fully charged? You need to observe the voltage and current draw at same time. Low voltage draws more amps. Your battery is in back and most current draw is in front. The power has to flow through relays in back which may not have been exercised in a long time. If voltage is low and amps high then the relays and any connections that have been disturbed during the long repair might be causing voltage drop.
-
No. A plane can only be certified as Light Sport in new Type Certification. Existing planes cannot be recertified.
-
Determining value of plane to sell.
1980Mooney replied to Dick Denenny's topic in General Mooney Talk
If GMax has one similar to yours and is asking $100K, then that is probably the high side valuation. There was a M20E (Serial No. 690) with speed mods and new looking paint recently at IndyAir listed for $49K. (see below). It just sold. That is probably the low side valuation. Also did you see this topic from August Mooney M20E - N5668Q - Aircraft For Sale - Indy Air Sales -
Lasar Aviation Mooney Assurance Program - Really?
1980Mooney replied to PeteMc's topic in General Mooney Talk
It is easy to confuse realism with cynicism. Some of us have owned our Mooney since last century and have seen multiple bankruptcies, company owners come and go and the factory shut down multiple times, the longest being five (5) years with without the prospect of ever restarting. Yet we kept our Mooney's flying. There seems to be a lot of "panic, the end is near... so you need to send money now" for a proposal that is slick schlock. Be honest - the pitch is "sign up and send money now - we will work out the details later". The Letter reads like a pyramid (ponzi) scheme presentation from the '70's. (Does anyone remember the "Dare to Be Great" ponzi scheme?!!). I am too old to mince words with niceties. If LASAR wanted to be serious they would provide more detail on how they propose to use the money to support the fleet, and what portion will actually be supported. They would do some homework and share some facts - more than "We have a plan", "Reduce the risk", "access to KPI's", "piloting Ask Mooney". Surely, they can do more analysis and work than me. I searched the US, Canada and Australian Registries. There are 6,823 Mooney's registered in those 3 countries. Obviously there are a few more in Europe and with less in South America and Africa but this probably represents about 95% of the world fleet. The data is current as of just before the shutdown. 159 are not M20 - they are the Mooney version of Ercoupe, A10's, M18's and M22's 96 are wood wing M20 and M20A 2,431 are Short Body 116 M20B 1.351 M20C 88 M20D 876 M20E 3,212 are Mid Body 770 M20F 126 M20G 1,492 M20J 824 M20K Only 925 are Long Body 17 M20L 263 M20M 427 M20R 60 M20S 128 M20TN 12 M20U 18 M20V This is about "unobtanium" parts unique to everyone's' particular Mooney that they are panicked about being AOG. So what do you think the money will go towards? It can't be for everyone/every model. The F's share much with the early J's. Combined that is 33% of the worldwide fleet right there. C's alone comprise another 20% of the worldwide fleet. Short and Mid body Mooney's comprise 83% of the worldwide fleet. If you look at the parts manuals, you will see that the M and early R's have a lot of commonalities excluding firewall forward. Later R's have more commonalities with the S and TN. U's and V's are unicorns. In total that is about 13% of the fleet but split somewhat. So shouldn't LASAR focus first on Mid bodies and then Short bodies? Why spend time and money on Long bodies that are only 13% of the fleet? ..... Oh right - Long body owners will pay more. Perhaps the reality is that LASAR will focus on only Long bodies as one of the early posts feared. Mid and Short body owners need to know LASAR's intentions BEFORE sending Assurance Plan funds. This is just common sense. LASAR can do better. -
Lasar Aviation Mooney Assurance Program - Really?
1980Mooney replied to PeteMc's topic in General Mooney Talk
Here is a better answer. LASAR doesn't give a crap about MooneySpace. or its members. The last time they even visited or looked at a MS page was 3 1/2 years ago. The last time (actually first and last) that they posted anything or answered any question on MS was eight (8) years ago in 2017 during the month that they joined. At the time they just used it for a few marketing posts to say they were moving. I would be willing to bet the only reason that they show up visiting MS after 2017 is because someone with fat fingers accidentally clicked on the MooneySpace site.......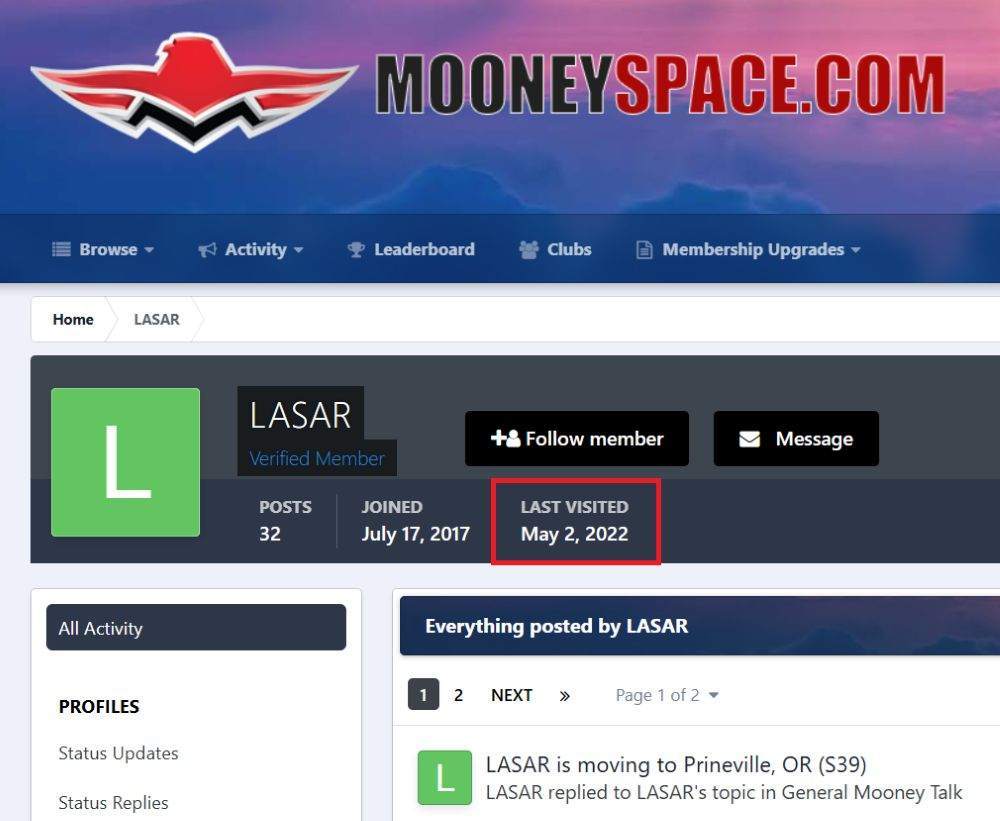
-
Lasar Aviation Mooney Assurance Program - Really?
1980Mooney replied to PeteMc's topic in General Mooney Talk
Interesting comment. So you think US Financial, LLC (Wyoming), the "so called" 80% Owner is just a cover for foreign owners? For years, foreign entities and cybercriminals have used Wyoming LLC's to hide their identity. -
Lasar Aviation Mooney Assurance Program - Really?
1980Mooney replied to PeteMc's topic in General Mooney Talk
I don't doubt you but I wondered above if there is any statement or link regarding this. Was this announced at the same time as the "Assurance Program" was rolled out at MooneyMax? LASAR keeps stressing "Transparency"...... -
Lasar Aviation Mooney Assurance Program - Really?
1980Mooney replied to PeteMc's topic in General Mooney Talk
I agree with you completely on these points. I don't think US Financial LLC ever had any intention of funding. They were looking for a quick flip - pump and dump Spot on. Buying the company means "bailing out the owners" - coming to terms on a price for equity (cash that goes into the owners pocket) and assuming the LIABILITIES. The liabilities are the debt, outstanding obligations that are unfulfilled on balance sheet and off and the liability on everything and planes made in the last 18 years. Bankruptcy (Chapter 7) is the best course to separate the assets from the liabilities. And the best chance to create a self standing parts only business that is viable as @Tom Fand others hope. That is exactly what Belanca, Commander, Aerostar, FletchAir (Tiger/Gumman) and others have done. -
Lasar Aviation Mooney Assurance Program - Really?
1980Mooney replied to PeteMc's topic in General Mooney Talk
No different than the issues faced by owners of Grumman, Commander, Bellanca, Aerostar, etc. I am sure they get grounded from time to time. The former companies/legal entities that produced aircraft were dissolved and assets were sold to form "parts only" companies without the baggage of the former companies. Home - Bellanca Aircraft, Inc. Aerostar Aircraft I General Aviation – Affordable Aircraft Superiority HOME | commanderaircraft FletchAir - Parts for American, American General, Grumman-American, Gulfstream-American -
Lasar Aviation Mooney Assurance Program - Really?
1980Mooney replied to PeteMc's topic in General Mooney Talk
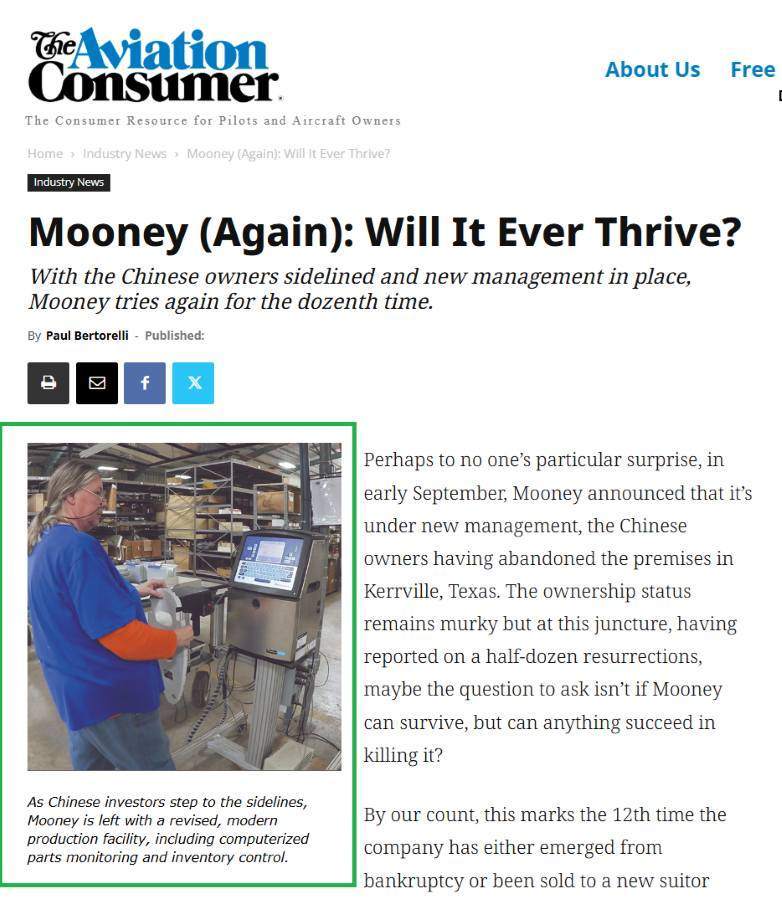
I know you are a recent Mooney owner. I know history is not popular with most but there are so many just plain wrong assumptions. Some of us have owned our Mooney long enough to see Mooney go through two (2) bankruptcies and a five (5) year period where the factory was completely shut down - no parts, zero, zilch, nada. You think they are going to “modernize the Kerrville facility with equipment that will hopefully contain parts costs”? AGAIN? AGAIN? The volumes are tiny. Read the Parts Rumor “ topic
-
Lasar Aviation Mooney Assurance Program - Really?
1980Mooney replied to PeteMc's topic in General Mooney Talk
BTW - Did you notice that $250/month does not get you any priority for parts. You put your order in at the back of the line just like everyone else. If you look at the plans/tiers, only the Gold $500/month gives you “Prioriy Parts Allocation” -
Lasar Aviation Mooney Assurance Program - Really?
1980Mooney replied to PeteMc's topic in General Mooney Talk
You are right - context is missing. Where in all its transparency has LASAR announced that it is trying to acquire Mooney International in its entirety? Maybe I have been asleep. Please point me to the discussion/statement. And please elaborate on how LASAR is covering the payroll of Mooney International which is a separate legal entity - cash infusion by prepayment of future parts orders? A loan? -
Lasar Aviation Mooney Assurance Program - Really?
1980Mooney replied to PeteMc's topic in General Mooney Talk
Ahh come on…..you will miss out on those “backstage moments at Oshkosh and Sun’N-Fun”. And “Mooney swag”. After all, that is what keeps your plane in the air!….Right?!


