geoffb
-
Posts
409 -
Joined
-
Last visited
Content Type
Profiles
Forums
Blogs
Gallery
Downloads
Media Demo
Events
Everything posted by geoffb
-
Thanks John, I appreciate it. You've got a lot less stuff crammed in yours, I'm sorta jealous.
-
Thank you, I guess it's pretty obvious now that you see it.
-
The old, black (CAT?) tubing to my defrost ducts self-destructed. Got new SCAT. Right side no problem. Now I can’t remember how the pilot side was routed. Everywhere I try I’m getting in the way of the control column mechanism. If anyone find themselves under the panel, a photo of the defrost duct routing would be greatly appreciated.
-
How does one inspect a rotocoil?
-
I hope to get where you are. There is interwebs chatter about particularly bad cylinders late ‘90s to early 2000s. Mine are late ‘97 vintage. I’m hoping that the new ones are better. I’ll probably pop the valves out of the new ones and blue the seats before I hand them to the shop.
-
TCM’s mandatory replacement parts list for the TSIO is pretty long....
-
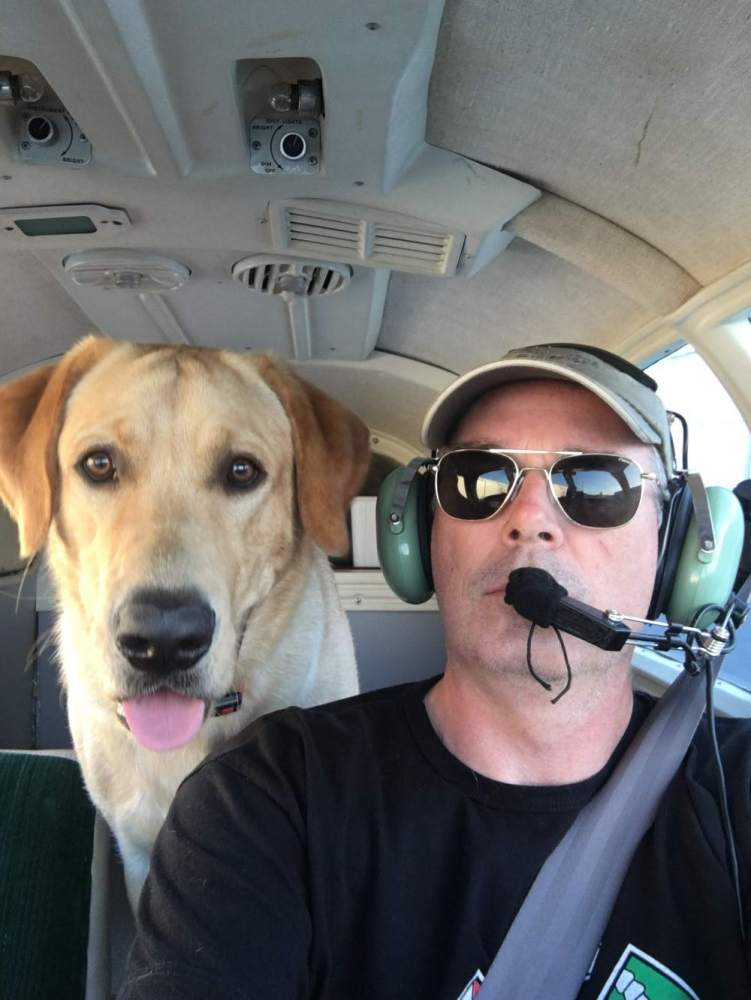
I see all these cute little dogs. My navigator is 105 lbs of we'll say, enthusiastic, labrador. First flight at 10 weeks when he was noticeably smaller. I never had the rear seat back in the E and always have the seats folded down in the K, so he has plenty of space. He does provide a random, continuously varying trim system when he decides to change positions. He'll look out the window for a while, curl up in the back and lay down, repeat. I can't get mutt muffs to stay on his head, fur is too smooth. If the noise, even of the E, bothers him we can't tell. It can't be too uncomfortable and certainly not torture to him, as I find it difficult to prevent him from trying to board, and have the scratched in the wing paint to prove it. I dare you to try to keep that dog out of the plane. I now keep a moving blanket handy to support his ingress and egress. As he finally starts to grow up, if I'm proactive and make him sit and stay, I can get the blanket on the wing before he launches himself into "GO" mode. If the dog likes to ride, my guess is riding in plane is just another ride.

-
Eric, What did they do with the guides? Just verify the bore diameters? With all the talk of poor adherence to specs at TCM, I can see taking the effort to verify valve to seat concentricity before even putting them on. I talked to J&J Airparts about a valve job on the two I've got off. We've only got two guides to choose from, Superior and TCM. Didn't get the impression from J&J that there was any real difference. They prefer factory but have many customers who insist on Superior. I don't know, but if forced to guess I'd assume both are a very traditional Al-Si bronze guide. Maybe it is all just a matter of poor manufacturing quality control leading to the geometry of the rocker to valve guide to seat being all over the place. I hope that the two new ones fare better than the originals. At the rate she's going, all 6 will have been replaced here pretty quick. Not going to pull the other three just to inspect. I'm curious, but also have places to be and want the air car back.
-
Mine are pretty clean and paint still looks nice. Since they don't have many hours on them....
-
I've got the dual pucks on mine. I think Goodyear owns the stc ;-) When you're new to them, they're hard on tires.
-
Eric, switch looks identical to the one on my alt air door which is the 252 style one.
-
So, dropped 2VF off for annual. I've had the plane since Christmas and put ~80 hours on it by the time I dropped it off for annual end of June. Seems to perform OK. Oil tight. Compressions were good, 70+, when I did my prebuy. In the shop now, #3 is about zero, broken exhaust stud on #6. I probably missed the stud during my cursory prebuy, no biggie, exh flange is fine. Oh, yeah, TSIO360-MB1B, ~308 since factory reman installed as part of the 262 conversion in 1998. Yes, I know, low utilization. Last 10 years it pretty much sat. So, I decide to just get a new cylinder for #3, send old out for freshening up and keep on the shelf. Airpower ships new from stock, all good and now I just need to get the stud out of 6. This I am learning is a real treat, even with access to a machine shop, tools and a little knowhow. While waiting on other parts, like a new intake tube, intake tube modification coupling kits and on and on, I decide to investigate cyl #3. I find the TCM overhaul manual, the generic maintenance manual and am fully armed with documentation, spring compressors, micrometers, hole gauges, home made check sheets and ziploc bags. Following TCM guidance, I whack the top of the exh valve stem a couple times with a soft rubber mallet, sorry TCM I only had vegan mallets, no rawhide. Then flip the cylinder over and fill it up with flammable solvent (not sure what the non-flammable solvent TCM recommends is) and enjoy watching it run out around the exh valve seat. No noticeable leakage at head to cylinder joint or around the intake. OK, all as expected. With the help of my beautiful assistant, I remove the spring assy and drop the valve out. Again, as expected from the heat signature, the valve and seat got into some sort of a tiff and decided to stop mating. Grabbed a little lapping compound and my tool, popped the valve back in the guide and said, "hey should the valve be that loose in the guide?" Couple quick twists of the lapping tool and pop the valve back out and it's apparent we won't be restoring that seal so easily. Now, about that valve to guide fit...... Bust out the measuring tools. Since I had trouble trying to stuff the 2-6 inch bore gauge in the valve guide, I had to resort to hole gauges and some trusty Starrett mics. Not being quite as sharp as the kids that work for me, I'd say I'm no better than +/- 0.001, maybe 0.0015 with a T-gauge. But the results are close enough for an air cooled tractor engine. My trusty TCM Form X30596A (overhaul manual in 'Murican) tells me the spec for valve to guide clearance is 0.003-0.008 diametric if I read this silly chart correctly. New valve guide ID should be 0.376-0.377. So armed with specs and tools, I can see what we're dealing with. Stem measures something reasonable, don't have the numbers handy, but would make tight end of the spec clearance with a spec guide. Something like 0.375 OD, but with a tiny bit of taper as you move down the stem. Maybe a thou, not much, but there. Hmmmm. Now the guide. top of the guide, about 1/4 in from the top, 0 and 90 degrees to the rocker axis, let's call it 0.378. Not exactly new spec, but close and as far as we can tell, round. All good. What's funny though, is it's about the same in the middle of the guide, but push the tool a little deeper and it will just about drop through, uh-oh. So, what about the bottom of the guide you ask? It's not super easy to measure that with a snappy T-gauge. Ideally you'd come in from the bottom. But you'd need cute little squirrel hands, squirrels crack my wife up, to get in the there with the tool and actually operate it. This left me with going in from the top, trying to get enough tilt on the arm so I could get some expansion of the gauge, try to get some feel, lock it and drop it out the bottom. Did this several times to see if I could get repeatable measurements, or at least repeatable enough to come to some conclusions. And, looks like that valve guide bore tapers about 12 thou from top to bottom! I assume that will keep you valve from seating well, allow it to heat locally and just get crappy. So now I thought, maybe it would be prudent to check on #6 before I get too froggy with the drills, stud non-extractors and other medieval implements. Same exercise minus the solvent fish tank test and the beautiful assistant who had better things to do. Valve guide exhibits pretty significant taper of the bore. Not as bad as #3, but at the bottom, guide to stem total clearance is probably 9-10 thou. Compressions were good. Valve heat signature looks ok. But, with the guide looking like it's on the way out, and the broken stud, I've ordered another new cylinder assembly and this one can go out for valve job too and wait to be called into action when the next compression test fails. Now the questions: The E had a Lycoming of course with the fancy nitrided barrels and compressions never seemed to change, so we never had the occasion to look into them. Sounds like if you're a Lycoming driver, you don't know what a cylinder is. You're just acquainted with camshafts. Oh, none of that was a question. Are Continental cylinders really as bad as advertised? This engine is pretty low time and it will now have had 3 replaced, the first at <150 hours. It's always run cool in the time I've had it, never seen a 400 degree CHT and only cracked 380 a couple of times for < 1 minute. The cylinders bores are in spec. Interesting that they seem to wear the most right below the head to barrel junction. Is rapid valve guide wear like this common? Are Superior guides any better? If I have a good shop replace the guides, cut the seats concentric to the guides with good tools and verify valve seating, can I expect them to last longer? Other than a really diligent valve job, anything else to be done to make them last?
-
Finally got some additional data. Took a ride using local mechanic’s proptach. Reading about 2550 for 2700 actual and 2200 for about 2300 actual. So, consistent with the balance guy’s rig. Installed tach is a B&D, Mooney pn 880039-503, which isn’t listed on the IPC. I guess I need to bust out the STC for the 261 conversion. any chance anyone knows off hand if this unit runs off a hall sensor in a mag, is connected to p-leads or runs off a tach gen? Curious how it can be this far off. And is this just a yank and replace with am EI tach sort of problem?
-
Is it a real BBQ if it doesn’t burn down once a decade?
-
I’ve got the double puck brakes on mine. Doesn’t stop any faster. But sure makes it easy to flat spot tires
-
If set on a retract, A36 is thought to beat as a family hauler.
-
Ok. Thought about it. Done.
-
Unless there’s some reason to not buy a Skylane, buy a Skylane. Fast enough, super capable, simple systems, easy to maintain, land damn near anywhere, take whatever you want. Probably inexpensive to insure. Alway has had strong resale, because it does it all. If 80% of my flying didn’t significantly benefit from extra speed and I didn’t fly enough miles in the year to notice the fuel savings, I’d trade the Mooney in a second for a 182. I’ve been all over the west coast in my E, and a good 182 is close to 90% the TAS in cruise. Burns a bit more doing it of course on 230 hp. So my average trip of 450 nm would take something like 20 min longer in the 182. And in the Cessna you could take the wife, kids all their stuff and fuel and be comfortable.
-
Lance-thanks for the tip. Guess I’ll bust out the Dremel.
-
Bought a pair of PAR-36 LED lamps from CSOBeech. But, they don’t fit in the cutouts in the cowl. Will send a note to Mike letting him know so he can note it on his site if he chooses. Don’t think I want to open up the mount in the cowl to make it work. Anybody know of a commercially available lamp that fits in the cowl? Not interested in paying the Whelen tax or a discussion on whether or not it needs to be “approved.”
-
So at Fields you just land on the road?
-
If there was plenty of latitude for the go-around, having the speed brakes out seems like it would help. Confined departure? I don't think I'd want one more drag item to stow quickly. Full flap slips were pretty effective in the short body. Haven't gotten to working on it in K yet. I'm sure I could get it in much shorter than I'd ever get it out.
-
You can learn to manage the IO-360 or you can learn to flare. I don't think you can do both at the same time. An E, a 201, probably only increase your time to your check ride by 40-50%. But you won't buy a motor. I'd skip the turbo piston for my initial.
-
if only that was enough to prevent gear retraction on rollout.....
-
I was at TTD Thursday to have prop balance check at Dash Air on the other side of the field. Greg's ramp looked busy.