

Andy95W
-
Posts
5,872 -
Joined
-
Last visited
-
Days Won
25
Content Type
Profiles
Forums
Blogs
Gallery
Downloads
Events
Store
Everything posted by Andy95W
-

Vibration dampening for PAR46 landing lights?
Andy95W replied to bcg's topic in Vintage Mooneys (pre-J models)
It’s probably heat, vibration, or a combination of the two. On my 1964 M20C, the exhaust runs very close to the back of my LED landing light. I put an insulator on the back of the light and also the power wire to protect from the heat. I leave my landing light on 100% of the time. https://www.amazon.com/Peastorm-Automotive-Aluminum-Material-Insulation/dp/B0BX4LHQFV/ref=sr_1_10?crid=3R301M5FCJOXT&dib=eyJ2IjoiMSJ9.X8-E20apS5KXh8QN_b2ysQPcg-5W6PvzAMLy8BQfSbqvILP4mASqnNseqp2rW4I6j8JqD-oXaF7l1GnwUCJW_8rs5hSXKTElz_sx3pXhjTXnvxSq8NET-NCNiXvSmsbfqhp5Mvq3VtzONdFH5awIGq1UP-Y08o2mWh53k9DWp4YmqpUF6vxB5VlcVWMamJGtJhdA-en1V8bBDbTa2sgWmhu_VJUhTszke-j7AXj2rj4.fFEuNCWLzF4Qz9QR2Im_sMCBTc-MDD44aUslEwS_1UA&dib_tag=se&keywords=car%2Bexhaust%2Binsulation&qid=1757866707&sprefix=car%2Bexhaust%2Binsulation%2Caps%2C126&sr=8-10&th=1 -
N66BB - Old Accident, New Video ORF
Andy95W replied to 201er's topic in Mooney Safety & Accident Discussion
I don’t see lots of holes in the cheese. I only see the incredibly poor decision the pilot made by attempting the flight. Fatigue, lack of proficiency, get-there-itis, inadequate understanding of the weather conditions, improper equipment, and inadequate equipment for the conditions were the Swiss cheese holes created by the pilot himself. Ultimately, legal currency does not equal proficiency. -
“a literary technique, originally used in Greek tragedy, by which the full significance of a character’s words or actions are clear to the audience or reader although unknown to the character.” Your not understanding proves the point.
-
I nominate you for the King of Irony.
-
Pirep - Gee Bee Aeroproducts Baggage Door Seal
Andy95W replied to Z W's topic in General Mooney Talk
I wouldn’t worry about that too much, Guy (GeeBee) misunderstood my question also. I think he’s just very busy with multiple websites and a wide range of products. If you have a question about your payment you could message him directly, but it’s probably all squared away. -
Pirep - Gee Bee Aeroproducts Baggage Door Seal
Andy95W replied to Z W's topic in General Mooney Talk
Question for Guy- @Gee Bee Aeroproducts- How would I know which would apply to me? The only thing I can tell about my current door seal is that in some places, it’s very tight but in others there’s a fairly big gap. Is there a way to “trial fit” the seal so that I don’t glue it wrong? Thanks! -
1968 M20C manifold/fuel pressure gauge
Andy95W replied to Fysiojohn's topic in Vintage Mooneys (pre-J models)
Same for me. Came back looking (almost) brand new. -
Unable to make maximum RPM a few hours post overhaul...
Andy95W replied to Tito22's topic in Modern Mooney Discussion
@Cody Stallings is our resident propeller expert. -
Paul Bertorelli on the state of aviation journalism
Andy95W replied to toto's topic in Miscellaneous Aviation Talk
I subscribed to AvBrief. I think it’s got better content and writing than AvWeb flash. It is early days though. -
Broken compression ring and engine monitor
Andy95W replied to Greg Ellis's topic in Engine Monitor Discussion
+1 -
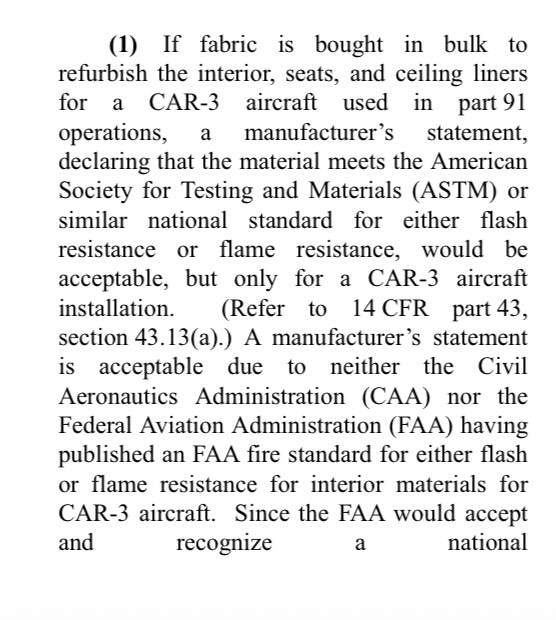
And more CAR-3 requirements, taken from AC 43-13-1B para. 9-61 (a) (1). Any material that meets any nationally recognized flash or flame resistance is acceptable. This would include many of the over-the-counter spray on treatments since many have an ASTM certification. So despite what @Aaviationist said, we do not need to meet the Part 23 flammability testing requirements.
-
Are you sure you have an alternator? The 65 M20E was originally equipped with a generator. Your symptoms would be normal for a generator below 1500 rpm with the landing light on.
-
Crossing the Atlantic (Now Flying)
Andy95W replied to Tyler G's topic in Miscellaneous Aviation Talk
Flightaware shows successful arrival in Greenland. Good luck and Godspeed! -
Mooney Aircraft Accident Nampa, ID
Andy95W replied to 65MooneyPilot's topic in Mooney Safety & Accident Discussion
If you have a Johnson bar, the inertial reel and push button is definitely better than fixed shoulder harness and flip-type latch. If you have electric gear (like my first M20C) I preferred the fixed. Installation really isn’t that bad. No worse than removing the lower cowling of our vintage airplanes. Not fun, but not bad. -
Some of those not ponying up are A&P/IAs that provide invaluable advice for free. Be careful what you wish for.
-
Mooney Aircraft Accident Nampa, ID
Andy95W replied to 65MooneyPilot's topic in Mooney Safety & Accident Discussion
SLOJ- Sudden Loss of Judgement- where everything looks perfectly normal until all of a sudden, it doesn’t. Descriptor of a person who normally exhibits good, sound judgement and doesn’t notice that things have already turned south. There but for the Grace of God go I… -
North 40 too! I think that might also be where the caravan parked.
-
I’ll go out on a limb and say the insurance companies will probably require BasicMed as a minimum. Maybe not for a C-152, but probably for something faster or retractable gear.
-
Safety wiring the high speed stop has been the bane of my existence on multiple airplanes.
-
I didn’t doubt that for a second! And the night air show is truly amazing. Glad you’re here!
-
Unfortunate incident with the AOPA sweepstakes Husky
Andy95W replied to Shadrach's topic in General Mooney Talk
With enough bad luck, the hook portion would probably catch on the carpeted sidewalls. -
Don, you would love Oshkosh. Hopefully next year.
-
One noteworthy observation about this topic- Ibra is the only one to mention the air show. Truth is that Airventure is about 10% airshow and 90% everything else.
-
Straw man argument. Here’s another for you- at the turn of the century, before government regulations, milk vendors would water down the milk and then add chalk powder to make it look like whole milk. There were no standards for hygiene or quality. The truth is we all want the regulations we agree with, but despise the ones we don’t.
-
I’m just bumping this thread since OSH is almost upon us. I have a question for those who responded that they “Don’t even want to go”- Just out of curiosity, have you ever been? Or have you been and don’t want to go back? I was like that 25 years ago, I’d never been and didn’t see the sense in going. (My wife and I go for 10 days straight now, I do volunteer work and she volunteers with GirlVenture.)
