

sdflysurf
-
Posts
162 -
Joined
-
Last visited
-
Days Won
1
1 Follower

sdflysurf's Achievements
")


-
 My JPI is not connected to the fuel flow - only my steam gauge.
 -
We did this: REMOVED & REPLACED #3 INTAKE GASKET WITH NEW, P/N: 654227. Is there anywhere else to check the intake for leaks on this engine?
-
I hate to say that I don't have record of what it has been running at over the years consistently, but off the top of my head I would be around 380-400 on climb and then around 340-380 in cruise. On a couple of hot days recently I got a couple of cylinders over 400 and the JPI gave me warnings, but cooled off in cruise. How would you physically check fuel flow amounts besides the gauge? Is there a way to adjust (add) fuel flow after the mixture knob at full rich (on engine) to see if that helps?
-
Hope everyone is well! I haven't posted in a long time, been enjoying flying the M20F with really no problems, until now. Recently I got cylinder 3 warnings on the JPI over 400 and cylinder 3 seems to be running warmer than the others by about 50 degrees, and recently crept toward 450 degrees when climbing and so I brought it back in. Here are the things we have done to diagnose/troubleshoot: REMOVED #3 SPARK PLUGS, CLEANED & GAPPED. REMOVED AND SERVICED #3 INJECTOR. RE-INSTALLED SERVICED SPARK PLUGS AND INJECTOR. REMOVED AND REPLACED CHT PROBE #3 WITH NEW, P/N: 1260. SWAPPED CYLINDER #3 AND #2 INJECTORS. LEAK TESTED, NO LEAK. REPOSITIONED GROUND WIRE FOR THE JPI. FUNCTION CHECK SATISFACTORY. REMOVED AND REPLACED BOTH #3 SPARK PLUGS WITH NEW, P/N URHM38E. REMOVED & REPLACED #3 INTAKE GASKET WITH NEW, P/N: 654227. COWLING WAS CHECKED FOR PROPER COOLING CAPABILITIES – AND NO ISSUE WAS FOUND WITH THAT. COMPRESSION CHECK: FIRING ORDER: 1-3-2-4 // COMPRESSIONS: 72-76-76-78. NORMAL PERAMITERS BORESCOPE: CHECK OK // NO SIGN OF GLAZING IN CYLINDER #3. CROSS HATCHING VISIBLE IN THE #3 CYLINDER. AT THIS POINT, IT IS SUGGESTED TO REMOVE AND REPLACE #3 CYLINDER. Also I was told they flushed the spider (fuel injector system) and also swapped the fuel injector nozzle between 3 and another cylinder but the swapped locations were not affected leading me to think the nozzle is fine. Any other things I should check or try? Also do you recommend replacing with new cylinder or re-honing? If any of you have done please let me know what to expect in cost/time and anything else I should expect to plan for. THANKS ALL!
-
This sliding thing I have taken for granted got a little jammed up and when I pulled the door closed bent all to hell and back - of course I was at the run-up area. Reached over and after some bending from the pilot seat I got the door to close. Opening the door at my destination was embarrassing, it snagged on my paper thin interior paneling (that I of course just resurfaced) and I had to push it open hard enough to cause a new crack. SMH. Anyway, I don't want to mess around with a used hold open assembly if I don't have to - does anyone make a substitute? If not does anyone know of a someone who sells them in decent shape or any recommendations on what new technology to replace this with? THANKS!
-
WTB: Brittain solenoid valve 4085-2C
sdflysurf replied to Igor_U's topic in Avionics / Parts Classifieds
I think this is a very controversial subject - but when I was looking for this fix I could not find a GOOD used replacement of the same part, nor could I find a NEW TSO part that was meant for this, so according to the A&P it will be a signoff for 14 CFR 21.93 Minor alteration. Talk with your A&P. Maybe you can convince him that when dealing with 1960s planes there needs to be some flexibility! Someone else can chime in since I am not the expert - but in all of my reading regarding part 91 operator minor alterations - I didn't need my IA to sign off - just an A&P logbook entry. -
WTB: Brittain solenoid valve 4085-2C
sdflysurf replied to Igor_U's topic in Avionics / Parts Classifieds
I bought this 12v solenoid: https://www.amazon.com/dp/B084YTNG2P/ref=cm_sw_em_r_mt_dp_WMZEGKJNMZ2GV862G2CJ?_encoding=UTF8&psc=1 And these connectors (2 in the pack of 1/4" NPT to 1/4" hose barbs): https://www.amazon.com/dp/B07NB6VZF7/ref=cm_sw_em_r_mt_dp_N8SWVVKG4R9V2X6WJ046?_encoding=UTF8&psc=1I I just received them today and I am going to wire it up to a switch for "wing leveler on" and "wing leveler off" - I'll check it out and report back - but the connectors fit nicely with the 1/4" inside diameter vacuum line I have. (And now I can use a PTT button built into my yoke!) -
4085-20 solenoid Brittain needed now please!
sdflysurf replied to FastTex's topic in Vintage Mooneys (pre-J models)
yeah that makes sense. Sounds like I need to find a part that has the nipple built onto it that my tubing slides onto and then I do a hose clamp like my current setup. THX. -
4085-20 solenoid Brittain needed now please!
sdflysurf replied to FastTex's topic in Vintage Mooneys (pre-J models)
yeah this is what I want to do. 12v switch in the panel - controlling a valve solenoid. The tubing (Items 7 and 30 in the figure 32 above) looks to be 1/4" Inside diameter - so I looked and I found one that says "1/4inch DC 12V 2 Way Normally Closed Electric Solenoid Air Valve" https://www.amazon.com/dp/B084YTNG2P/ref=cm_sw_em_r_mt_dp_RXS8TB5KGGFZTNE2QH2F it uses NPT 1/4" threaded connectors - do you know what NPT connector I would need to "mate" with the 1/4" tubing I have? (I'm not a plumber and I don't know tubes/pipes/line) EDIT: I think I found a connector - would this do the trick? https://www.amazon.com/dp/B07NB6VZF7/ref=cm_sw_em_r_mt_dp_T4PQDYK92DMJXHJC7439?_encoding=UTF8&psc=1 This is the tube I have - I looked it up and it said 1/4" Inside Diameter: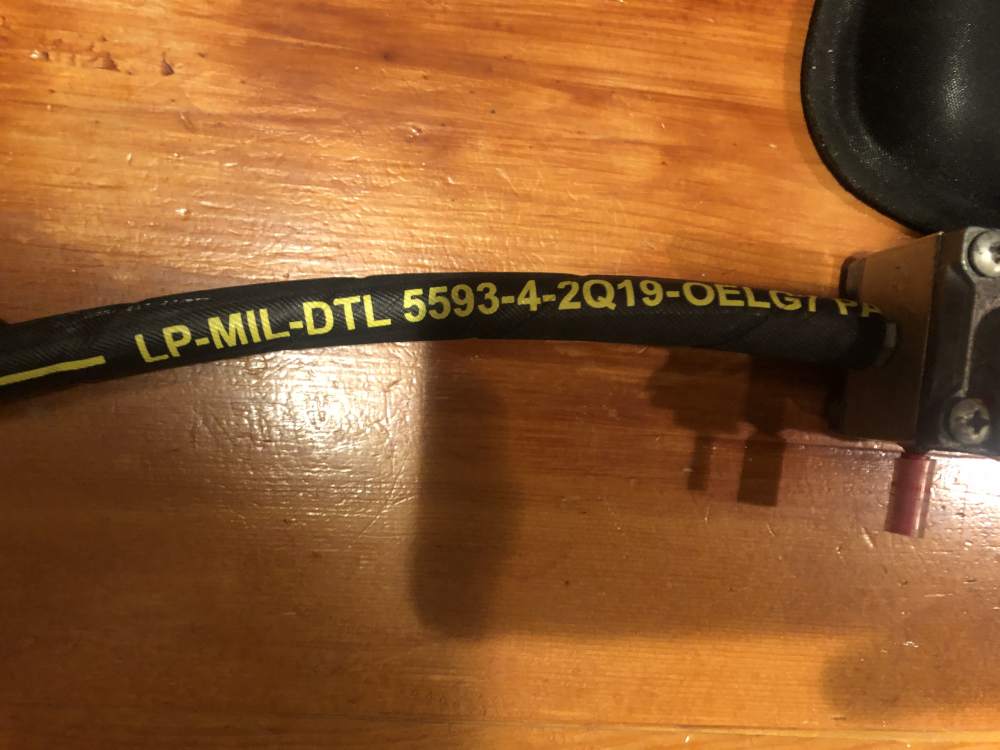
-
4085-20 solenoid Brittain needed now please!
sdflysurf replied to FastTex's topic in Vintage Mooneys (pre-J models)
Anyone else have one? I want to throw a switch into my panel and replace the old mechanical pilot cut-off valve with the electric vacuum solenoid valve. -
Hey All, I noticed on one of the diagrams that there is an electric solenoid instead of a vacuum pilot button in some models - I would like to remove the manual pilot valve button on the yoke, and place an electric switch in the panel connecting to an electric solenoid instead, thereby freeing up my yoke for the PTT button. It is really easy to flick a switch on the panel for comfortable wing-leveling cruise and flick it off when in the pattern. Any suggestions on parts? I have searched high and low and at this point may need to get field approval rather than pick up anything used.
-
Did you ever find one? I'd like to put my PC control into the panel as well, hoping for a pneumatic switch that the IA would be ok with since the Brittain 11516 is no where to be found.
-
Nice Job - and timely too to see this come back up the other day. I am looking to do the same thing and never thought about buying my own material and having an auto upholsterer take care of it.
-
GMU 11 Magnetometer Failing Self Test
sdflysurf replied to AerostarDriver's topic in Avionics/Panel Discussion
You ain't seen nothin - I had birds nesting in my tail when we bought it. yuck! We are installing ours in the co-pilot side wing today. I'll get you a picture. Our strobes power supply was causing a lot of interference in the tail. -
The DG was strictly vacuum - didn't seem to have any connection to the PC system and it wasn't doing so well (precessing - so I am happy to have it replaced with the G5) The Brittain Turn Co-ordinator is the only thing that works the PC wing leveler that I see.

