
Flyler
-
Posts
257 -
Joined
-
Days Won
5
Content Type
Profiles
Forums
Blogs
Gallery
Downloads
Events
Store
Everything posted by Flyler
-
Mine looks like that on my 79 J. To me, it looks like a wing that is helping to lift the airplane.
-

Possible Oil leak on a new engine? M20E 1975
Flyler replied to ighazali's topic in Vintage Mooneys (pre-J models)
Lycoming says allowable oil consumption is up to about .65qt per hour for your motor. So you are far from that. -
New Member Introduction: A short body J model?
Flyler replied to ShortBodyJ's topic in General Mooney Talk
That's a nice hotrod! -
The DPE for my PPL is an active member of the 99's and she is a real badass!
-
Boom! That reminds me, I need to do this for every single piece of my interior It really makes those leather yokes look nice.
-
My plane has been parked outside while I complete my training. I've been doing a lot of inspection, removed the belly panels, wing access panels, etc. Every time a plane or jet rolls past me, I am blasted with sand. So much so that I've become a bit paranoid about my ram air intake. I check it for sediment on preflight. I imagine there's a decent amount of this sand, not to mention just regular dust and pollen, that settles I to the groove around the gas caps and falls in when you fuel up. I was wondering if much could make it through the breather tubes, but that has to be a really small amount. I am sure there is a really good, bloody reason why our planes do not have a paper or fine mesh replaceable fuel filter on the firewall. Does anyone know?
-
Beautiful!
-
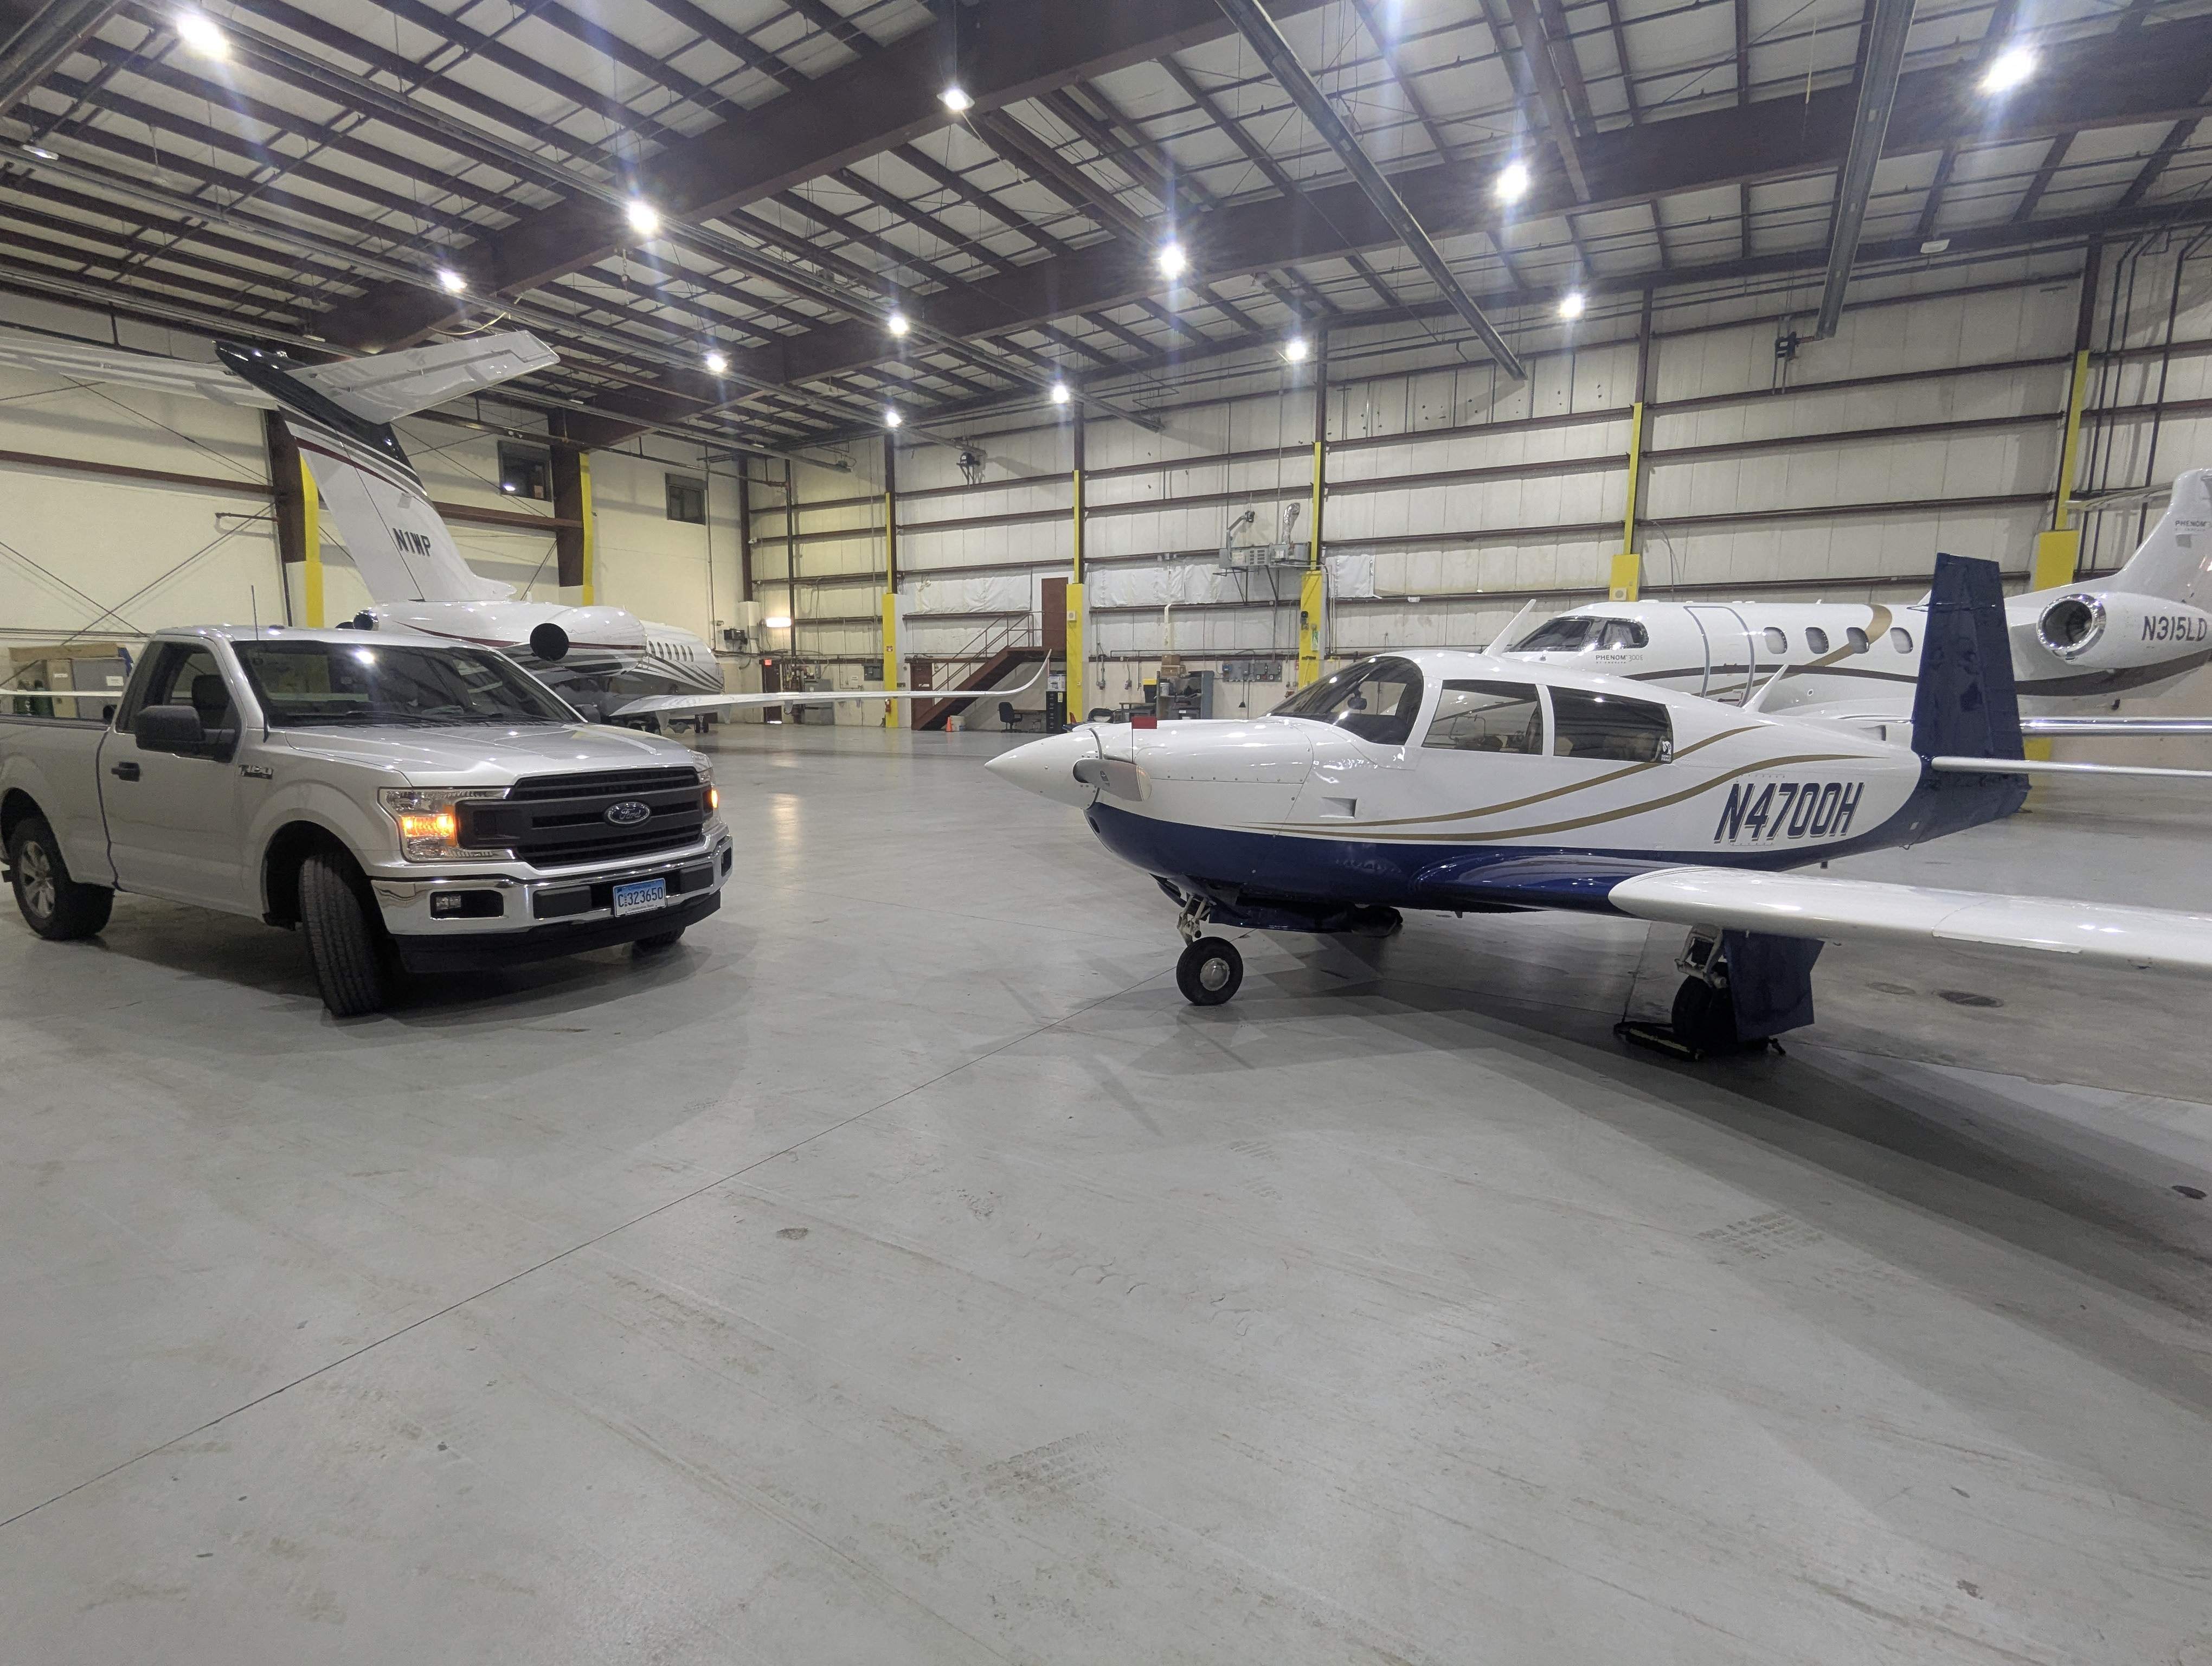
Dude we are all flying pipers now, where have you been
-
GFC 500 installation – pitch trim change & aggressive IAS climb
Flyler replied to unicom's topic in Modern Mooney Discussion
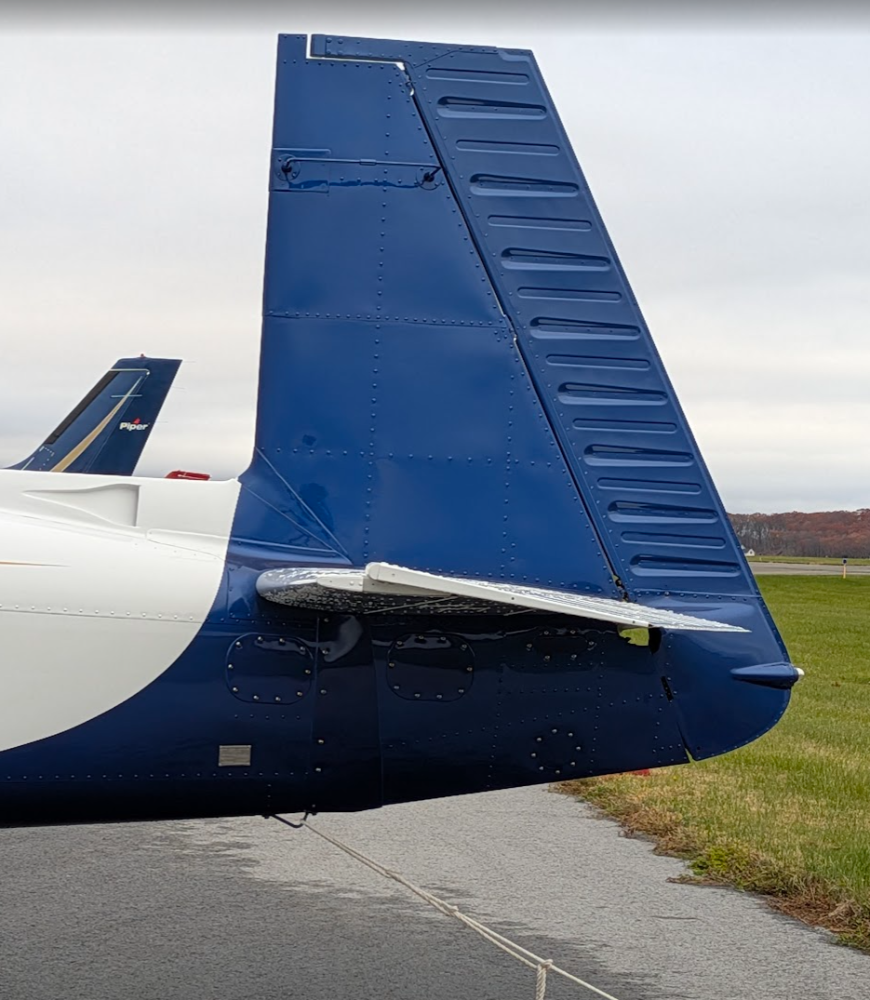
@unicom thanks for making this post. I saw your picture and thought "mine looks sort of like that, I wonder if it is out of rig" and brought it to the attention of my local A&P. He's sort of a wizard. Anyhow, my plane has electric trim and we figured it had been disconnected and moved at some point too. Rob worked his magic and gave me a good lesson on Mooney tail sections. We took the plane for a flight, and ended up doing 8 landings as it just felt sooo much better! Much more docile and predictable. Setting trim to take off position makes a whole lot more sense now. Before: This isn't the true "after" picture but is about what it looks like now: The elevator doesn't always end up in the exact same spot, so these pictures are far from precise. You can tell just by putting a bit of pressure on the yoke- it has some "stiction" so it'll stay put in a small range. Either way, it is reassuring that there's enough visual indication that *hopefully* pilots will notice this on preflight, if it is indeed off after having work done.
-
PIREP: flap and aileron rigging by Flight Enhancements LLC
Flyler replied to Flyler's topic in General Mooney Talk
Rob wasn't quite happy with the trim on my plane and showed up with a travel board and level. Sure enough, it looks like the trim has been "out of factory spec" for a long time on this plane. Probably since the last time the trim motor was replaced, if I had to guess. So now we have flaps, ailerons, rudder, and elevator trim rigged properly. We took it up for a test flight and... The plane is so docile and predictable. I loved the Mooney even when it was out of rig but wow, it is downright luxurious now. My confidence level shot up a ton as the workload has gone down so much! Chef's Kiss -
PIREP: flap and aileron rigging by Flight Enhancements LLC
Flyler replied to Flyler's topic in General Mooney Talk
Probably just from combined, but roughly equal, wear on all of the many joints out to the ailerons. I forgot to update my post- we did some stall testing and my plane went from dropping a wing, to feeling a lot like the Piper Warrior in a stall. I really don't like comparing my Mooney to a Piper, but that means "nice and docile" so that's a major win in my book! -
First real annual / inspection post acquisition
Flyler replied to SilentT's topic in Modern Mooney Discussion
I'm just "yanking your chain" What a beauty! -
First real annual / inspection post acquisition
Flyler replied to SilentT's topic in Modern Mooney Discussion
It sounds to me like you found a nice plane and A&P so you can both be good stewards/caretakers of it. That's great. But, who buys an airplane and doesn't post pictures of it?? -
GFC 500 installation – pitch trim change & aggressive IAS climb
Flyler replied to unicom's topic in Modern Mooney Discussion
I had this exact same mentality when I bought my first plane. I thought I knew just enough to be dangerous, and thought I would be better off taking the plane to someone of great experience. The plane lasted 4 landings out of the shop before the gear collapsed and was totalled. Next plane I bought, it went to a very well known MSC and had $28k put into it. I did a preflight and noticed a bolt missing from one of the control horns on right side elevator. I looked through my pictures of the plane that I took before the annual/prebuy and zoomed in- bolt is still missing. I don't blame the shop for this- they did not touch the elevator, but they did miss it. It's an old machine, it could use many sets of eyes on it. Your life depends on this stuff, double-check everything. No decent A&P should be offended by that. If they are, go somewhere else, they have the wrong mindset. I found this thread because it appears my plane has some misalignment with the elevator as well. Not nearly as extreme as the pictures above, though. Number one thing to keep in mind is that these planes come with their own Bible, it is the Service Manual. It solves many mysteries. You should look there first. If something doesn't match the service manual, it should have a very good reason and I would be suspicious of it. Edit: just re-read this and sounds all doom-and-gloom. I have since found a great, possibly the greatest, Mooney A&P who has spent lots of time with me learning the plane. We are able to check each other's work (and when I check his work there are ample air quotes on that statement) and feel much more comfortable. I am sure that the previous shops I took the plane to would have appreciated "some" of my own involvement as well. Maybe. I'm not sure. I am a better airplane mommy now. -
IT guy here. You just sort of have to wait. I know this sounds reductive, and it is, but it's also how it works
-
@mooniac58 have you checked DKIM/DMARC? I wonder if AOL/Yahoo are requiring the emails to be signed.
-
First real annual / inspection post acquisition
Flyler replied to SilentT's topic in Modern Mooney Discussion
I just bought a 79 J and had a pre-buy done, and the seller paid around $19k and I put in about $8k (which included paying for the pre-buy, the annual, and about $2000 in extra non-airworthy work). All pucks were replaced. I think what you have there is about normal. We have found some other items, including a bit of rework from the original annual. So far, nothing major. You know what? I still flippin' love this airplane! I hope you love yours as well. -
1971 M20E with All 201 Mods - 2810 TT, 337 SMOH, Garmin Equipped
Flyler replied to KLudwick's topic in Aircraft Classifieds
Wow. That is one sweet looking aircraft. The mods and everything, the button hook, and with the paint job... it just all came together so beautifully. I am glad that this airplane exists in this world. -
Need some help from you awesome folks (Senior Service Project)
Flyler replied to bradcarr's topic in General Mooney Talk
Maybe a photoshoot of all the iconic places in town from the air? -
PIREP: flap and aileron rigging by Flight Enhancements LLC
Flyler replied to Flyler's topic in General Mooney Talk
I would suggest reaching out to Mr. Takair to chat. We did a bit of owner assist, and some other work on the plane so I don't have an exact cost for the rigging. I'm sure it depends how much adjustment is needed as well. Looks like you are nearby, maybe it would be a good connection for you! P.S, I'm still a novice but perhaps week could do a CT Mooney meetup one day. -
PIREP: flap and aileron rigging by Flight Enhancements LLC
Flyler replied to Flyler's topic in General Mooney Talk
He is local to KOXC and it is indeed takair. -
TL;DR: the plane flies straight. I'm sure many of you know Flight Enhancements as the maker of the electric step conversion, and some other nifty items. I have flown in the owners plane with the "Auto Lean" and it is amazing. This is a review of Rob as an A&P, and particularly his skills at rigging my 79 J model. This man knows his Mooneys. I took delivery of a beautiful 201 and while it flew straight enough, it didn't *look straight*. The left side flap was hanging a bit low, and both ailerons were "drooping" down quite a bit. We looked in the manual and it states between 0 and 2 degrees downward is the appropriate range. Rob helped to adjust the ailerons and flaps so they looked proper, and followed the book properly as well. We took it up for a flight. A slight pull to the left. We made another adjustment. Now a very very slight pull to the left and required a little rudder correction. We landed and Rob said, while my face was glowing with happiness about my new plane, "you might want to hop into the FBO for a minute" and he pulled out a pair of pliers and custom made tool. "Oh my god, no" I said and ran away. The final tweaks require slight bending of the trailing edge of the control surfaces and I couldn't watch. I just bought this plane! He finished up, and the sun went down. Next time we went up for a flight, I had almost forgotten about the rigging. Why? Because the plane flew perfectly straight and called no attention to it! Best part is, he didn't have to take the dreadful pliers to the plane again The straight facts are: Rob Takacs is honest, intelligent, well-skilled and a real Mooney pro. He is a true mentor when it comes to his CFI duties but that is a post for another day. And probably too sappy.
-
Agreed. I should have said something more along the lines of "I saw it light up a few times when I first got the plane". Thinking back, I may have actually witnessed it burn out when doing the test procedure a few times. While the electric trim is a bit slow, boy is it a pleasure to have. I feel like this new plane is such a luxury compared to the rental Warrior. Flies like a Porsche!! Thank you for your insights sir.
-
Thank you. I need to verify with the Test button as that should light up the AP light, it may be burnt out or intermittent. I am almost positive I have seen it illuminated on test, but the plane is new to me and I'm really "drinking from the fire hose!"
-
I am hoping someone with a Century 41 autopilot can shed some light, specifically on the "AP" annunciator. I have read over the C41 manual and could not get a clear answer. It seems that the only time the AP light is mentioned in the manual is when holding down the test button, and that AP will "flash 5 times then remain off" when the autopilot is disengaged. Is the AP light meant to stay on while the autopilot is engaged? I feel silly typing this out as it seems like such a "duh, read the manual" question.

