
Robert Hicks
-
Posts
240 -
Joined
-
Last visited
Content Type
Profiles
Forums
Blogs
Gallery
Downloads
Events
Store
Everything posted by Robert Hicks
-

Prob need a new crankshaft
Robert Hicks replied to Robert Hicks's topic in Vintage Mooneys (pre-J models)
The cam is in great shape. I think a prop gov may have failed in the past and ran debris into the journal. The crank looks great other than this one small spot. Sent from my iPhone using Tapatalk -
Prob need a new crankshaft
Robert Hicks replied to Robert Hicks's topic in Vintage Mooneys (pre-J models)
Yea I was gonna put it on eBay. I’m trying to source a serviceable one for my engine now tho. Sent from my iPhone using Tapatalk -
Prob need a new crankshaft
Robert Hicks replied to Robert Hicks's topic in Vintage Mooneys (pre-J models)
It’s already been worked to .010. My parts book shows that as the limit. I’m guessing a new one is .075 and mine is at .065. The grooves measure out to about .059. Sent from my iPhone using Tapatalk -
Message sent Sent from my iPhone using Tapatalk
-
Anyone have a line on a serviceable crankshaft? O-360-A1D narrow deck. Sent from my iPhone using Tapatalk
-
My pleasure (kinda). More to follow. Sent from my iPhone using Tapatalk
-
Divco or Nickson haven’t decided yet. Cylinders, pistons and rods are all brand new. Gonna need a new cam, tappets, fuel pump and mags for sure. I’ll see what the crank looks like tomorrow. Sent from my iPhone using Tapatalk
-
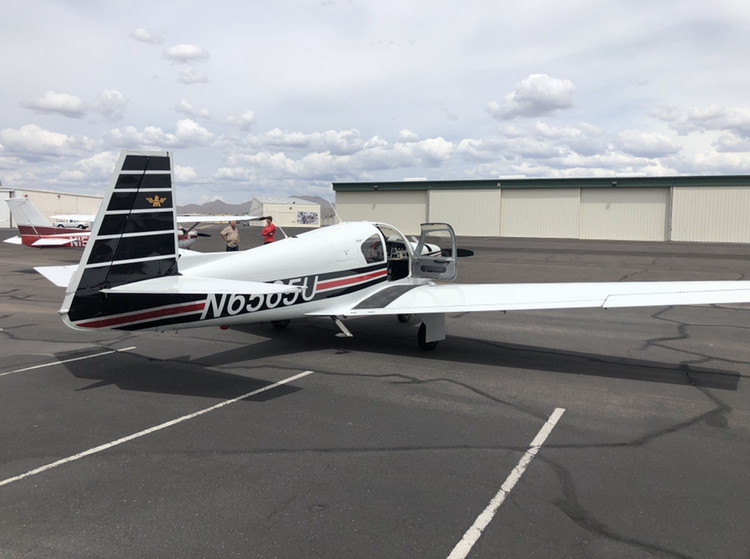
Hahhaa!! Here’s from today. This is fun but it def sucks at the same time.. Sent from my iPhone using Tapatalk
-
Haha right? I was telling Joe (CAT) yesterday we can never seem to link up. I’m hoping for a quick turn around on this. Sent from my iPhone using Tapatalk
-
Engine is almost off. Just gotta disconnect the prop control cable and engine mounts. At this time tomorrow we should have it down to the crankshaft. Please disregard the ugly valve covers.. Sent from my iPhone using Tapatalk
-
Thanks for the reply. Engine is close to tbo so we’re gonna pull it and overhaul. Just wanted to get some guesses on the problem for closure I guess lol. Sent from my iPhone using Tapatalk
-
The saga continues. Some of you may recall my leak at the base of the #2 cylinder. Suspected a crack near the bolts or undersized bolts. The hot weather finally took a break here in Phoenix and I was able to get to the hangar to remove the cylinder. Everything looks good to the naked eye other than these gouges where someone prior allowed the rod to smack the case. In the groups opinion, would this cause a significant leak? I would also add the top is the same. Thanks again for the input. Sent from my iPhone using Tapatalk
-
Heated pitot tube available? Sent from my iPhone using Tapatalk
-
Yea I’ve searched google and the previous threads here to no avail. I’ll see if I can find the remaining pages and make them a pdf. Sent from my iPhone using Tapatalk
-
Does anyone here happen to have a copy of Yury’s tale to Berlin? A friend gave me a printed copy and it ended at page 49 right when his battery died in Iceland. I’d love to finish the read. TIA Sent from my iPhone using Tapatalk
-
Map light LED conversion
Robert Hicks replied to Robert Hicks's topic in Vintage Mooneys (pre-J models)
No clue where I found the tutorial. It’s been in a folder on my phone for a year or so. Sent from my iPhone using Tapatalk -
Map light LED conversion
Robert Hicks replied to Robert Hicks's topic in Vintage Mooneys (pre-J models)
I cannot for the life of me figure out how or where I found the tutorial. I was able to generate a pdf if it and share the link via my google drive. Here you go, https://drive.google.com/file/d/1GetwZPo01B3wPsAU9aga-WTUHUFp9lud/view?usp=drivesdk Sent from my iPhone using Tapatalk -
Map light LED conversion
Robert Hicks replied to Robert Hicks's topic in Vintage Mooneys (pre-J models)
Hank, it’s not a kit. You just gotta order the led bulbs and sockets then piece it all together. Took me about 2 hours to do a nice thorough job. Sent from my iPhone using Tapatalk -
Finally got around to doing this conversion. Works as described. You can actually touch the lights as well without burning your fingers. I cut and pasted the tutorial. I’ll try to find the link for it and post. “I went the www.superbrightleds.com route. I liked the look of the torpedo fixtures and wanted to reuse them. The red lens cover comes off easily by removing the retaining clip. To remove the lens, you just need to drill/grind the center of the knurled adjusting nob on the back of the torpedo. This is silver soldered onto a screw that is used to move the lens back and forth. Then the lens assembly pushes out the front of the fixture. I purchased two 67-R9 Bulbs (Red 9-led 15 degree) $2.99 each. Two BA15S-EB bulb bases for 49 cents each (I used these to make a power plug). Two BA15S-SW Sockets for 99 cents each. I had a piece of 1/2" Liquatite conduit laying around and found that the O.D. fit nicely inside the torpedo fixture and the I.D. fit the BA15S-SW socket snugly(after the mounting tabs were cut off the socket) I usedLiquatite to make a bushing with a notch in it. The notch then fits around the guide that is molded into the torpedo fixture for the original lens. I then soldered a ground wire onto the socket and fished the wires through the original bulb hole. Pushed the socket into the liquatite bushing to a depth that allowed the original red lens cover to fit when the led bulb was installed. Once put together it was very snug, no glue or screws were needed. I used the BA15S-EB bulb bases to make a plug that attached to the original socket. This photo shows my first attempt. I turned out that my plug was too long, once in the socket the torpedo fixture couldn't be pushed up far enough to be clipped on. The plug would hit my bushing/socket inside the torpedo. My solution was to cut the plug down. This photo shows the completed fixtures, one with the lens cover off to show the led light. You can see my plug that is shortened. I filled it with epoxy for durability. I like this set up because nothing was changed on the airplane, and all the changes I made to the Torpedo fixture are not permanent. I can't imagine why I would ever want to use the original setup again but I have that option. I basically ended up with same thing the piper guys are doing, just slightly more attractive. (and time consuming) The light output is twice that of my originals. The color in the picture is off, these are red not orange. “ Sent from my iPhone using Tapatalk
-
Cliffy, I have cleaned it several times. At first I thought it was just blow by as a quart was added when it already had 6 in it... I ran it down to 5.5 and thought it would stabilize but it’s still a mess. My cylinder wrenches should be in tomorrow or Friday and I’ll be able to check the torque and check the base ring. I’ll def keep you all posted. Sent from my iPhone using Tapatalk
-
Yes it is Sent from my iPhone using Tapatalk
-
Anyone have any history with an o360 leaking at the base of the cylinders? I think mine is leaking thru the studs. Waiting for my wrenches to arrive so I can check the torque on them. This particular cylinder was pulled about 5 hours ago and the oring was replaced. Sent from my iPhone using Tapatalk
-
Anyone near West Islip, NY
Robert Hicks replied to Robert Hicks's topic in Vintage Mooneys (pre-J models)
[emoji1787] Sent from my iPhone using Tapatalk -
Well I found my leak. Hopefully the knucklehead that put these cylinders on 8 hours ago either forgot or nicked the base ring.


