-
Posts
57 -
Joined
-
Last visited
-
Days Won
2
canamex's Achievements
-
@Shadrach thank you, added!
-
Thanks @carusoam! @FlyLateNLife no damage history and logbooks and more photos here: https://drive.google.com/drive/folders/1OJZvbe9V0Zwhi_SLVaAmQ87F7wOYUflU?usp=drive_link Send me a PM if you're interested
-
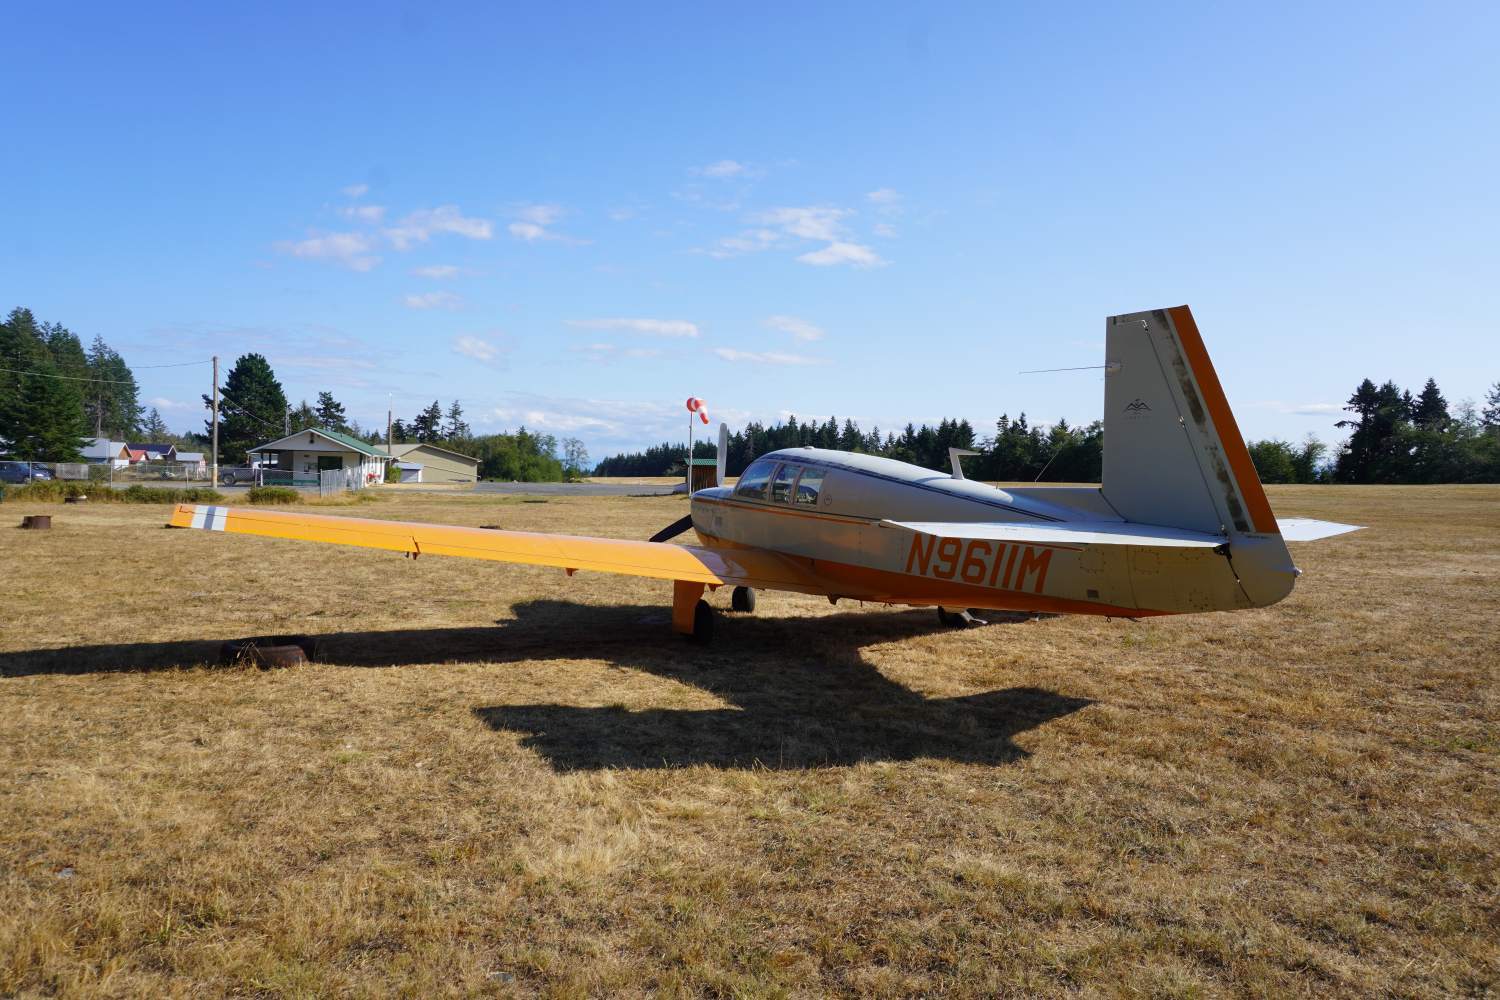
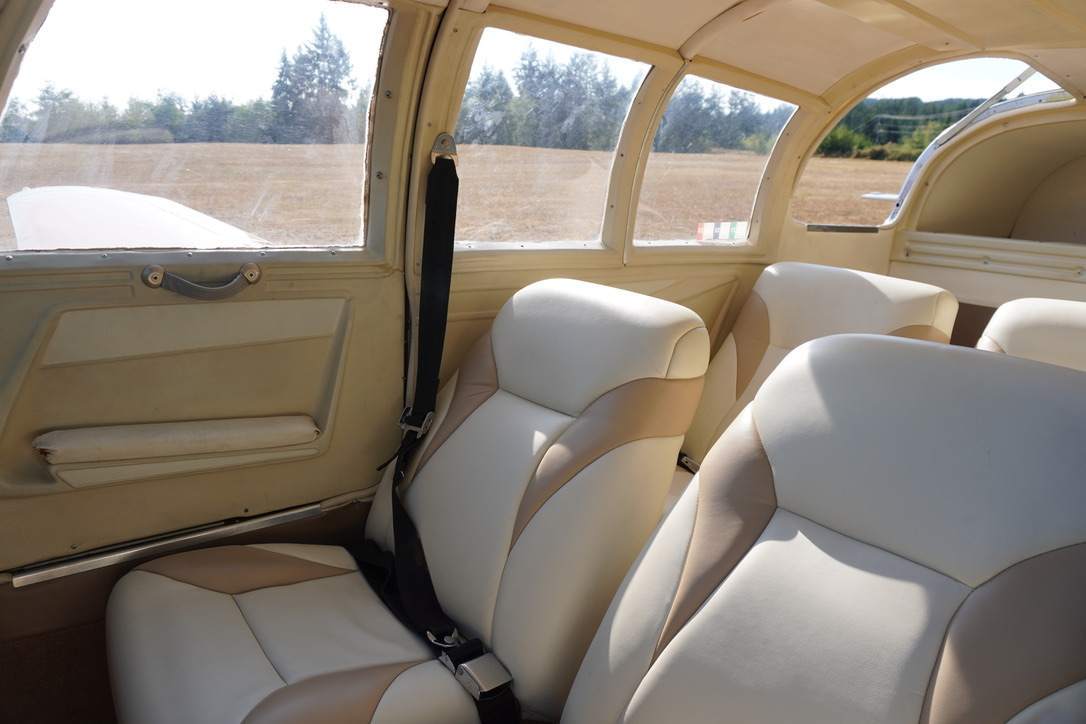
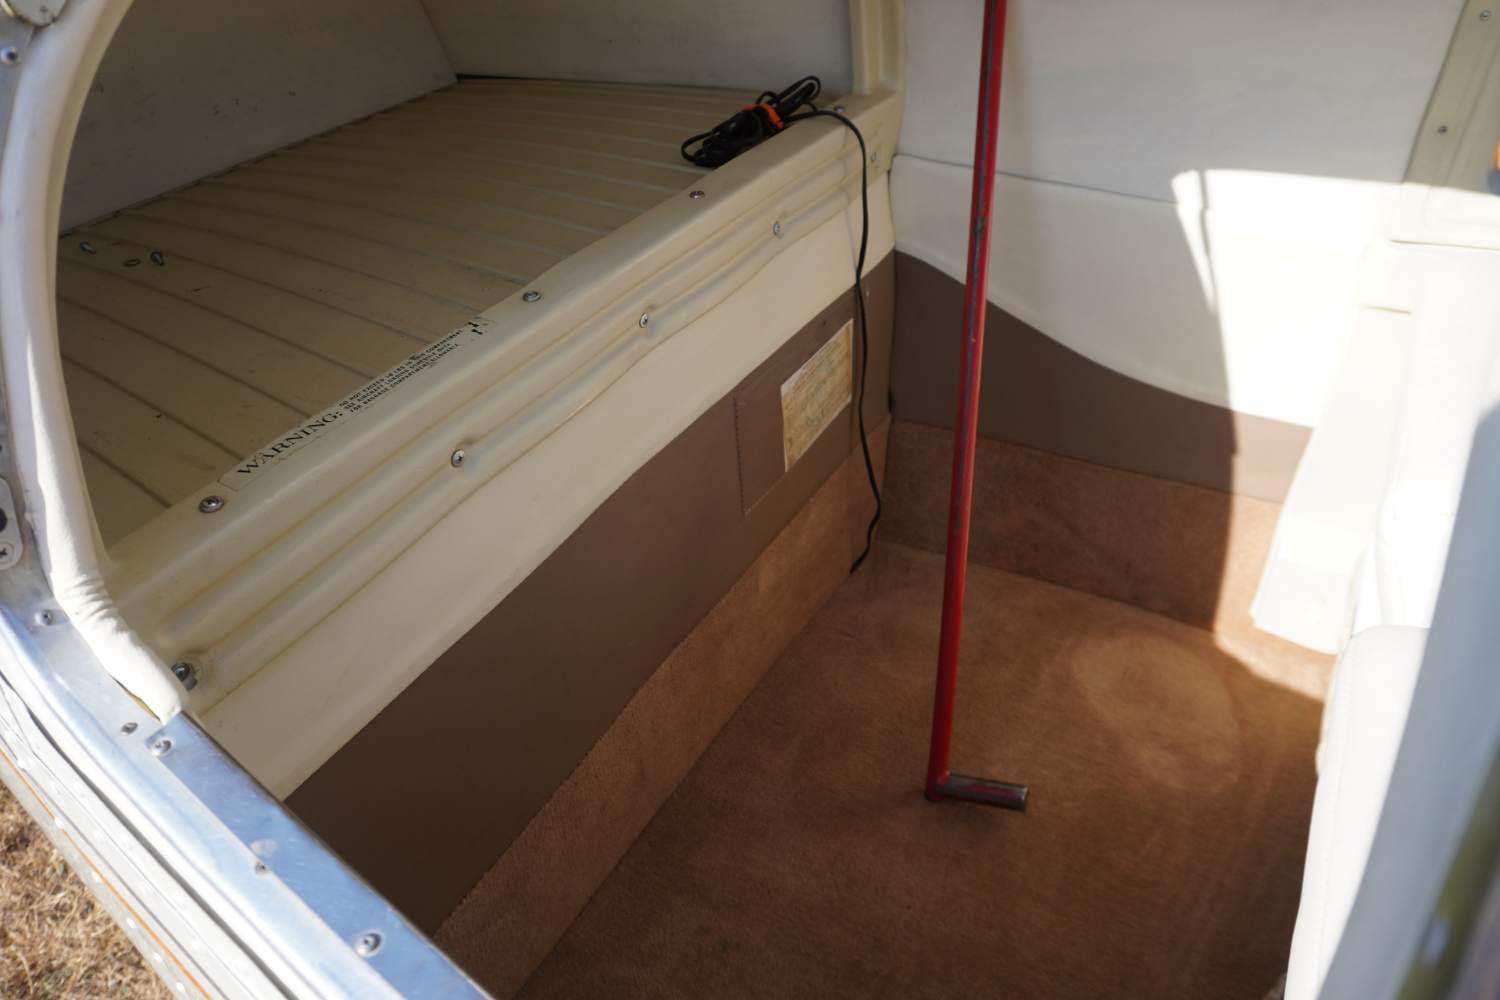
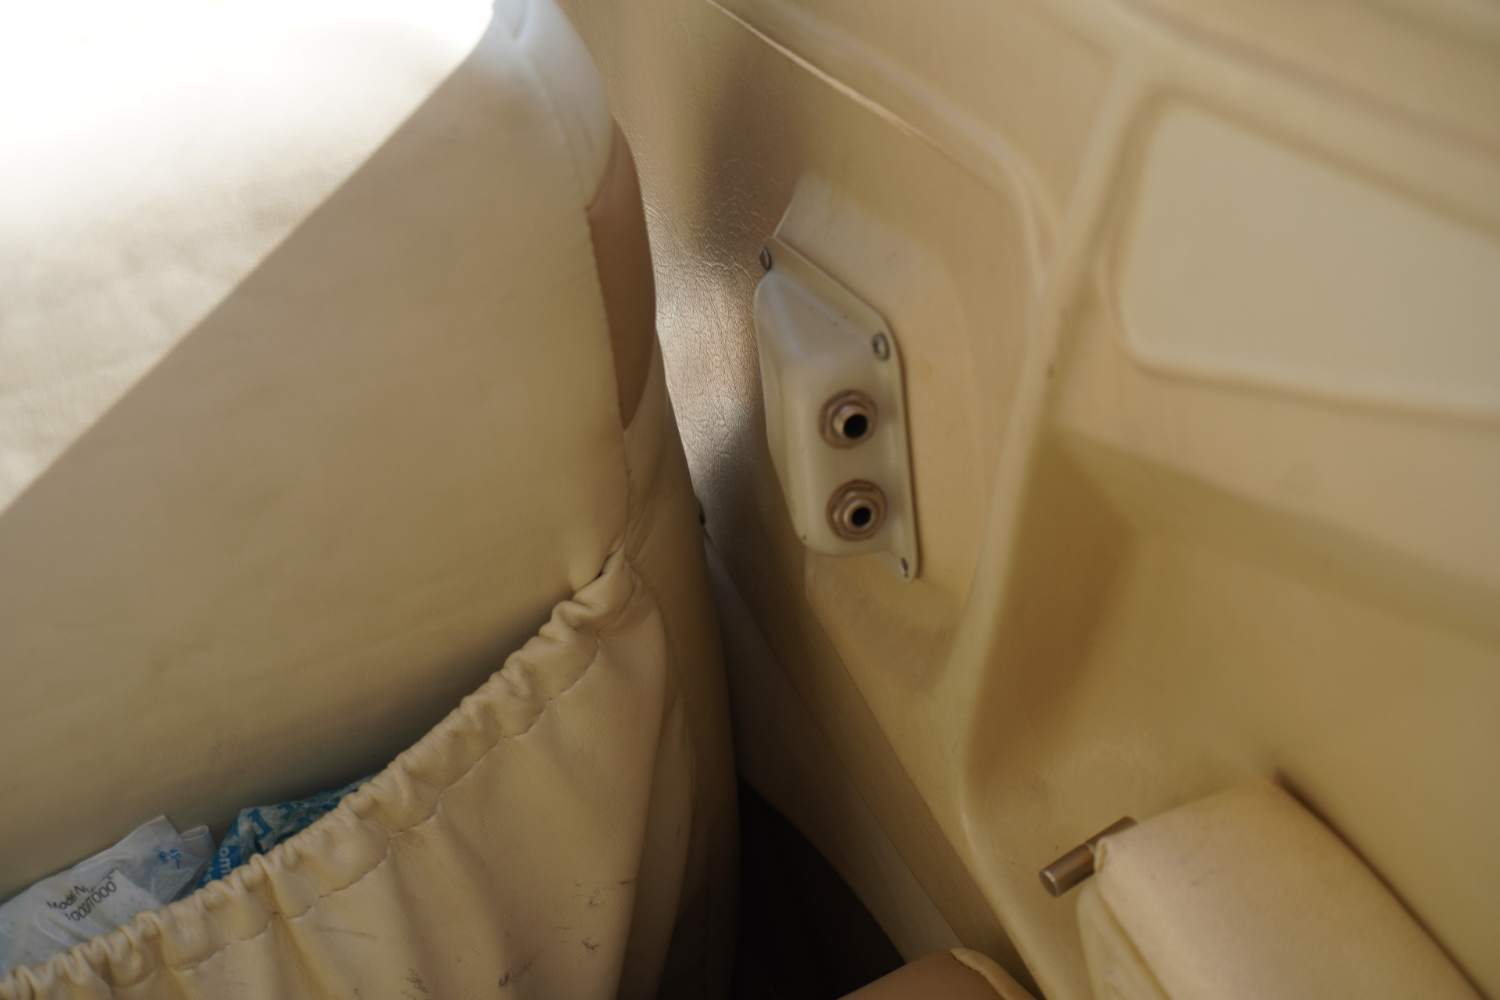
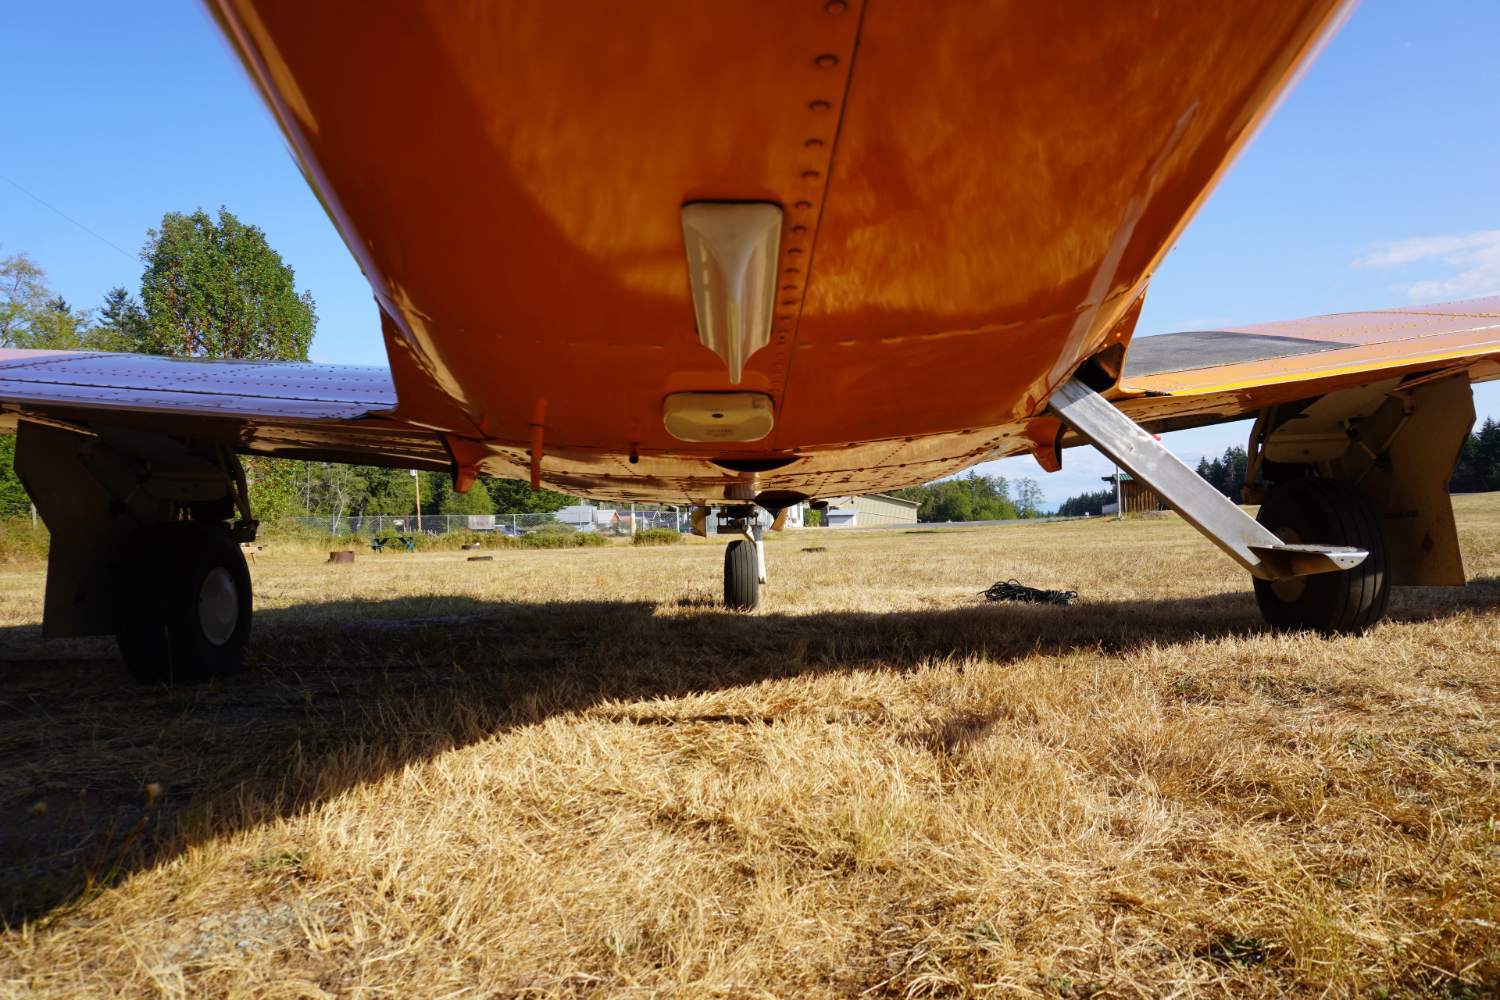
Now with a like-new interior and a few more hours on the tach, listing my '67 Mooney. Some highlights Purchased in March of 2021, 500 hours flown since then SMOH: 15xx TT: 4564 STOH: 25x Useful Load: 1041 lbs All chrome cylinders All new seals and gaskets on block New engine mounts Remote spin-on oil filter New GeeBee engine baffles, new oil return hoses, painted rocker covers, and vacuum hoses New refurbished interior plastics and textiles Garmin SL30 -> GI 106A PS Engineering 6000B IFR Certified (no DME) Wing leveler Four place intercom Custom sun and rainproof cover Johnson bar and hydraulic flaps Exterior 6 Interior 9 Known issues Oil seep from prop governor Hangar rash on right elevator Refurbished propeller installed 2017 missing logs, no issues in past 500 hours of flying Aircraft is currently in maintenance in Harlingen, TX and will be delivered with current ELT, Pitot Static, and Transponder checks. Annual due end of April. This has been a wonderful airplane which I've upgraded continually since purchase but my mission has changed and so it's time to sell. $85000 OBO
-
M20F Plastic Surgery - With Pictures
canamex replied to canamex's topic in Vintage Mooneys (pre-J models)
I'll try both of those, @Supereri73 and @Z W , thanks for the suggestions. I chose the thinnest 1x6 legos I could find to make it the most like TIG welding as possible but filament would certainly help get to a finer result! I Now I just need some more Royalite panels to repair... -
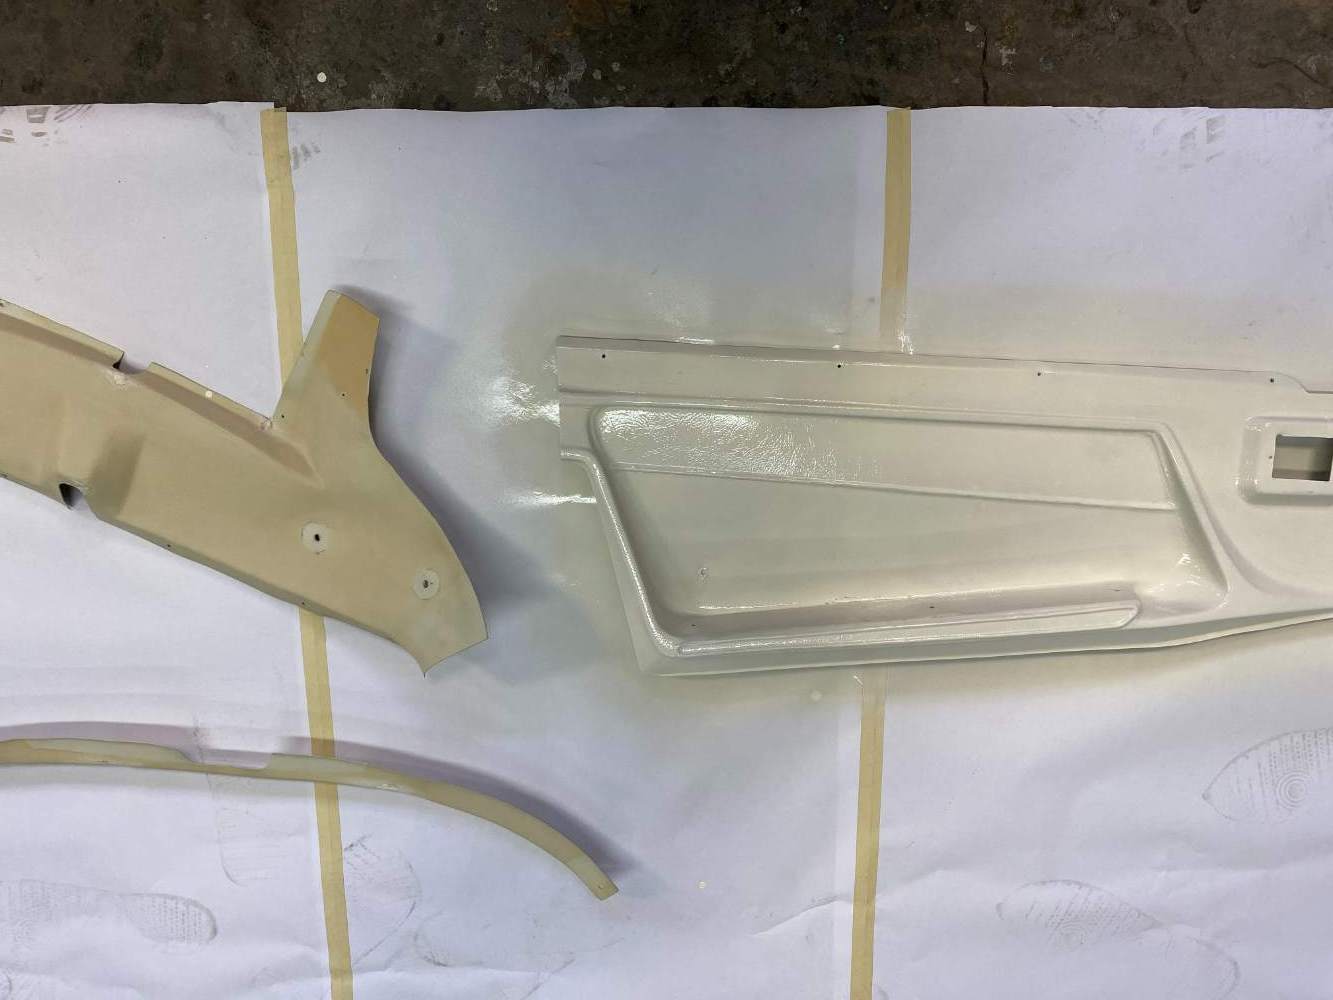
I purchased my '67F N9611M a few years ago and have flown the pants off of it, going from my home base of Mexico City to Airventure (2x), Victoria BC (6x), the Caribbean, lots of places all around the western US and all the way up to Yellowknife NWT via Saskatchewan. I've flown N9611M over 650 hours and that means I've spent a bit more than that inside of her. As cozy as she is, she was in need of a little help. While the seats, carpet, and lower upholstered panels were re-done by the previous owner, they left the plastics as-is, cracked in some places, ruptured screw holes in many places, and a general yellowing effect which didn't look great with the brighter upholstery. Below is a photo of the original interior: As you can see, the previous owner decided to leave the original upholstery on the arm-rests and the "vintage" plastic panels look a little dated. Frankly, had the panels been structurally sound I probably wouldn't have touched them but hours of long x-country flying had taken their toll on the arm rest seams and from time to time my elbows would get pinched from the open seams. I also had a theory, still to be tested, that the panels in their condition were letting a bit more noise into the cockpit than originally intended. With all this in mind, a couple of months ago I began the process of disassembling the interior of the aircraft in order to move all of the pieces to my workshop and begin the restoration process. This was the second time I had removed some of the interior, the first being during my pre-buy, but this interior removal was certainly more thorough and involved more electrical connections and visits to Mooneyspace to figure out how to get those darn circular vents off. The de-install went well and I found an airframe still with zero corrosion and only mildly decaying foam fiberglass insulation and foam, generally in pretty good shape for an old bird! Once at my workshop, I surveyed the damage and found that there were three intact panels in total, all window frames, and the rest had some form of cracks, punctures, or other deformations with the worst offenders being the footwell side plastics, the ceiling panel, the door, and the pilots side lower panel. In my research, I had found that there were two main schools of thought when repairing and re-beautifying the panels. One, was to follow the Aero-Comfort system of reinforcing the panels and then covering with a fabric or leather. I had spoken to Hector a couple of times and was impressed with their product and found him to be knowledgeable and helpful, however I really enjoy my 1000lb+ useful load and wanted to add as little weight to the aircraft as possible. While super-lightweight coverings do exist, and would have solved another problem with the window joins (which I'll get to later), the weight consideration, getting FAA approved products into Mexico, and cost all played a factor in deciding to restore the panels via option two. Option two, which I went with, was to fix the panels from behind, and then paint. The trick would be to figure out how to fix them so that they wouldn't break again, at least not for a long time, and then how to paint them in both a color and sheen which fit with the existing upholstery scheme. First thing to figure out was what material we were working with. According to the manufacturer, Spartech, it's ABS plastic. Yes, there are some special mixes and flame retardant elements in there but it's ABS. The next thing to figure out was the best way to repair ABS plastic. After exhausting the interior plastics threads here on Mooneyspace which all offered different options for plastics reinforcement including glue, fiberglass, and tape(!) solutions, I turned elsewhere for inspiration and found it in a lovely video from an Australian gentleman. It seems that the best way to reinforce ABS plastic is with ABS plastic! Being in Mexico City, it can be difficult to acquire the right, certified materials for any job and while they do exist, proper caution is wise. Case in point, after visiting a construction market to purchase ABS welding rods, I tested the rods and found that they were smoking considerably on a piece of test material. When I returned to the market to ask the vendor about the product he'd sold me, he confessed it wasn't pure ABS and instead had a PVC mix at somewhere around 15% which was causing the smoking and would have resulted in an inferior repair. I had read somewhere that Lego blocks are manufactured out of 100% pure ABS plastic, and so went off on a hunt to dig up some white Legos. Luckily, Mexico City has a lot of Lego and just around the corner from my house was a Lego seller with several 40 gallon drums filled with used Legos, sorted by color. Scoop! After bringing back the legos and verifying with a test piece, I started to weld the panels back together. Some photos below showing the extent of the welding pre-sanding. Below you'll see a before and after sanding of a hole repair. And a couple of shots of the footwell panels which were quite damaged from years and years of use. Special note: these panels were especially de-formed and I was able to straighten them using a heat-gun on the low setting before then welding them. I'm not sure how to post my own videos here but I have some nice ones of shaking the panels and flexing them to try to break them again and they're flexible and strong as can be expected. The only time I managed to re-break one was when I flexed it on a non-sanded weld. Maybe it was the thicker plastic section hitting the thinner section at an angle? With all of the panels welded and sanded, it was now time for paint. I chose an oyster white to soften the appearance of the interior and went to work. In the first picture, you can see the difference in color between the yellowed original panel, the original color seen where the strap covers had blocked UV exposure, and one coat of the new color. And below is all of the panels laid out for painting, with the floor panels in the bottom left playing around with colors. After rattle-can coats of paint on each panel, they were ready for install, and yesterday I went out to the plane to begin assembly. I'm re-doing the headliner but have been itching to fly so thought I'd put together the plane to see how things look before final assembly. And once again, the before picture for reference. Installed, the panels look very good. There are a couple of paint imperfections, mostly in deep corners, and I think a better paint product (or maybe more skill on the part of me, the painter) would have solved this issue. That's where I've gotten for now, next up is: headliner and ceiling panel install de-install of the panels to upholster the arm rests with the same material as the seats install of freshly painted passenger headphone jack covers (more on that next time) sourcing and install of those thin window joining strips I'm looking for help with adhesives recommendations for both foam to aluminum and foam to vinyl, as well as if anyone knows where to find those little strips which go between the windows?
- 8 replies
-
- 18
-

-
BC Pilots and flying over rockies?
canamex replied to Stand_Tall's topic in Vintage Mooneys (pre-J models)
@Stand_Tall I've flown my '67 F across the Rockies just once, from the Alberta side into Nelson and then to Victoria. Really majestic flying and worth it on a good weather day in the summer. The advantage of the Canadian Rockies is that they're quite a bit lower than their cousins to the south so in a NA Mooney you can put mountain flying terrain clearances to use and create that margin of safety. -
Shot you a PM.
-
Sheet metal honestly would be easier to fabricate. The piece which is on there looks machine made, so I'm curious if it was something which was sold for a time. I guess it's off to the laser cutters I go!
-
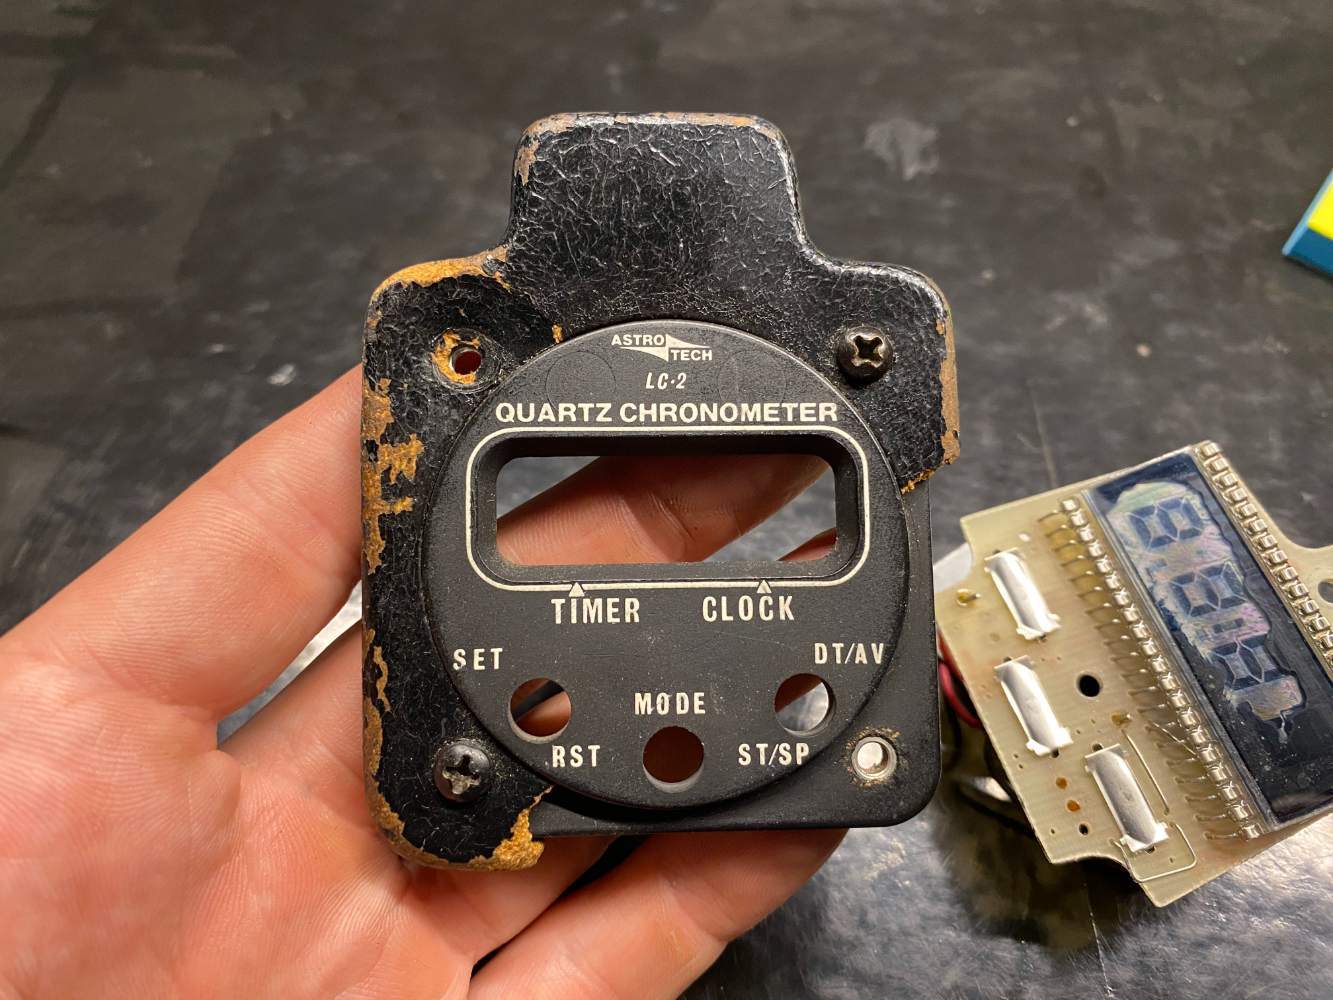
Hey all, decided to spruce up the interior of my '67 F and one thing I'm having trouble sourcing is the cardboard central yoke cover which would have originally framed the 8DAY clock. I'm servicing the AstroTech LC-2 by replacing the LCD, mostly for the fun of it, but the cardboard cover is torn at the bottom right. While I could probably fabricate something, wondering if they're still sold?
-
That's right Paul, I was based in Mexico City. Love my Mooney but most of my flying is very long distances and I'd like something ideally FIKI capable and with more of a hard IFR panel. I got by with this one hand-flying IMC for up to an hour at a time but it gets fatiguing. On another note, would you remind me how I can update my map to show where I've flown?
-
Two incredible years of flying later with trips across the continent half a dozen times and one epic over-water journey to the Caribbean from Mexico, it's time to sell my Mooney and focus on some other things for a bit. Wanting her to go to a good home so posting here. TT: 4381, SMOH: 1519, STOH: ~300 Other highlights within the last three years include: new starter new vacuum pump new tach install of factory certified Garmin SL30 & GI106A ADSB OUT via GTX335 XPNDR Top overhaul gaskets and seals at 1218 SMOH hrs All chrome cylinders, #1 & #3 at SMOH 936, then #2 & #4 at SMOH 1359 remote mount oil filter (Airwolf) new engine mounts new crankshaft seal fuel tank re-seal new oil hoses shoulder belts The aircraft burns about a quart every 5-6 hours is consistent at 9GPH cruising at 8500 and was an incredibly economic time builder for me in which I got to fly into every type of airspace except A and learn a lot about airplane ownership. Some pictures below. All logs have been digitized and are available to interested parties. It's listed now at Barnstormers for $87.5k and please PM with questions. Right now the plane is located in Victoria Canada and the plan is to fly to South Texas in a couple of weeks and can meet along the way. Thanks!
-
Hoping this is the right spot for this topic. Since purchasing my Mooney in March of 2021, I've flown it about 600 hours, mostly between Mexico City and my hometown of Victoria, Canada. Recently, after a few days at Oshkosh, I took the long route to Victoria via Yellowknife, NWT. This holiday I'll be doing my first extended flight over water, flying from Mexico City > Cozumel > Kingston, Jamaica > St. Croix > Antigua and then back again a week later. While the water is warm, I have life jackets, and the regs are muddy on whether part 91 operators need a life raft in the USA, I'm into being responsible and am planning on bringing one with me. I'm sure there are a few of you on this forum who have a spare life raft sitting around. Would any of you be willing to rent it to me for a about a month starting December 13th - January 13th? I would need it shipped to me in South Texas and would ship it back to you when done. Also any tips on extended overwater operations would be much appreciated. Thanks!
-
Oil control rings and lessons learned - with pics!
canamex replied to canamex's topic in Vintage Mooneys (pre-J models)
Compression test done every annual, that cylinder always was in the high 70's. When I was AOG in Yellowknife, we pulled the spark plugs and they were decently fouled (two of them were also loose, which was troubling). Also bore scoped the cylinder and found some carbon on the inside of the wall of the #4 cylinder. In Victoria I got a stuck exhaust valve and the compression went down to 30. After fixing the valve, it went up to 60 but I was going through oil like nothing else. My best guess is that the ring broke at some point on one of the short flights in Victoria. Maybe it broke when the cylinder was pulled off. But the oil consumption became just horrendous after a few quick hop flights between Victoria and Vancouver. -
Oil control rings and lessons learned - with pics!
canamex replied to canamex's topic in Vintage Mooneys (pre-J models)
The decision to replace all the gaskets and seals came after a series of visits to the plane to chase oil leaks which felt like playing an expensive game of whack-a-mole. As soon as we fixed one little oil seep, another one would pop up, and another, and another. Additionally it became pretty clear that anything organic around the engine was disintegrating, so after replacing everything we could, including mounts, baffles, SCAT tubing, and all of the hoses, and still having leaks, the next logical thing to focus on was the leaks stemming from the bases of the cylinders. This course of action was based on many conversations with my mechanic in which the plan was to minimize down time (I fly the plane a lot, and sometimes for work), and gradually replace anything organic, that is, seals and gaskets and hoses. Because the oil consumption was still within limits and my understanding was that chromed cylinders just naturally use more oil, it wasn't inconceivable to think that the high oil consumption was due to a combination of chromed cylinders and pesky leaks. So if baseline for Chromed cylinders was 1qt/4hrs maybe I was leaking 1qt/hr from everything else. What I know now, after a few months and many conversations with engine shops and more mechanics is that the numbers just don't add up. Properly installed and broken-in chromed cylinders should not be burning any more than 1qt/7-8hrs and there's no way the oil leaks we were chasing were contributing more than 1qt/hr. So, should my mechanic have raised his hand and explored the cylinder further? Absolutely yes. When I asked about the cylinder in question, his guidance was that the seals and gaskets would fix the issue. The mechanic in Yellowknife discovered a host of issues with how the motor had been put back together including improperly torqued hoses, improperly sized clamps, non aviation grade hardware, improper routing of the fuel lines...we're no longer working together. @Shadrach's decision making process seems similar to mine, and I'm still well under half the cost of an overhaul. Time will now tell as to if I'm so lucky to have the same results... -
Oil control rings and lessons learned - with pics!
canamex replied to canamex's topic in Vintage Mooneys (pre-J models)
I would agree. It's a conversation I'm going to have with the mechanic who replaced all the seals/gaskets. Some peoples' prioritization schema are a little off. I'd much rather have a fully gone-through motor than a quickly rebuilt one.


