
1967 427
-
Posts
132 -
Joined
-
Last visited
Content Type
Profiles
Forums
Blogs
Gallery
Downloads
Events
Store
Everything posted by 1967 427
-
Hot cylinder solutions needed
1967 427 replied to Greg Ellis's topic in Vintage Mooneys (pre-J models)
Just one more thing to check, timing. If the mags were somehow advanced more than they should be, cylinders WILL run hot. -
Strange to say, but I think I have dog house envy.
-
Rather straight forward. Lay the seal out in the sun for 1/2 hour before installation, and read instructions on your sealant. I suspect apply to both surfaces and allow to get tacky for a prescribed time, tape in place. Like you said straight forward.
-
Can you add electric trim on a F?
1967 427 replied to PierreZee's topic in Vintage Mooneys (pre-J models)
So I first have to apologize for hi-jacking this thread, but thought I would share my response from Dan @ Lasar. I first checked their website to get their phone number and their site now states that it has been updated, which is great. I checked the seat roller just last week and I know for a fact that it stated a cost of less than $12 a piece, and now it no longer shows “out of stock” but the price is $116.57. In talking to Dan he said that they only have 2 and these are the expensive ones. I stated, “Well if you say these are the expensive ones, where are the ones I saw listed last week?” He responded that they no longer have those. I know we were told that their pricing was going to increase, but that is ridiculous.
-
Can you add electric trim on a F?
1967 427 replied to PierreZee's topic in Vintage Mooneys (pre-J models)
Will make that call first thing tomorrow. Hopefully they will have them in stock and if they do, I will make the commitment to them to update their web site. (Since the Internet seems to be the way the world works). I agree with you Matthew, marketing can make or break a company I started writing rant about companies, but deleted it, as I’m sure that’s not how laser works. Also, I will need to purchase parts from them in the future -
Can you add electric trim on a F?
1967 427 replied to PierreZee's topic in Vintage Mooneys (pre-J models)
According to LASAR’s web sit, I can’t even get a seat roller (out of stock), and that is one of the simplest parts ever. -
Better yoke mounted PTT - 3D Print
1967 427 replied to Twing207's topic in Vintage Mooneys (pre-J models)
Not sure what the designer had in mind, but obviously the deep cutout is for the switch, I used the shallow cutout to lay the wiring in. Once I had the switch mounted, I taped over the crossover opening area between the switch and mounting relief, then I poured non-conductive epoxy on the switch. I did about 4 layers of epoxy to fully encapsulate the switch and filled the channel, which acts as the strain relief. When the final layer was setting up, I took a course file to shape the back side. Then sanded to a nice finish. Sorry no images. Also, the printed part does have a nice fit to the yoke, but I added some double sided tape in the pocket to help secure it to the yoke. My fat thumb was more than the double sided tape could handle, so I switched to a small dap of RTV. Now it is mounted like a rock. Absolutely love it. -
You may need to confirm your charging system is operating properly
-
Without knowing if you have had a recent overhaul or new cylinders, I have to agree the battery sounds weak. In the second video no Bendix or starter spinning sounds, again signs of a sick bat. also not an AP mechanic, but a retired mechanical engineer who has live under the hood of may cars
-
Looking at purchasing original M20 - things to look for?
1967 427 replied to DirkS's topic in Vintage Mooneys (pre-J models)
Some people are meant to be caretakers in life. The person who eventually purchases this aircraft is a caretaker. They are the ones who make purchases like this to preserve the history of our Mooney’s. In my opinion this is a plane should be kept as close to original as possible. (Obviously for safety improved radios). I have owned a car for a long time, I am it’s present caretaker, and I tell my wife that she will have to sell it to the right person. (A new caretaker). Short version- If this aircraft meets your mission and you want to take pride in its history, this is the plane for you. -
Better yoke mounted PTT - 3D Print
1967 427 replied to Twing207's topic in Vintage Mooneys (pre-J models)
I hated my old PTT button that was Velcro strapped to the horizon section of my yoke. The button was starting to stick on, and I was starting to get in the habit of having to pull the button out after every transmission. I finally had enough of that, now I have to get used to barely touching the button. Absolutely love my new PTT button, thanks for attaching the file to your thread.
-
Willing to buy ram air boot at premium
1967 427 replied to Hradec's topic in Vintage Mooneys (pre-J models)
Some faith has been restored, great to hear -
Willing to buy ram air boot at premium
1967 427 replied to Hradec's topic in Vintage Mooneys (pre-J models)
So back on April 10th, 2024 a topic was created, (LASAR Ordering Intake Ducts for B/C/D/G and E/F Models) and in that comment it was stated that the lead time was 35 weeks. I am really curious of how many people have received their order. So many people stated that they were handing over their cash and ordering their part, I held off on placing an order. 1. If the manufacturer is going to do a run, he isn’t making them to order, he will do a run of that part. 2. My boot is still in very good condition, so I have no sense of urgency. My thought was when people start receiving their orders there will be an overrun and that is when I will purchase mine and place in a vacuum bag and store in a dark place. In over a years time has anyone received any boot, or duct? -
Better yoke mounted PTT - 3D Print
1967 427 replied to Twing207's topic in Vintage Mooneys (pre-J models)
What type of material did you use(PETG Filament)? -
Better yoke mounted PTT - 3D Print
1967 427 replied to Twing207's topic in Vintage Mooneys (pre-J models)
Awesome, now I have a reason to buy a 3D printer! ! -
Are all strobe bulbs created equal?
1967 427 replied to 1967 427's topic in Vintage Mooneys (pre-J models)
Just found this and since I have more time than money, as I am retired, I have to fun project ahead of me. https://francomarquis.wordpress.com/2019/05/01/aeroflash-strobe-restoration-for-under-15/ Since this is for a spare, it’s not time sensitive. -
Are all strobe bulbs created equal?
1967 427 replied to 1967 427's topic in Vintage Mooneys (pre-J models)
With this information, does anyone know if the Whelen A427 will fit into the Aero Flashes glass housing? Or should I continue to look for the cheap one? -
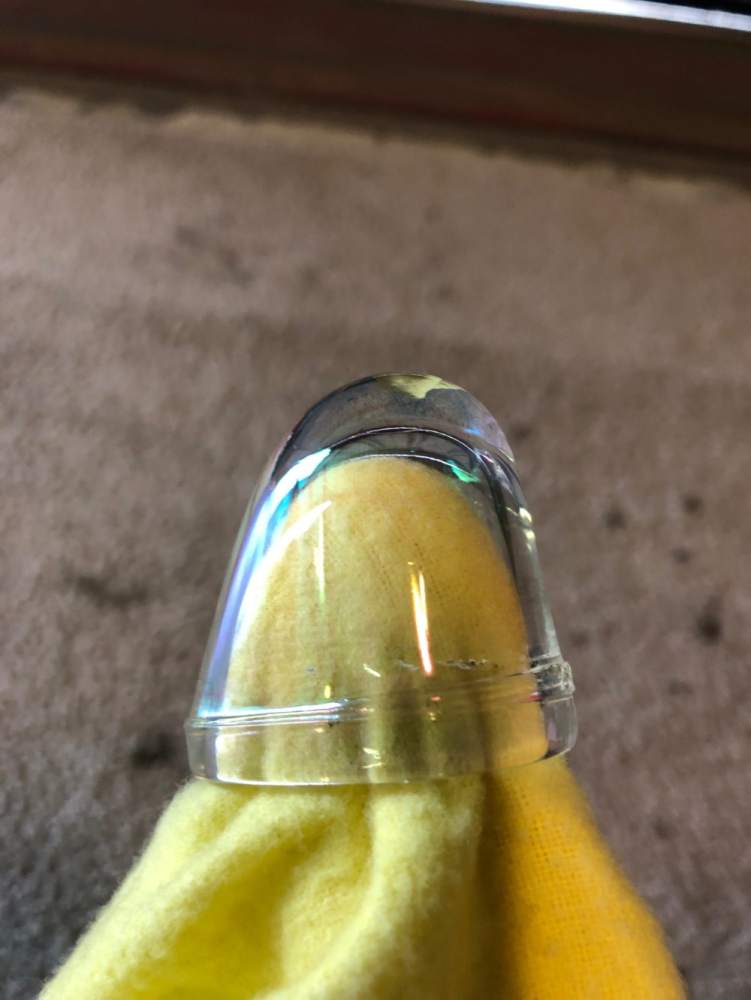
I have always kept spares on hand in my hangar, oil and air filters, copper crush gaskets and so on. Recently I have been stocking up on light bulbs, but have been unable to identify the type of strobe bulb that I use. Normally I’m pretty good at sourcing part numbers, but this one has me stumped. Below is an image of my strobe bulb. Anyone know the pn and if it’s still available? This bulb fit into a tapered glass housing. The only replacement bulb that I keep coming across is a bulb that has a coil in it and a don’t know if it will physically fit inside the glass housing. Below is an image of an A610, with the coil I mentioned. Does anyone know if my type is still available or is it becoming unobtainium?


-
Actually I think it’s this one https://www.ebay.com/itm/205165708619 most used ones have internal damage from improperly cut cotter pins that cut thru the cap
-
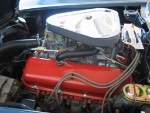
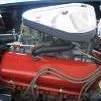
I’ve had this for about 35 years.
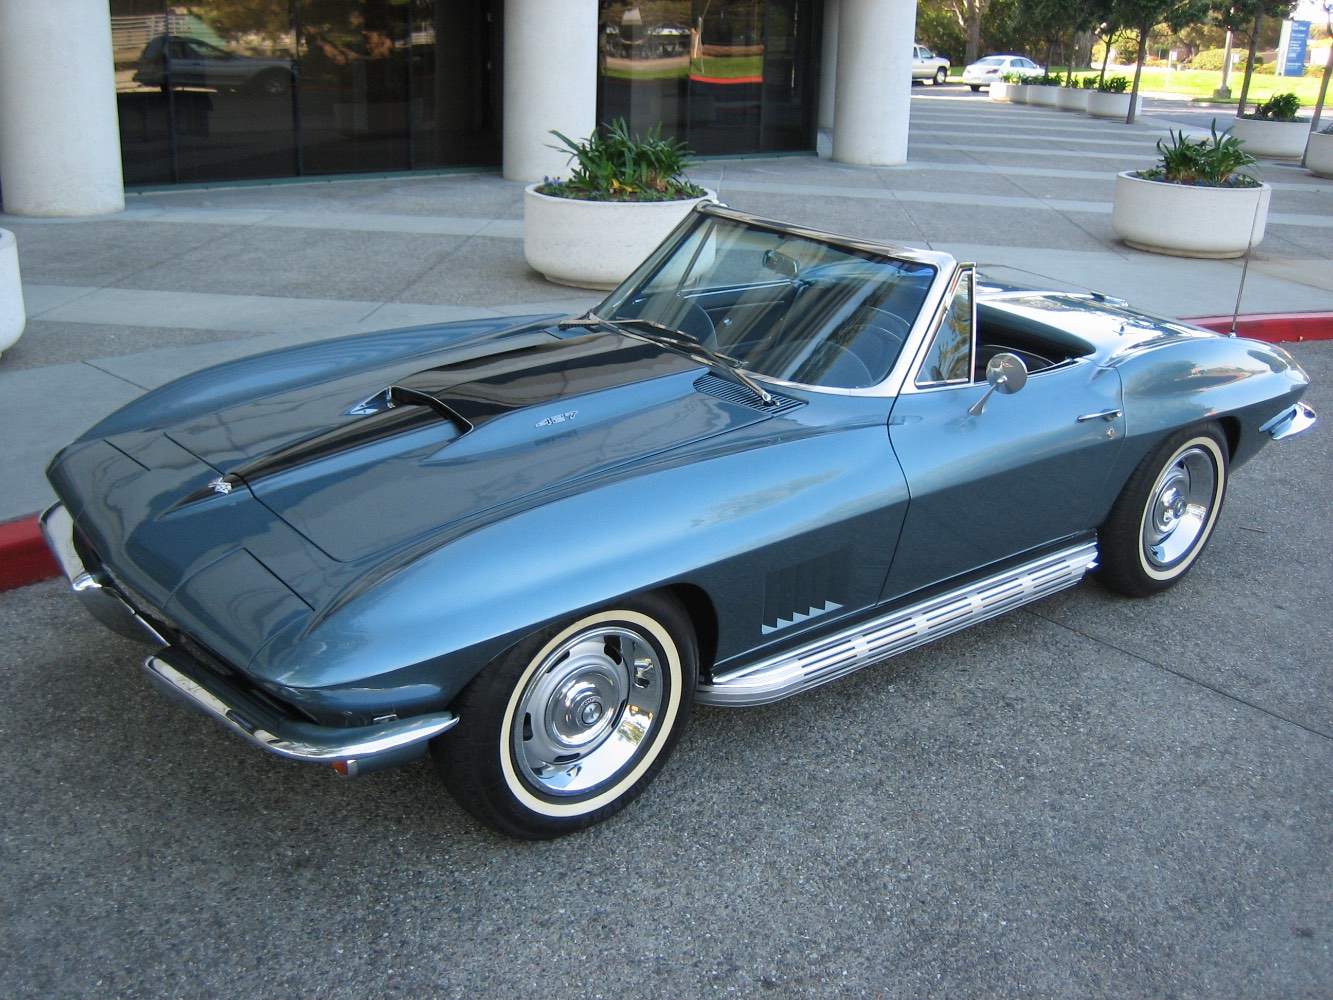
-

Absolutely beautiful! My favorite decade for the Corvette.
-
-
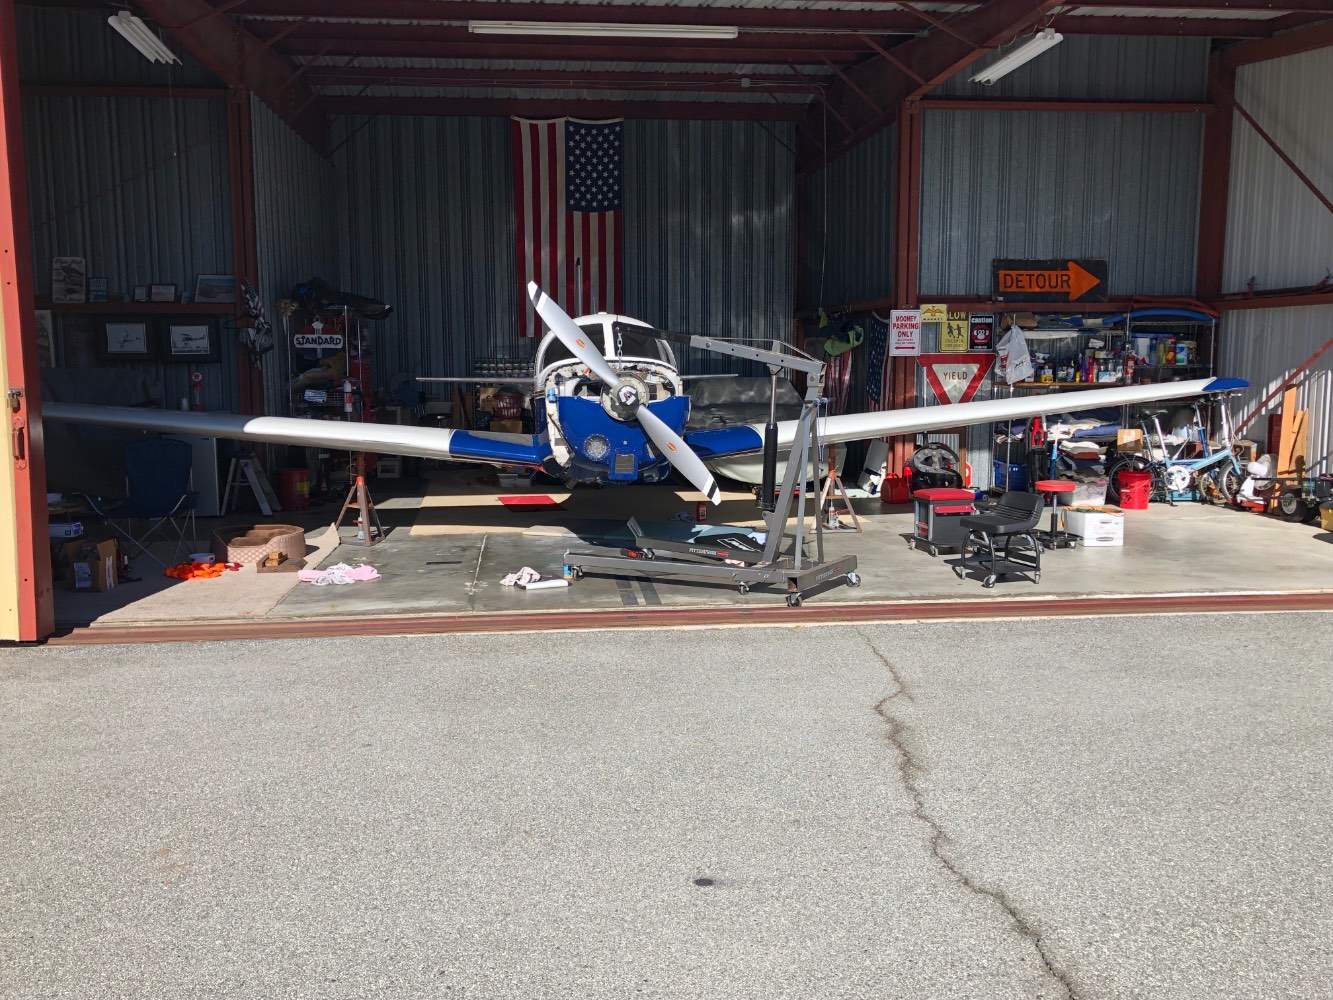
Hard to see, but there is a tub of sand bags on the tail hook, it isn’t pushing up or pulling down, it holds the tail in a static position.
-
Call me paranoid, but I use a tail weight that has a fixed length. I use my wing jack along with a cherry picker that I attach to the lifting point on the engine. One inch up at a time on all the lifting points until all wheels are 2 inches off the deck. My concrete tail support is actually a wash tube filled with bags of sand that hold my umbrella stand with the fixed height mounting point (all that is sitting on a dolly so it’s easy to move around). With all 4 mounting points in place and the plane unable to rock, I still get in gingerly. Or MaryAnn And it’s returned to the deck for the evening if my mechanic doesn’t finish underneath in one day. (Never rely on hydraulic cylinders or the possibility of an earthquake)
-
Garwin Cluster Cylinder Temp Zero
1967 427 replied to Mellow_Mooney's topic in Vintage Mooneys (pre-J models)
Just found the page with 67F schematic and it’s the same pn. -
Garwin Cluster Cylinder Temp Zero
1967 427 replied to Mellow_Mooney's topic in Vintage Mooneys (pre-J models)
Don’t have manual for 67F, but according to my manual the correct pn for a 67E is AN5546-1 -
Garwin Cluster Cylinder Temp Zero
1967 427 replied to Mellow_Mooney's topic in Vintage Mooneys (pre-J models)
Your new thermal couple is it a type K or J?


