Lfreebird
Basic Member-
Posts
15 -
Joined
-
Last visited
Profile Information
-
Location
Louisiana
-
Reg #
N2945L
Recent Profile Visitors
The recent visitors block is disabled and is not being shown to other users.
Lfreebird's Achievements
-
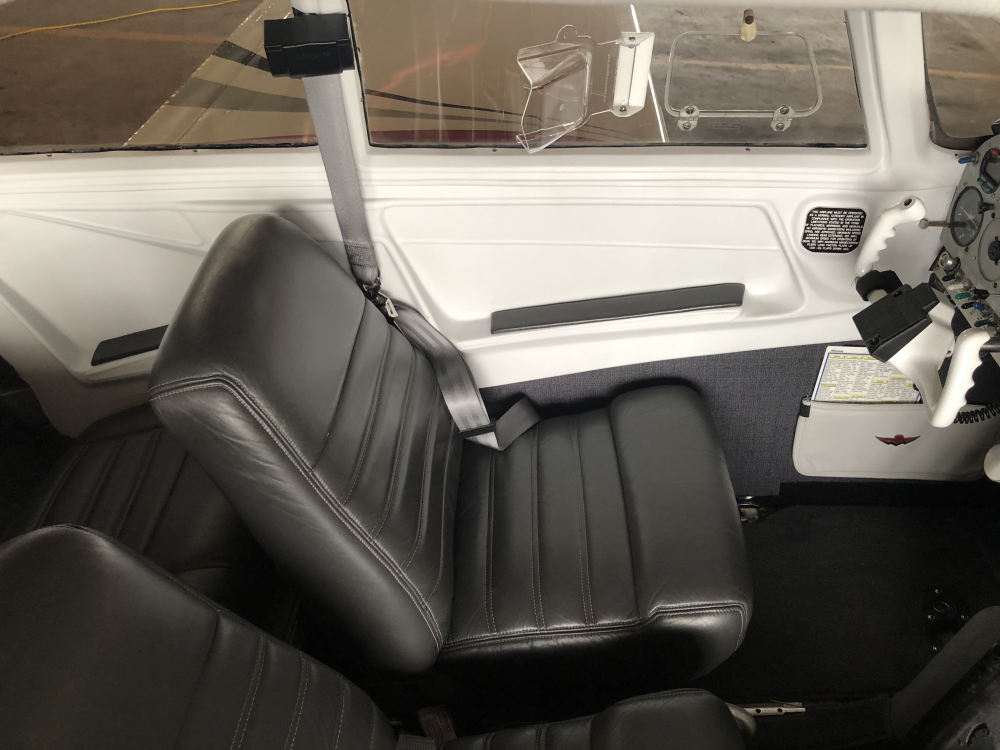
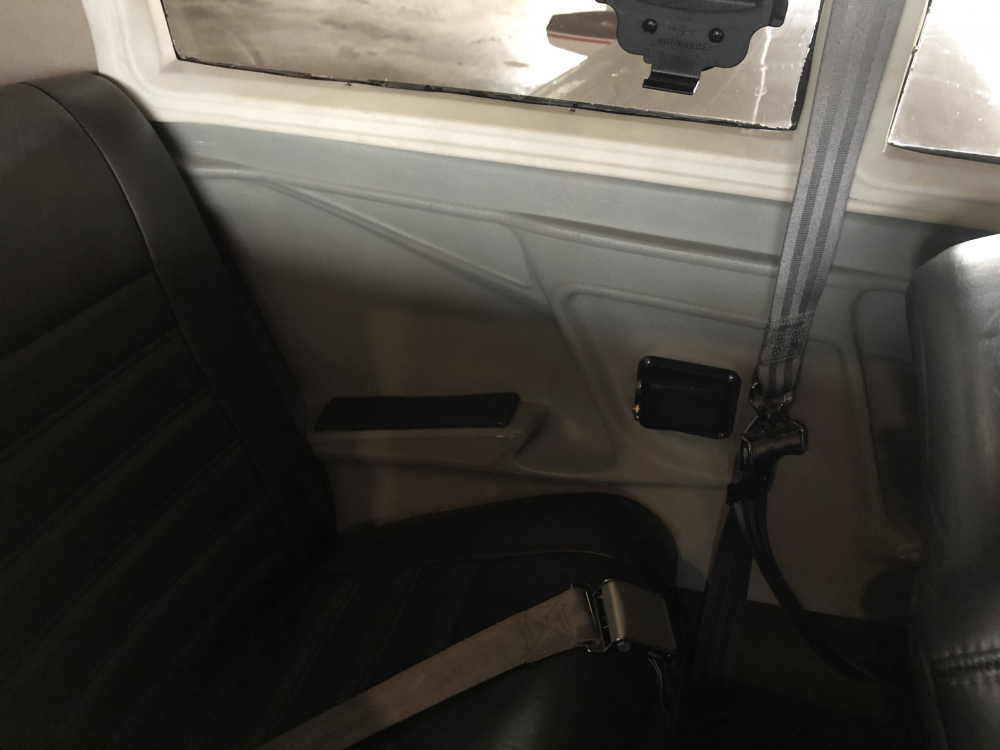
One more bullet to add to the time required: I spent probably 3-5+ hours messing with the shoulder harness reels. Whoever installed it did a fantastic job only making a small hole in the upper window trim plastic for the attachment bolt to go through. I had to turn the reel sideways while holding the seat belt at full extension to somehow get a small 5/16" wrench behind the plastic to undo the bolt to remove the reel to then remove the plastic window trim. When it came time to put it back I used a Dremel to cut a small section out of the plastic to allow the window trim plastic to simply slip by the shoulder harness reel allowing the reel to be installed prior to the plastic trim.
-
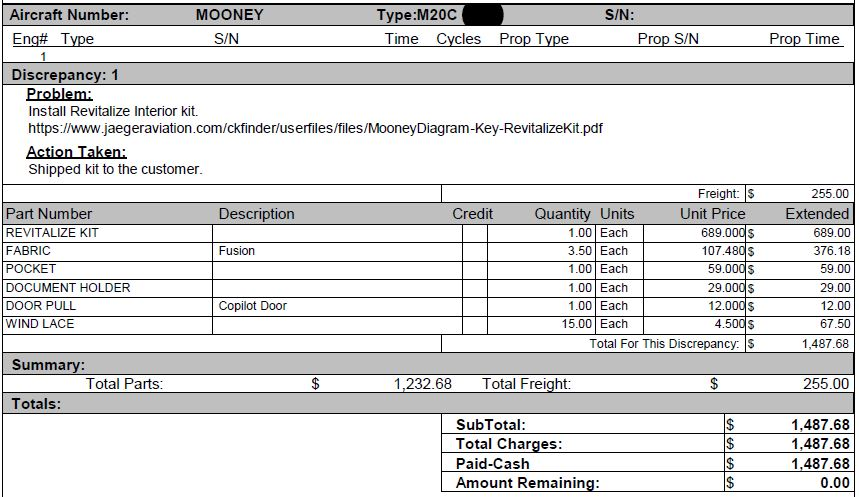
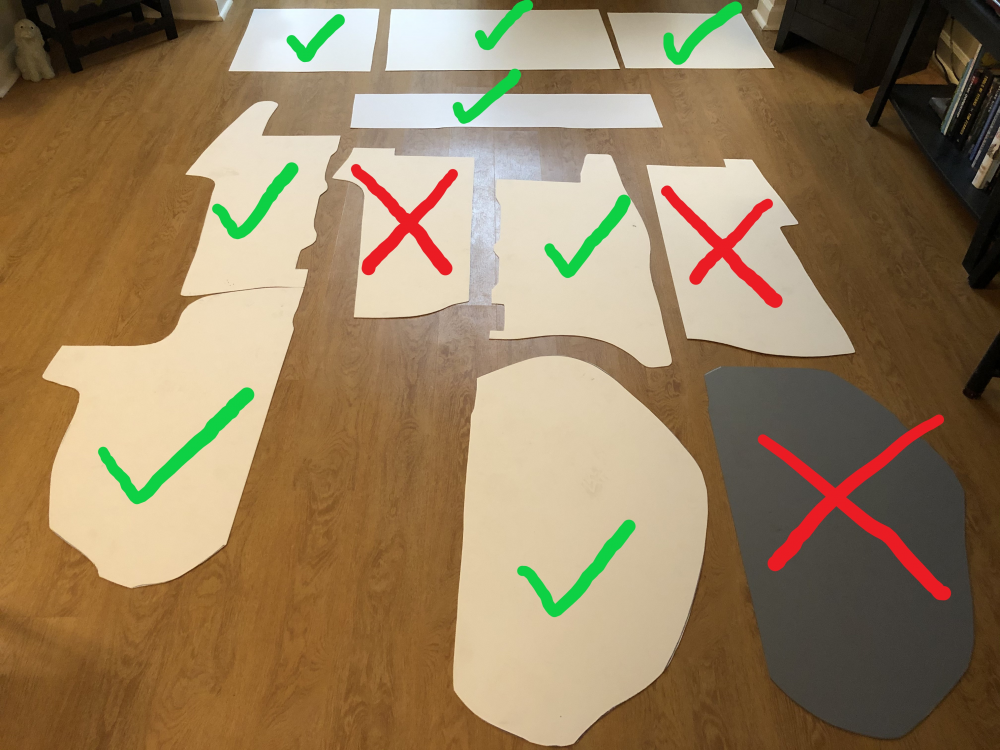
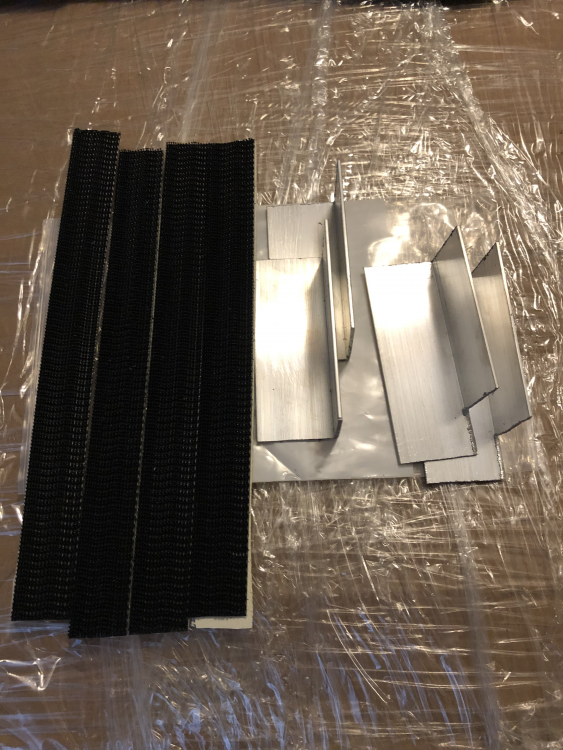
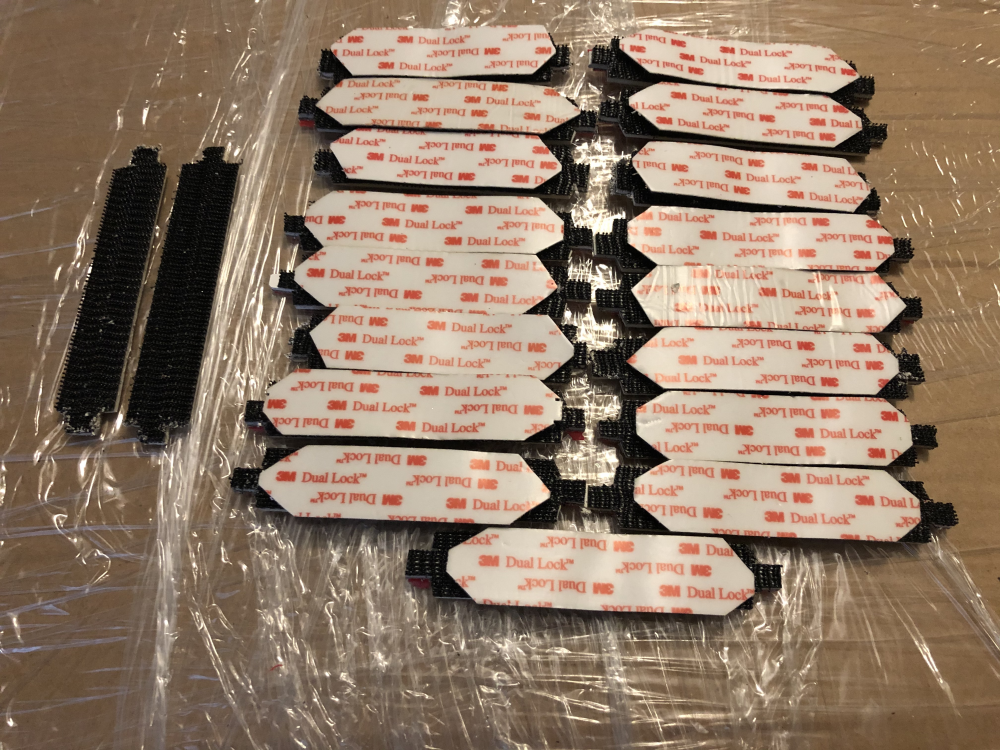
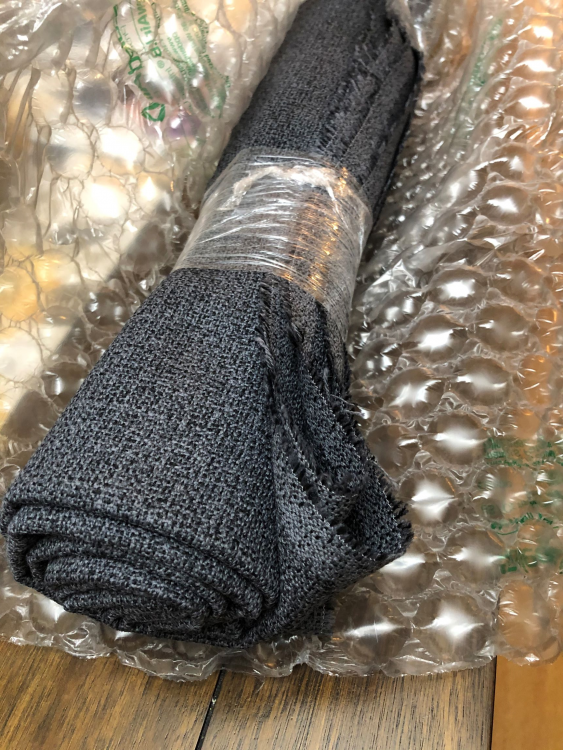
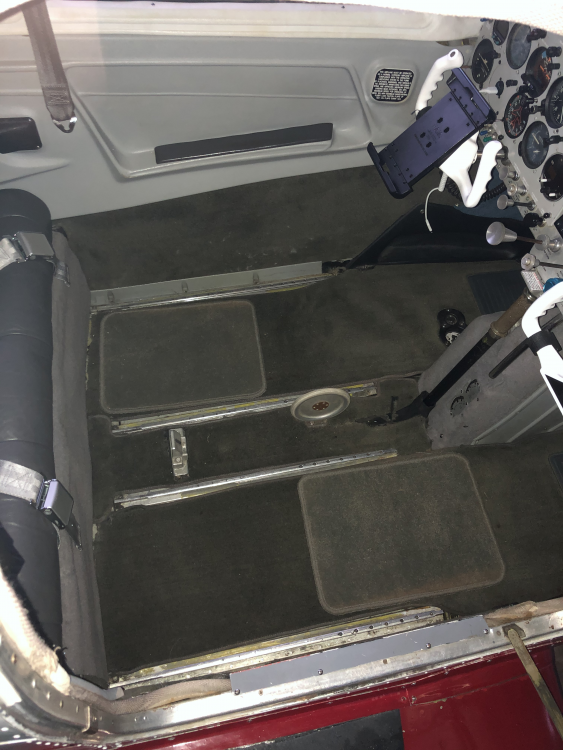
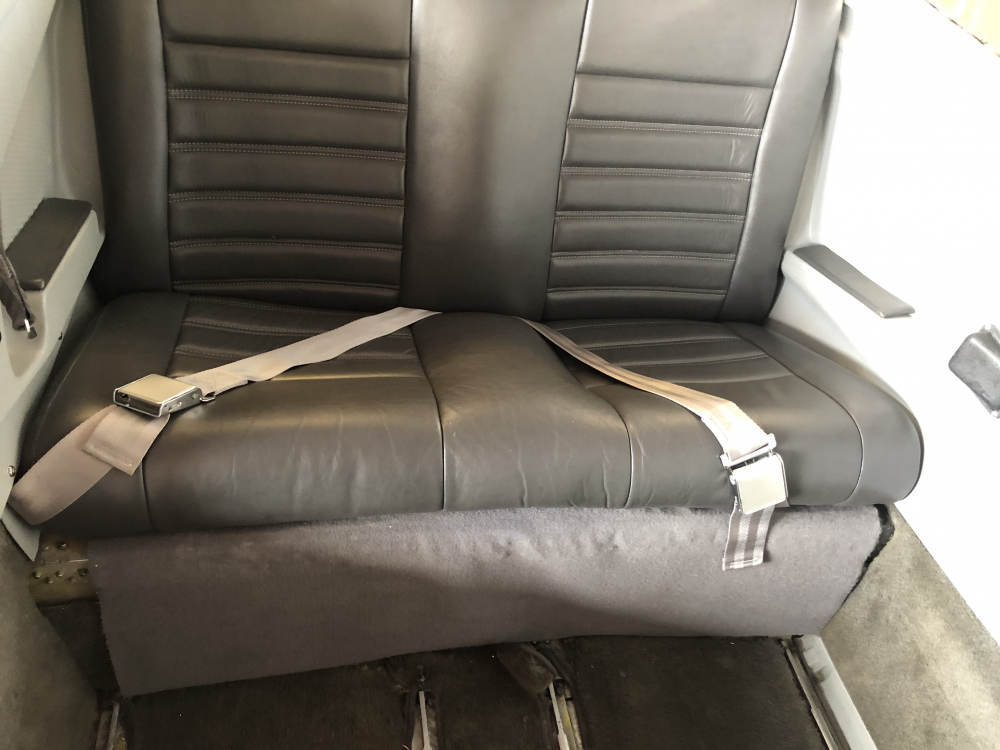
Cost: Total was about $1,700 or so after all the ancillary stuff was purchased (primarily paint and spray adhesive). I used SEM product paints with a U-Pol UV protection clear coat. I recommend going another route on the paint as it appears to be easily worn. I used 5 cans of SEM 15313 White which had a hard time covering up the original darker color. I also used 3 cans of SEM 13023 Low Luster Clear after one coat of U-Pol UP0796 Clear #1. The finish appears brittle so I would recommend a more durable paint. Prior to painting I used SEM Soap, SEM Plastic Prep, and SEM Adhesion Promoter which may or may not have been worthwhile, its hard to tell. I highly recommend buying a wallpaper roller. The wallpaper roller made adhering the fabric to the plastic panels very easy. Prior to rolling the fabric onto the plastic ENSURE the spray adhesive on both sides is tacky. I got impatient on one piece and rolled the carpet on before the adhesive was tacky and it bled through. I actually got more Kydex panels than needed in the kit as pictured below. I used the extra pieces to cover the top of the spar with. I ended up ordering some scrap Featherweight Carpet from Wisconsin Aviation to go in the pilot & copilot footwells to prevent the footwell fabric from becoming soiled Time: Hard to say. I remember Wisconsin Aviation sent me a quote to do the install themselves (I want to say it was about 20 hrs or so but I cannot confirm that number since I no longer have the quote in my email). Overall I probably spent about twice that amount of time on the revitalize kit alone. Additionally, I did the fold down back seat minor mod which took about the same amount of time as the revitalize kit install. A couple caveats: I did the project by myself and I work at a snails pace I spent 4-5 full days working on the project and then an afternoon here and there for a couple weeks afterwards finishing up small odds and ends (primarily the back seat fold down minor mod) I treated some minor surface rust/corrosion along the way
-
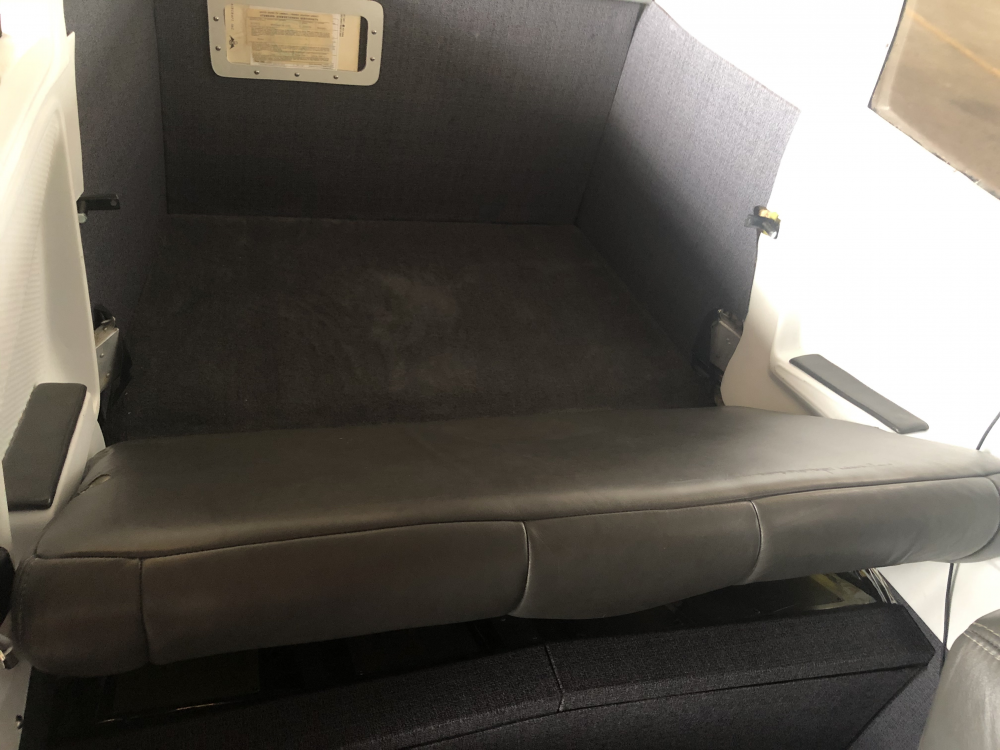
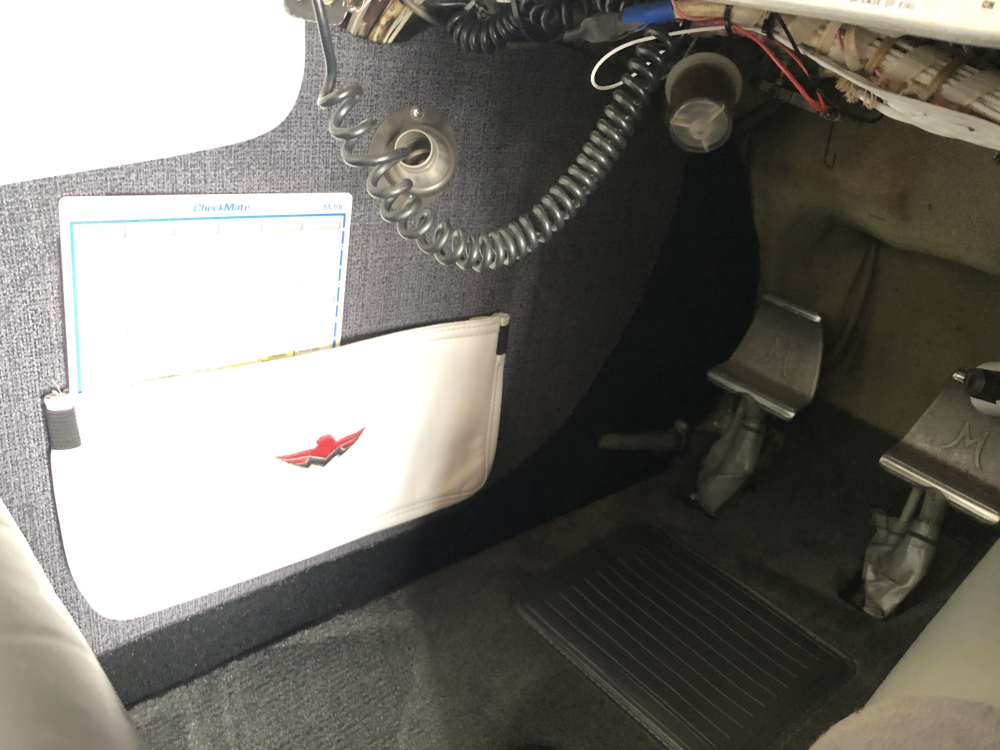
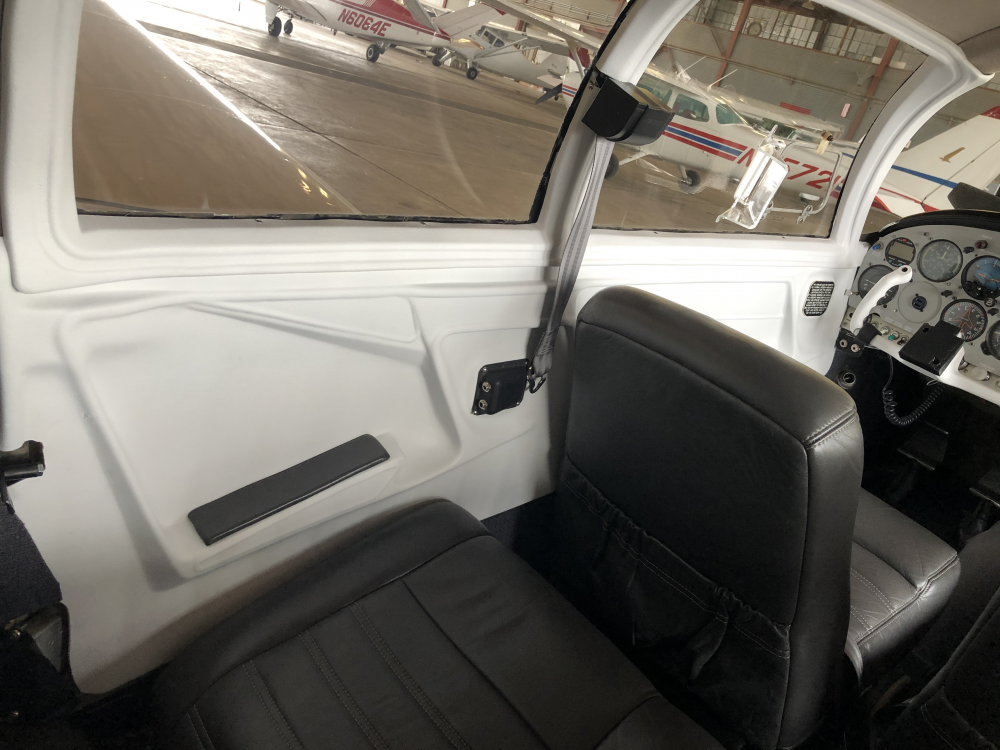
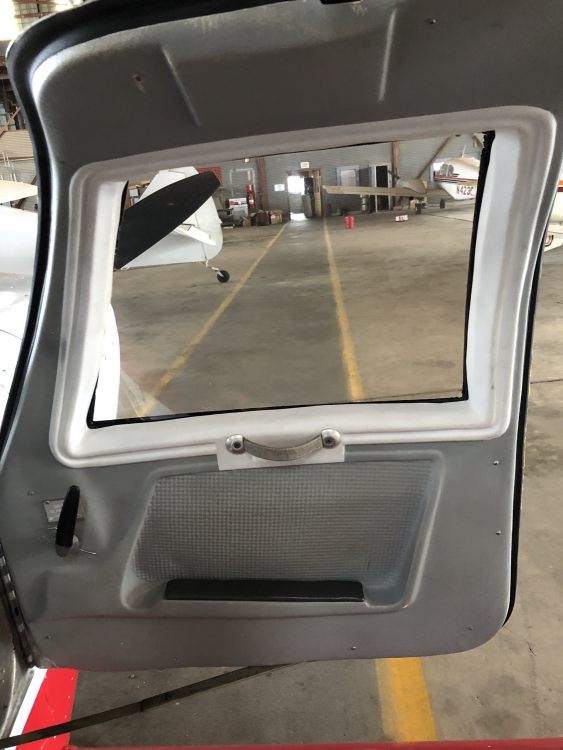
If you ever consider "revitalizing" your interior I highly recommend Jaeger/Wisconsin Aviation's Revitalize Kit. The process took about two solid weeks of work (maybe a little more here or there) by myself and if I did it again I would certainly find a friend to help. Below are the before and after photos. If anyone is interested in updating their interior and has specific questions feel free to reach out. I have about a hundred more photos of every step along the way. I also did the fold down back seat minor modification at the same time. -Lance Before: After:
-
Mike Busch and EAA have a fantastic webinar series for both experienced and new aircraft owners alike. I emailed Mike a question recently and he replied within a day. I fully expected to be referred to one of his Savvy services however, he personally took the time to reply several times without ever trying to push his business. Highly recommend EAA’s webinar series and Mike’s books. They have certainly helped me a lot.
-
Nothing super scientific or anything of that nature. Looking primarily at a high level generalization of brand/viscosity used by airplane owners. I also am curious about the percentage of those that use additives whether they are included in the primary oil product or in a supplementary product. Of course, there are a lot of factors to consider if it were aimed at a more granular objective. As you can see I did not include mineral oil since that is primarily used for break in (unless there’s one of you out there using it regularly). In the future I may look to narrow the scope and increase the specificity, but until then this will suffice. I certainly appreciate your suggestions and insight. -Lance
-
Thank you for the recommendation of adding a selection for "none" to the additive question. I appreciate it. -Lance
-
Working on a research project. Your assistance is appreciated. Please let me know if there is anything else worth considering. Thank you, Lance
-
Thanks for the email. I had sent him a PM many months ago without a reply so I hope he still has some.
-
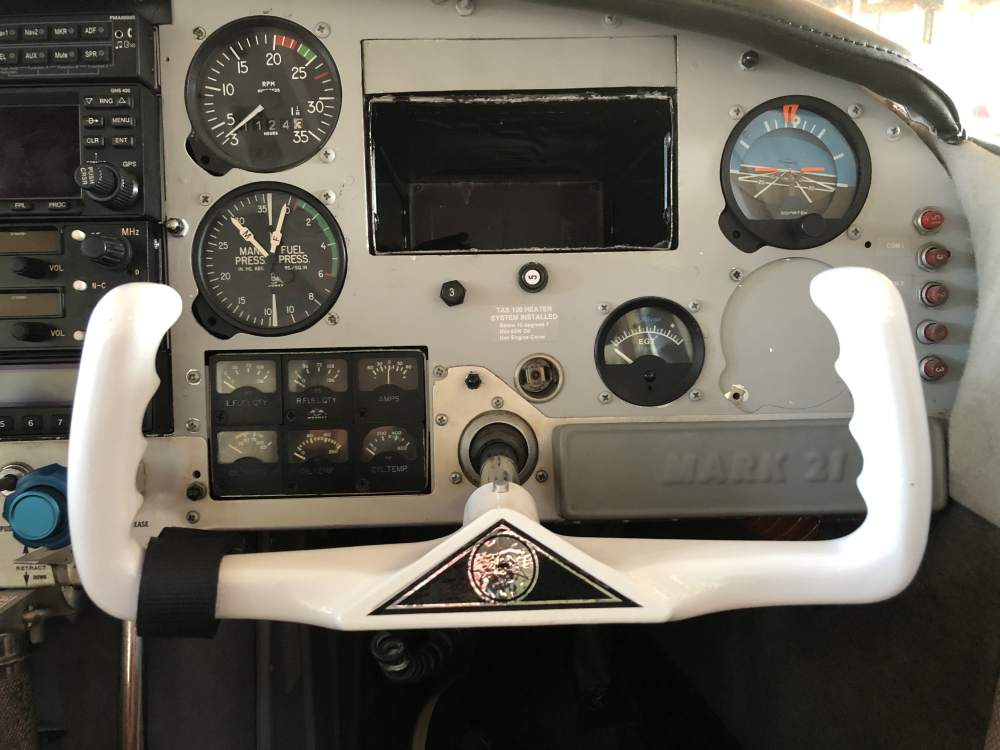
Where did you find the yoke logo? I had to settle for a sticker version from eBay...
-
Prior to doing the annual on my 1967 M20C I had noticed some slight fluctuations on the fuel pressure gauge during climb out and didn’t think much about it until I started getting the same fluctuations in cruise (nothing wild but enough to warrant investigation). The fuel pressure gauge had been removed for inspection a year earlier (previous owner) which was reinstalled after the completion of a good bench operational check without any defects noted. All the fuel lines were replaced with new around the same time. I just completed its current annual and replaced the engine driven fuel pump thinking that was the source of the problem. First flight out of annual it appeared the issue was fixed. Second flight, I noticed fluctuations (seen in the attached video) on climb out and once again they disappeared during cruise. During the fluctuations I turned on the boost pump and the pressure increased to a steady 6. In cruise, IMG_0532.mov the gauge holds a steady 6 without the boost pump on as well. Any pointers would be greatly appreciated as I continue to track down the issue. -Lance
-
Thank you all for your input. I truly appreciate the advice. In the end, I couldn’t pass up the $50 (total) quote I got to powder coat both yokes. I am extremely happy with this decision and can get them recoated 15 more times instead of going the leather route. Now if I could get one of TheTurtle’s metal vintage Mooney decals... -Lance
-
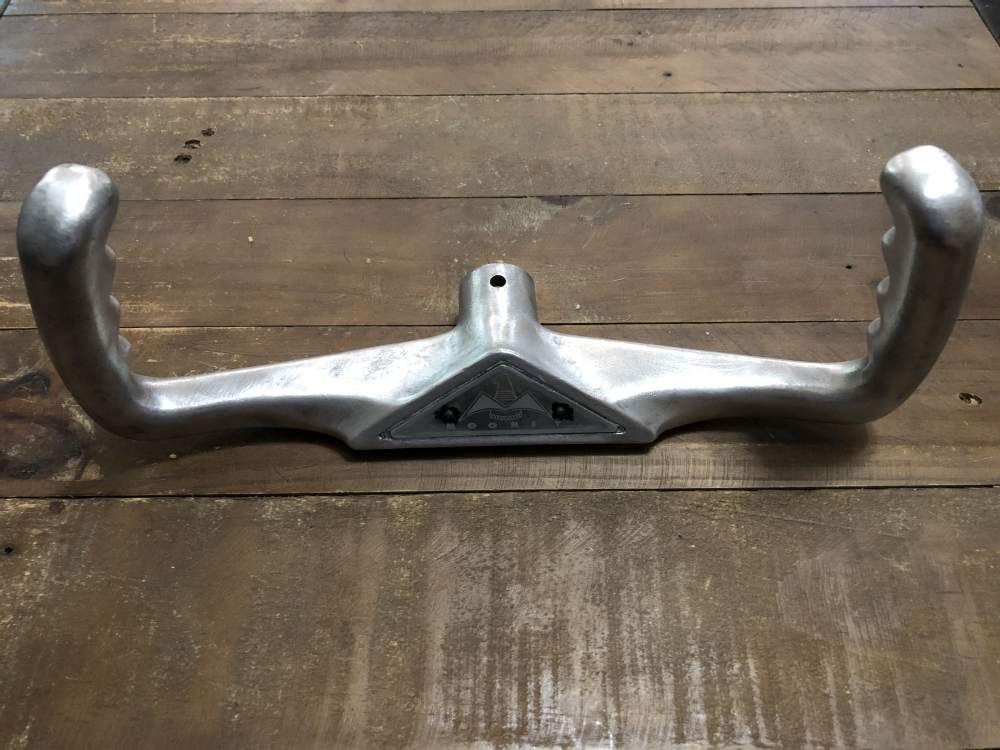
The leather wraps from Aero Comfort certainly look nice. I simply have a hard time spending $800 for just the yoke wrap but I'm sure they are the best choice if I was willing to spend that much. There was some other "leather" wrap on the controls that I removed because it was disintegrating so I wanted to avoid going back to that brand. That leaves paint vs powder coating and for some reason I saw that through the forum the consensus was that powder coating didn't hold up (I'm probably wrong). With the comments so far, I'll be reaching out for a powder coating quote locally. Also, what is the best method for removing the pins/beads holding the Mooney plate in place?
-
For those who have painted their yokes, what is the best method to prep the metal? In searching the forum, it looks like I will be using a polyurethane paint and would like to avoid having to redo this in the future. -Lance

