Search the Community
Showing results for 'clamp'.
-
I would think riveting in an adapter plate for the smaller cylinder diameter of the ACS switch should be straightforward and uncomplicated. Much better than clamping to the plastic overlay. In fact, you could even machine a small washer to fit in the oversized hole (larger than the hole with a rim to center on the hole and then get a good clamp on the aluminum panel with a second flat washer. Definitely within my skill as an owner-manufactured part.
-
Check with the guys at Biggin Hill, they used to be “UK MSC”? Sure there are some uncertainty arounds some parts: few (new) factory parts are done in bulk both in time and size and they are not sold B2C, however, the majority of parts are standard or are sourced elsewhere with plenty of fleet around I don’t think Arrow vs M20J are very different for maintenance or parts (I flew and maintained both Arrow and M20J, no meaningful difference but again it’s “one data point” and maybe I was lucky with both). Fore sure, the mechanics and schools in UK tend to prefer to work with they have around, in UK it’s Pipers (in France, they prefer to work with Robins and in Austria, they prefer to work on Diamonds, “des gustibus non est disputandum” ) All parts comes from US anyway then one is more likely to suffer from bigger effects (supply shock, lead time, slowdown, covid lazynses, inflation…) than things like “Cessna vs Bonanza” or “Mooney vs Piper”. These days, you will struggle to find an exhaust clamp for turbo in Arrow same as for Mooney
-
They didn’t say. Only anomaly…there was one mounting bolt that was inside the cowling. Surprised it stayed in the plane, appears that it worked its way out at some point and maybe a bump on landing or rough patch of the ramp caused it to drop out and cause some bowing in the turbo, even that seems implausible as the TIT at landing was 1100 and for the three minutes prior below 1300 during descent. We have reams of engine data and we run the turbo below 1650, generally around 1615, but again, I doubt we will ever know the “cause”. That bolt wasn’t there the week prior when it came out of annual though they did find the left (as you are looking at it) clamp loose, not the the one subject to the AD. Could have been a lot of vibration. Could have been a bearing failure that caused the shaft to shift causing contact with the side of the inlet causing a bend. Could have been space aliens.
-
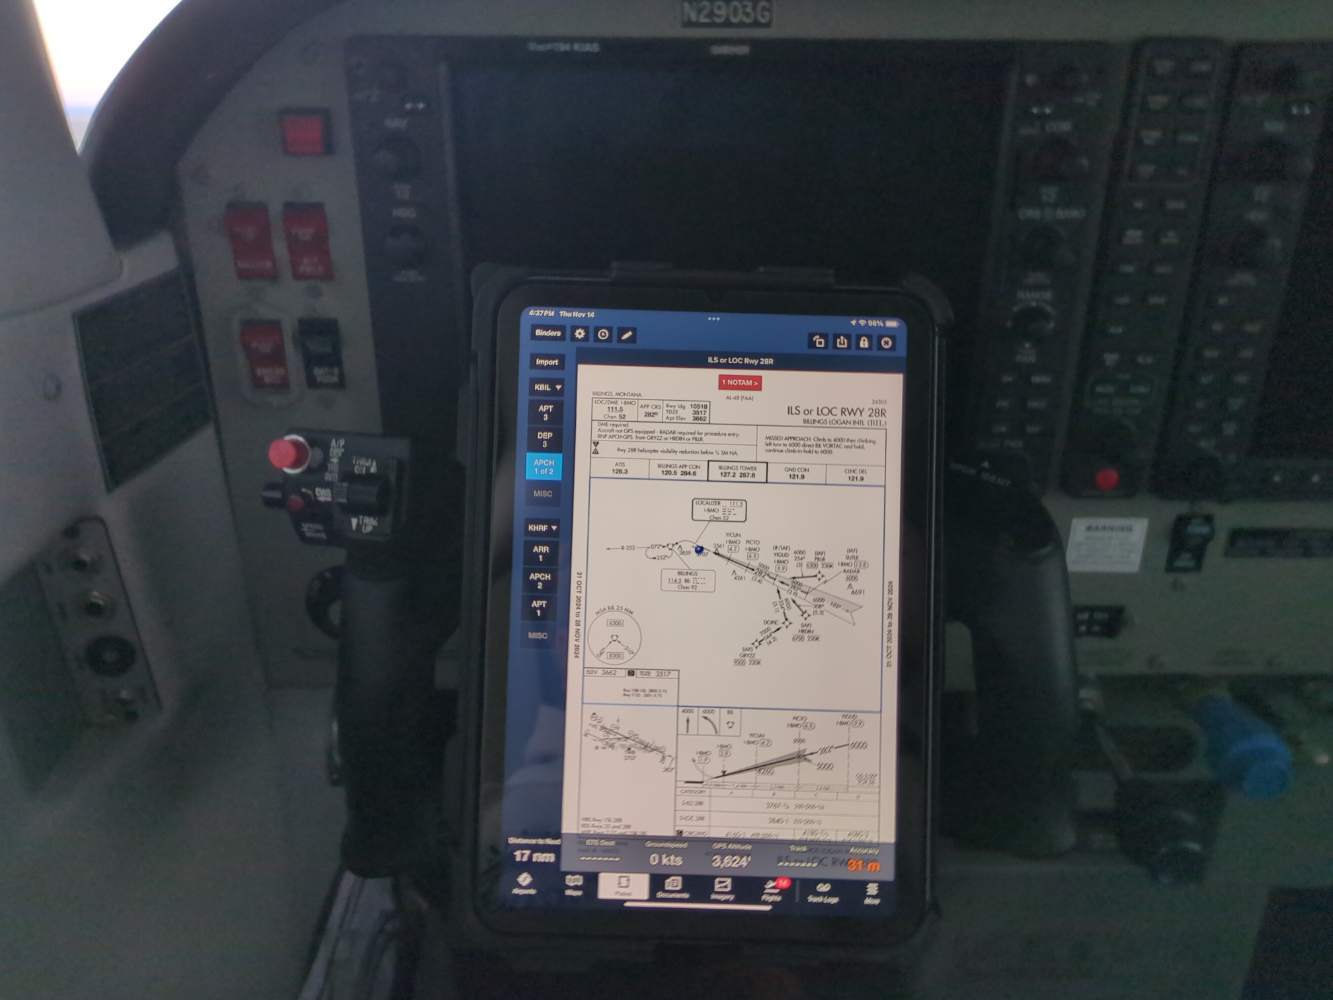
I promised pictures of the installation I use currently of my I-pad. After auditioning a bunch of Magic flexible arms, I settled on the Manfrotto Magic arm and super clamp. They are Italian made, and expensive, but much much better than their Chinese knock-offs. Also pictured is a cooling base which I just added. It needs the My-Go-Flight adapted. John Breda
-
M20F aileron flap rigging boards
cliffy replied to Ronnie Pool's topic in Vintage Mooneys (pre-J models)
On the ailerons and flaps one can come close just by clamping a wooden bar across the top of the control wheels and then aligning the balance weights of the ailerons to match the top of the wing skins (taking care to account for aerodynamic forces pushing up on the ailerons) and while those two are clamped secure, adjust the flaps to match the ailerons. One would still have to make a few trim control check flights and adjust the up stop of the flaps to counter any small roll tendencies. The aileron balance weights generally run about faired with the top of the wing in flight ( w/ flight loads) Then use a Devil level to check the control throws. Always check the ball both on the ground and in the air for perfect center (in flight adjusted with rudder tab) When doing the pitch controls you do need some sort of board to set the stab to the correct angle in relation to the C/L level position of the fuselage (3 1/2 degrees LE down on some) in order to get the correct deflection angles on the elevator. One can clamp the elevator weights to the stab and then make a board that keys on the LE and TE and has a flat parallel top to the LE/TE notches and then use a Devil Level to set the correct nose down angle -
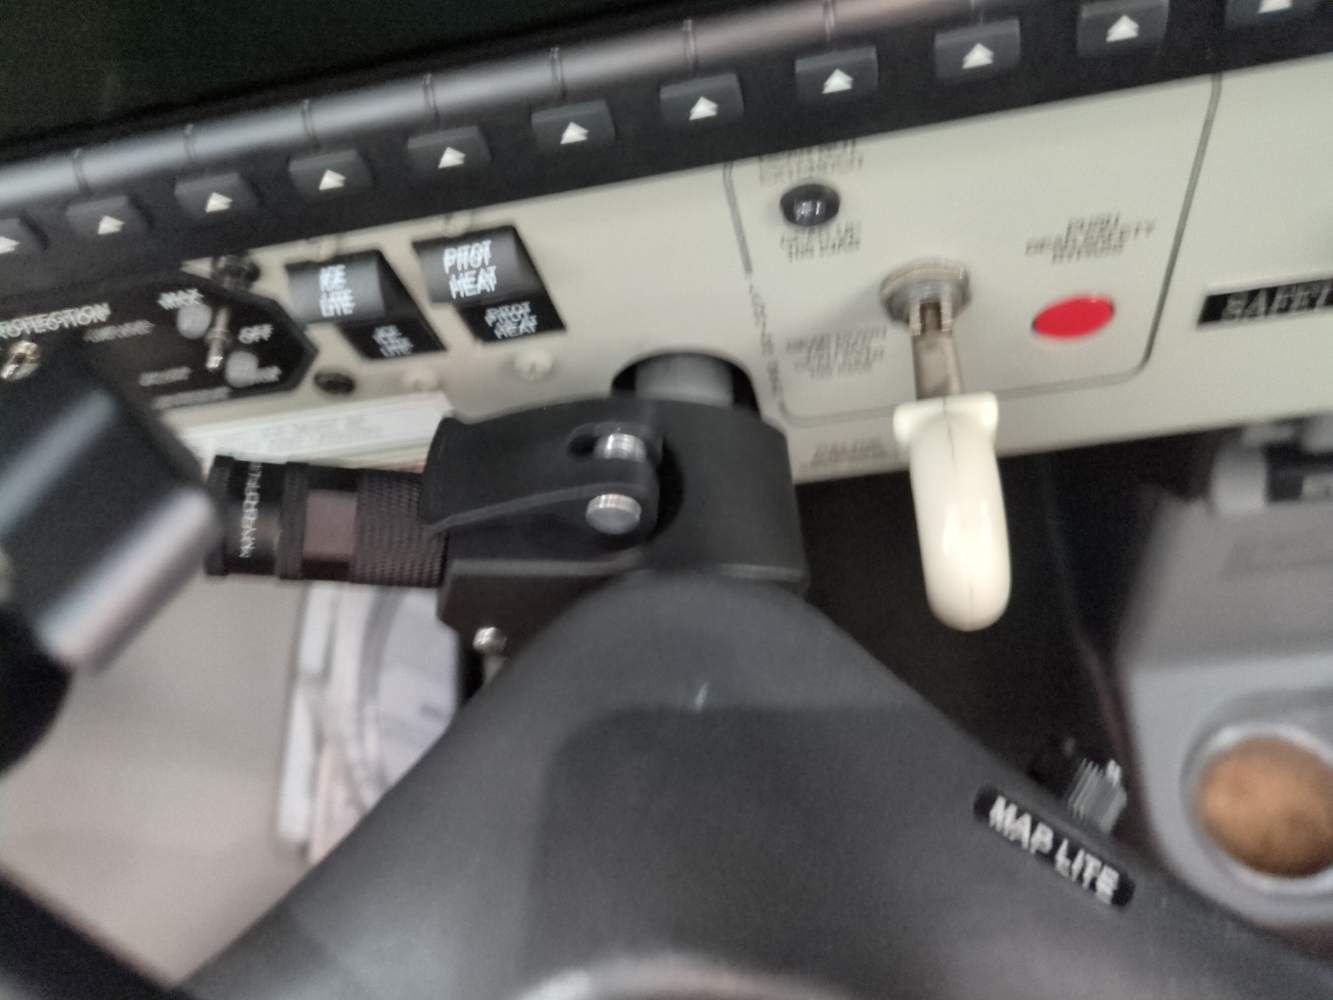
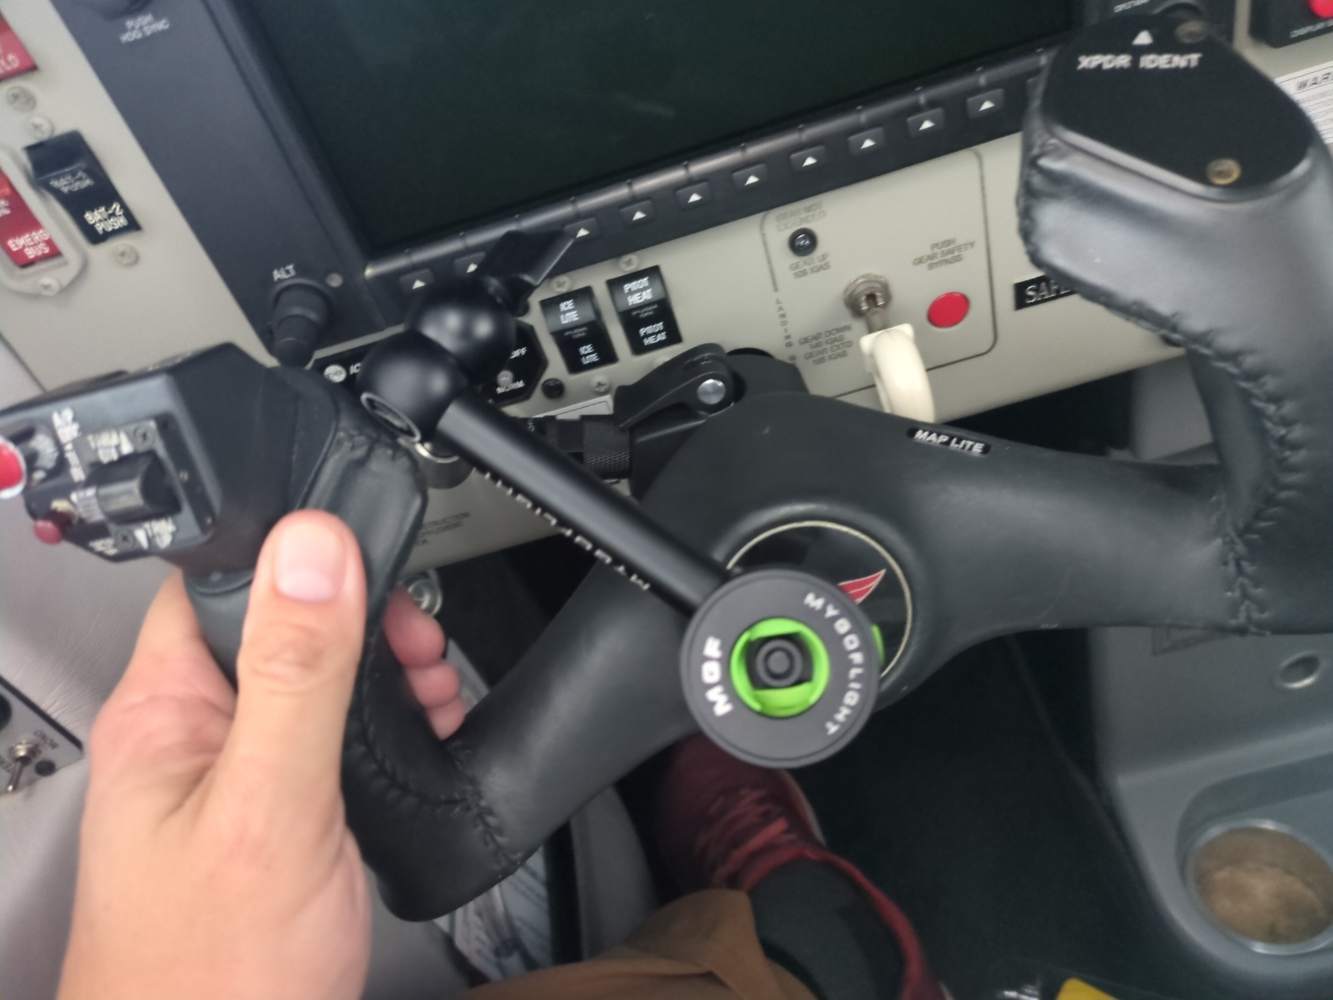
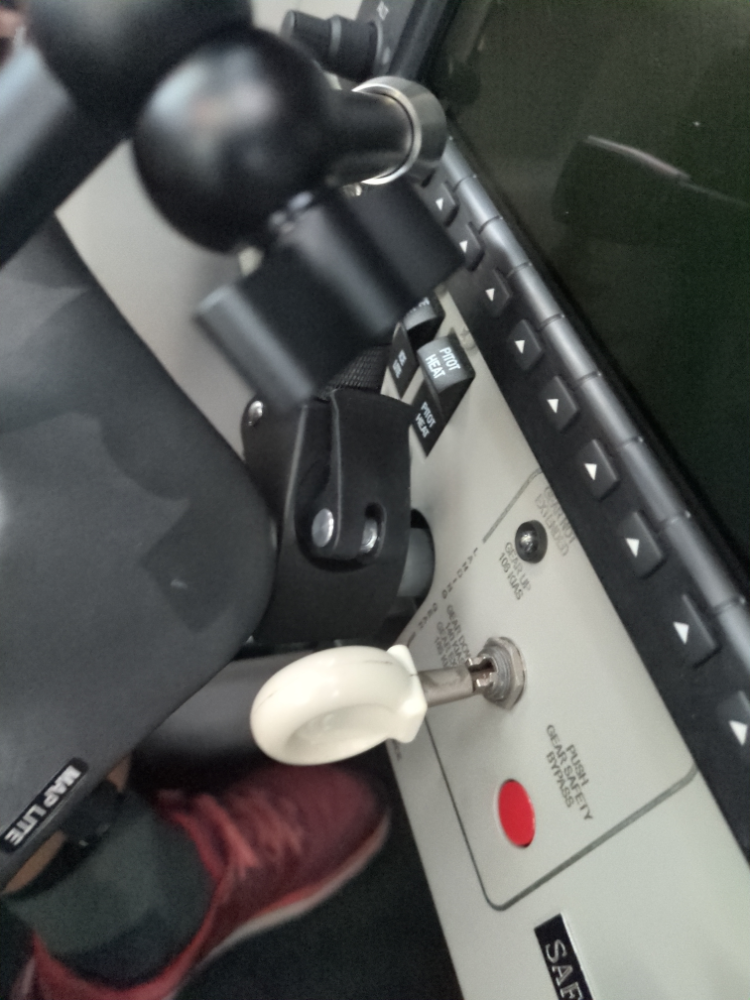
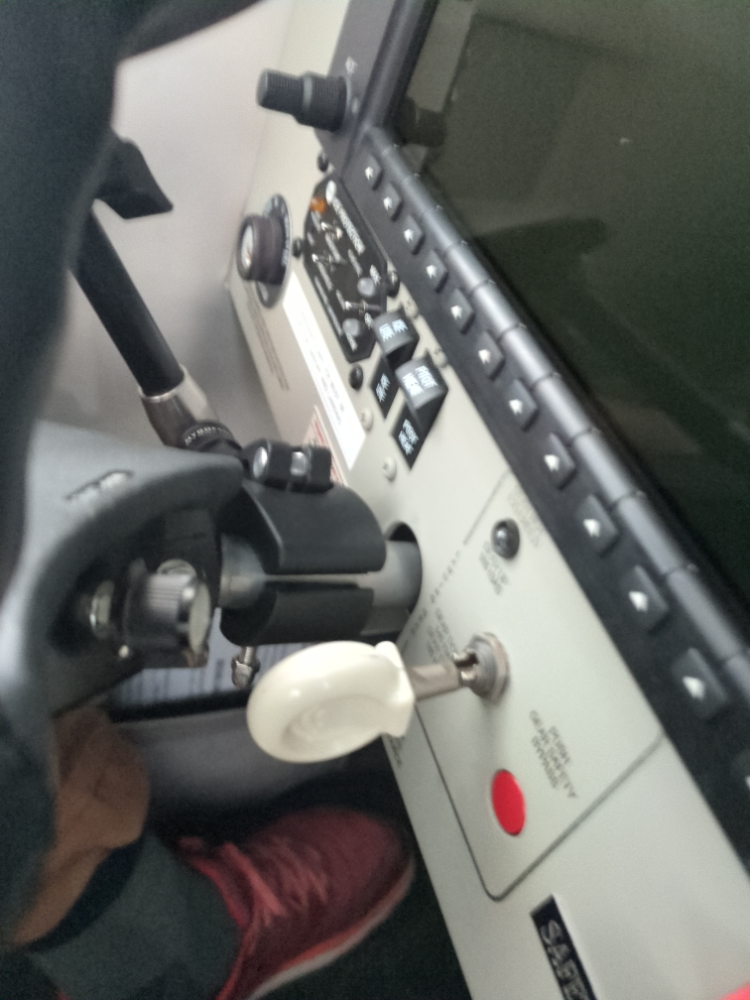
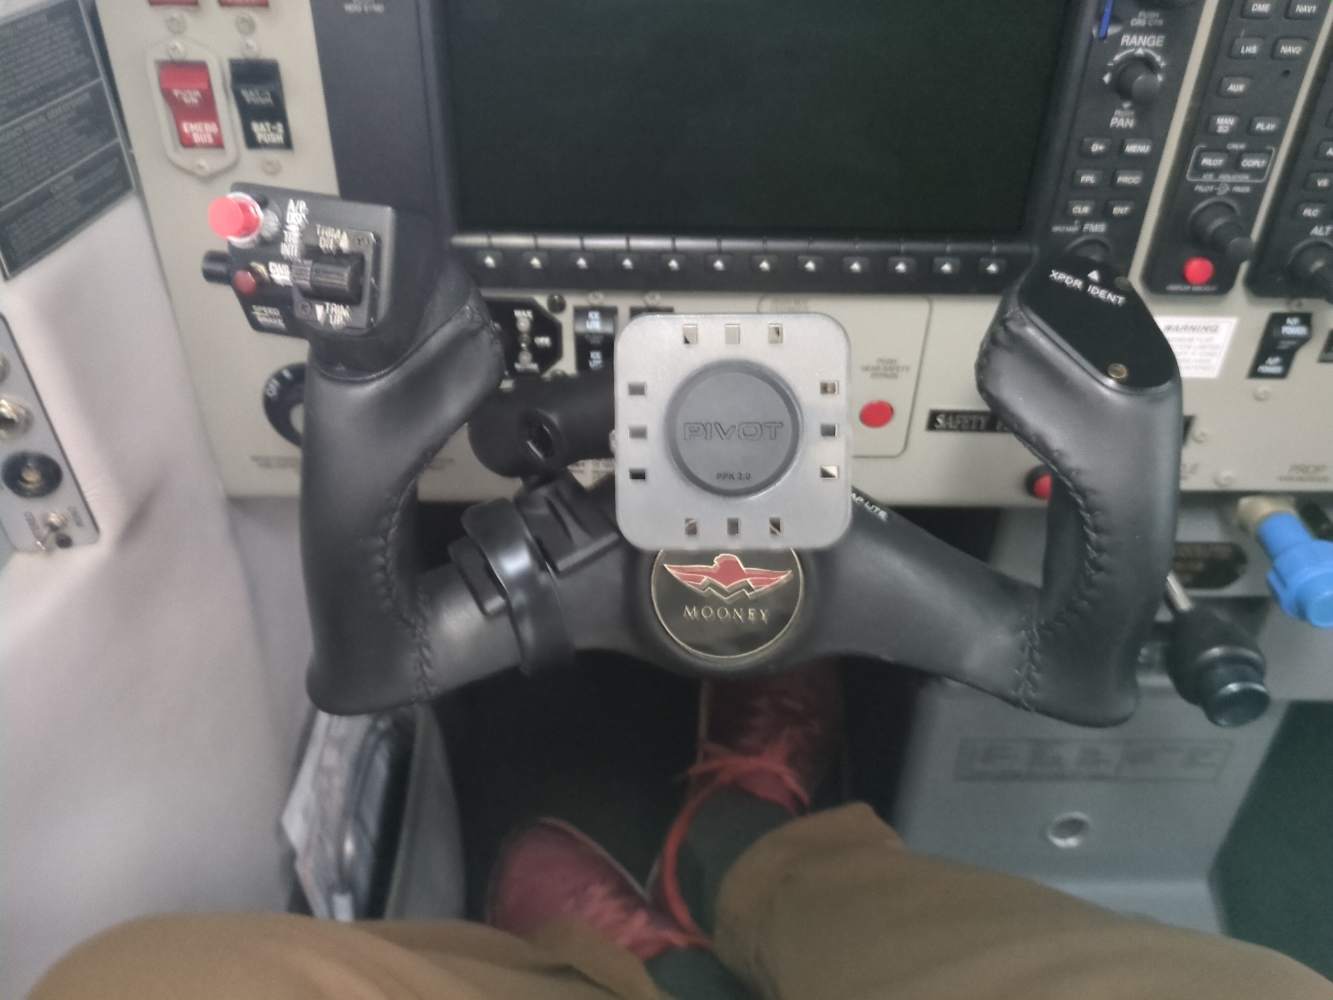
The other option (besides my RAM mount) is trying the much-recommended MyGoFlight clamp mount. Unfortunately, this one did not come with the PIVOT adapter as I'd thought, but that is available and allows use of both systems easily. This unit is actually pretty nicely-made as well, seems more solid than it looks. The only way I could mount it without potential interference with the landing gear lever was to offset the rotation (up and to the left). I may get the plate adapter and trial this one. Using a split-ring clamp (mentioned on another thread) would also work well and would be a better permanent solution I think. Anyone use these under the yoke? (I would probably try routing to the left to avoid the map light).
-
Circling back here after doing some work yesterday and seeing some parallel thoughts on a iPad Mini 6-v-7 thread. Procured -Pivot Mount with a hose clamp (meant for yokes) -MyGoFlight articulating clamp arm Photos from trial here. One of my main concerns is staying out of the way of other stuff, especially the gear switch which is very close in this plane (see right), but also not obscuring the map light or interfering with TKS or boost switches. It took a bit of monkeying to keep it far enough to not interfere with my grip of the left yoke horn, bury the end of the hose clamp back in the rubber, get the angles right, but it feels pretty firm. The friction around the final ball-joint with the mounting plate is easily adjustable, and so it's easy to turn the iPad from landscape to portrait as needed (photos with iPad to gauge degree of obscuration of the PFD). I'm going to try this for a couple flights, since I tend to use Foreflight most after the MFD (e.g. plates, checking glide ring). It overlaps the PFD more than I would like, but is easy to tilt or rotate out of the way. My other pathway right now is a yoke mount (see next post). HTH D
-
Think maintainers do alot of putting it back they way they found it and not know how it was supposed to be. But then what maintainer thought that zip ties through a clamp was the right way to go. I hate doing Adel clamps, but found that using Hemostats help. Hemostats also may safety wire a bit easier
-
Yeah, key word supposed to. It’s just held to intake manifold with zip ties through a clamp. Like I said there’s a lot you can’t see but can assume from the pictures. I’m going to fly my ass all the way to Maryland again next year, so Byron and Jack can sort all the riggetry out on it, at annual. There’s a lot that could be done better and the right way.
-
You make wire bundles for support. and then have the bundles go to the middle of the engine (as close a possible to the middle) to transition to the firewall. That way when there is the least amount of movement. The about 3 small tywraps should do the job to put those 2 wires together. also there is supposed to be a large Adel clamp around the orange heater hose that ties to the lug on the end of the footwell.
-
For those who are looking for the v-band clamp for the tsio-360 or tsio-520 part number 653337. Ram has a few in stock now. Ordered 1 today, catalog shows $330, new price $475.
-
iPad Mini 7 introduced 10/15/2024
McMooney replied to LANCECASPER's topic in Avionics/Panel Discussion
I do the same, the ram clamp is clamped all the way at the top next to the headliner, out of the way and allowing full gripability of the bar 8) -
iPad Mini 7 introduced 10/15/2024
Pinecone replied to LANCECASPER's topic in Avionics/Panel Discussion
Only problem with that is I use that bar to grab to get in and out of the plane. I use a RAM clamp and arm under the yoke. I can see almost everything on the panel. About the only thing is the Alt Static knob, and that is distinctive feel. -
Anyone out there have ANY idea where I might procure the Unicorn of all Mooney parts right now, the Lycoming 40D2355-340M V-Band Coupling (or the corresponding Aeroquip or Eaton part)....I'll forever be in your debt. Thank you, Alex Touchstone N1084U based at KPIB
-
#2 cylinder updated -- same steps -- note the spring clamp is oriented differently (just to be complete). Replaced the dented tube on the exhaust side since it was clearly leaking at the dent:
-
Using a new spring clamp, lock plate, and nut, assembled and torqued using a calibrated torque wrench to 96 inch lbs. I then had to tighten the nut a bit more so the lock plate would sit flush -- you can see that in the pic. I then used a channel lock to crimp the lock plate down.:
-
I then removed the spring clamp, lock plate and nut -- keeping them in the same orientation. Then I removed each shroud and put the appropriate pushrod to keep track of the push rods (shown above):
-
Once that was done, I removed the rocker arms and push rods -- noting the side they belonged to and organized them. I noted the orientation of the pushrod shroud, spring clamp, lock plate, and nut. This is important to make it easier to re-assemble. I organized the shrouds with the pushrods so I would know where they went. I did 1 cylinder at a time to keep things simple.
-

Interesting Tidbit about Glass Panel Setups
Scottknoll replied to Pinecone's topic in Avionics/Panel Discussion
I was showing 3-4amps in cruise, and it turned out the EIS was programmed incorrectly. If I recall they have to program the shunt information into the EIS and the Ovation didn’t fit the standard Garmin settings. I happened to put a clamp-on ammeter on my battery cable to check something unrelated. The clamp-on was reading double the EIS. Quick setting change in the GI-275 and it was reading properly. It usually settles down to 1amp in cruise now. -

Brightline bag configuration tips?
Rick Junkin replied to dkkim73's topic in Miscellaneous Aviation Talk
@dkkim73 Bottom line up front: I'm a Brightline fanboy. My daily configuration is the 2" center section with the pocket front cap and the flat rear cap with both the slim handle and the shoulder strap attached. For the most part I only carry what I might need during a flight or at the hangar when I get back. I either strap it into the copilot seat or I put it on the back seat with the should strap hanging down the front of the seat so I can grab it easily in flight. My headsets, handheld radio, travel johns, sick sacks etc stay in the airplane now, but I used to carry them and a few other items in a 4" center section when I was flying multiple airplanes. The top pocket set on the front panel holds the items I use routinely or I may need quickly - the main top pocket holds pulse oximeter, CO detector, small bottle of Afrin, and a large Flight Gear power bank with charging cable. The half-zip back pocket holds my SD card case and usb drives and adapters. The front zip pocket holds my check book. The middle pocket set holds my head lamp and luggage scale in the main pocket, AA batteries in the back pocket, and miscellaneous clips (headset cord, document clamp clips) in the front pocket. The bottom pocket set holds my wall charger brick and a small Flight Gear magnetic power bank specifically for my iPhone in the main pocket, AAA batteries for my oximeter in the back pocket, and assorted charging cords in the front pocket. I carry a MacBook Air and an iPad pro in the main 2" compartment along with any paper products I need, and an iPad mini is the flat back pocket. The two pen pockets on the sides hold a pen and a Smith & Wesson stick LED red/white flashlight. I bought a B4 preconfigured bag in 2012 for business travel and have since purchased and used every center section and side pocket for specific missions. When using the larger center sections now (for toilet kit and change of underwear in the event of wx/mx issues on day trips, or even all of my clothing needs for a short trip) I find the FLEX Array panels really useful for organizing small items. For instance I have one FLEX array panel pre-loaded with survival items. As @Max Clark pointed out the Brightline bags can get heavy in a hurry, depending on configuration and what "because I can" items you load into them. But if you keep to just what you need and arrange everything logically I think it's a great system. My previous favorite flight bag was a mid size Cencal bag, which to my wife's chagrin I still have. Along with an embroidered Sporty's bag, an embroidered FlyBoys crew bag, and other things I can't bring myself to get rid of. But I digress. Cheers, Junkman -
Did a cleanup and inspection today on the oil leak. Before I do the dye, I decided to check the obvious first - found the oil drain hose clamp loose on #4 so I removed the line and cleaned/ retorqued the clamp. Second, I saw a lot of oil below the #4 valve cover so removed it - yep lots of oil on the lower area below the valve cover - both sides of the silicone gasket showed evidence of leaking. Replace the gasket with a new one and follow the new SI from Lycoming: https://www.lycoming.com/sites/default/files/file/2024-02/SI1588 Rocker Box Cover Screw Torque.pdf Note the gasket orientation- rounded sections on top for the silicone/cork gasket… A test flight tomorrow with the dye added just to make sure I got it fixed. Dye will let me know. I made sure the pushrod tube spring was secured - it is - has all new seals, spring clamp, nuts etc. Oil leak made a real mess but cleaned the engine compartment well. Next the belly will need a good cleaning after confirmation… -Don
-
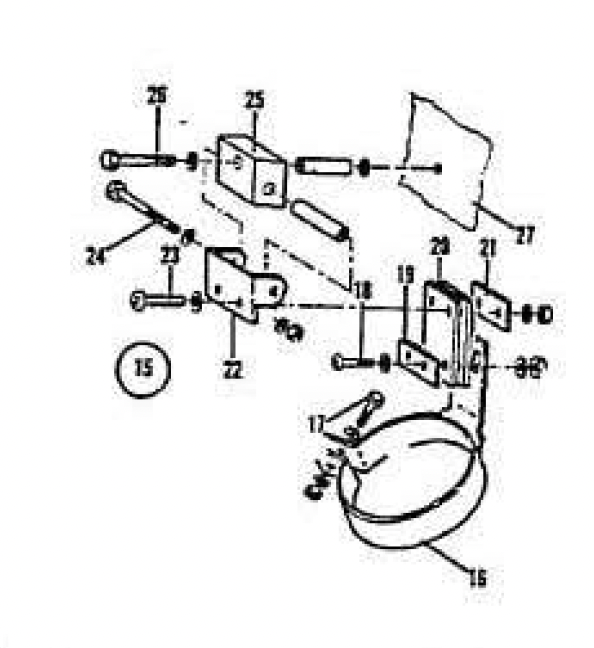
We're installing a new tailpipe and a new Mooney clamp on my bird and I have been hunting all over trying to find the correct torque values. My A&P warned me that if it's too tight, the metal won't be able to expand as it heats and flex enough and could break, but it also doesn't need to be too loose otherwise it could leak or the tailpipe bang into the airframe. Which means we need to find the right torque to use vs. guessing. But it's not in the Mooney Service Manual, Lycoming Manual, or any other manual I can find, so asking the Mooney Braintrust here . There's a ball & socket joint with AN bolts and springs where it connects to the other parts of the exhaust, what torque do you apply to the bolts to give the springs enough springiness but not too much? Tailpipe is 630056-501 (OG) replaced with PMA A630119-501 The clamp hangar is P/N 630041-501 and it connects to the rubber shown in the diagram below with an AN3 bolt that we're not sure of what the torque needs to be either.
-
Has anyone found a source or solution to the AD for the turbocharged airplanes (specifically TSIO-360) exhaust clamp thats out there now. Just became aware. Thank you.
-
I am in need of a Turbo Clamp for a 231 (Part# 24540-300). Any help is appreciated!!!!


