

Z W
-
Posts
515 -
Joined
-
Last visited
-
Days Won
2
Z W's Achievements
")


-
Many of us have had similar issues. First, I'd check your air intake plenum boot (the one that goes from your lower cowl to your air filter housing). Make sure it's properly installed, not torn or ripped, and not choking off your engine's air intake. You can verify by removing the access panel to it on the copilot side of the lower cowl. I've had it installed wrong and repaired wrong by shops. A clue will be your alternate air light coming on at high power. And the engine will not run right without proper air flow. If you're getting good air intake, the problem is usually related to the fuel system setup. You need a good mechanic with proper gauges to perform the whole setup as set out in SID97-3G, which is now actually a part of Continental's M0 maintenance manual but the steps remain the same. I've attached a copy. They can't just "check the fuel pressure in high and low". It has to be set up in a certain order and tested with the cowl on which is a little tedious. You need accurate fuel flow and RPM gauges. In my experience many mechanics do not have the tools or the knowledge to do this. The 252 engine is particularly finicky and hard to get right, but runs great when set up properly. Don Maxwell fixed mine the last time someone else messed it up. I'd recommend taking the plane there or to someone who has set up the TSIO-360-MB engine before. SID97-3G - Continuous Flow Fuel Injection Systems Adjustment Specs and Instructions.pdf
-
Hangar rash from maintenance <minor rant/>
Z W replied to toto's topic in Miscellaneous Aviation Talk
When our long-time A&P retired and a new crew took over the shop, we started getting the plane back covered in greasy smudges that weren't there when it went in. Happened enough times I mentioned it to them. I keep it pretty clean. Shortly after that, we had a series of maintenance-caused issues leading to almost a year in downtime and several dangerous conditions before finding a new shop. Looking back, you could see how they were treating the plane by the greasy fingerprints. Should have pulled it out of there then. I'd put new scratches and dents on the plane in the same category. Not talking about chipped paint at the edge of the cowlings and inspection panels, or an occasional chip from a dropped tool. I do understand some of that is going to happen. -
A form-a-funnel works pretty well on getting oil from the filter into the bucket. Comes in handy doing lots of other things too around the plane / hangar. $15 on Amazon. https://www.amazon.com/Cyantor-Flexible-Draining-Foldable-Reusable/dp/B08R5YYQJ6/ref=sr_1_7?crid=27IH2ZDX141O3&dib=eyJ2IjoiMSJ9.eLE_CAL9gdciPWXq2JwDmg8HhI5ZgEHmFpABNsHY80nA6s1vyCd93LK7xutKNuTx79SAZDfj_QchQ-RT_TZbTNAigIncivLk-QNledha-Pd5RtUrpqgNf0HdEPeKibQz01-VbF_D0T7Au1Sy1w6ab_uvUfD1Gl0DqNULJo3fwcwgXuuLDc96zVLzY-qpGJB59SNzXLfIr3IErzGDCcODCtFP2zHobSGbcaXnruN7tG4rUSb5efsKfmkXgPNCOeKfXOSmdrlueLc1bZnkH_6x9tHBMBcHfj1OQgWYVi9pJeI.gMEuGBpIAqqiXIxrvh2g-uEVcNs1wECj95gVL1uUGsc&dib_tag=se&keywords=form+a+funnel&qid=1713354127&sprefix=form+a+funnel%2Caps%2C92&sr=8-7
-
Starter solenoid 'earth wire'?
Z W replied to Joshua Blackh4t's topic in Vintage Mooneys (pre-J models)
That looks a lot like the flyback diodes sold at Aircraft Spruce: https://www.aircraftspruce.com/catalog/elpages/solenoidassy.php It acts as a one-way path for electricity and keeps the charge in your solenoid's coil from traveling back up the switch wire and causing a spark in your starter switch. If you have trouble getting your exact part number of replacement solenoid, you can get a Lamar FAA/PMA replacement, very nice units: https://www.aircraftspruce.com/catalog/eppages/sts-12s24s.php?clickkey=8060 If your master solenoid looks like that one, now might be a good time to replace it too, or at least throw a new one in your spare parts bag so you aren't left stranded on the ground somewhere. And if the rest of your battery-to-starter wiring looks as corroded as the wire ends in the photo, just cleaning the connections with a wire brush and adding some dielectric grease might be a good idea, and might be all it takes to get everything working right again. -
I had a very good initial PPL flight instructor. We did a lot of practice where he let me come into the airport at different heights, speeds, directions, etc., then his instructions were "Look out the window, and make the airplane do what you want." and "Keep your aim point centered in the windshield and get your speed right, and the plane will land itself." That was all in a 172 but you can do it in a Mooney too. I am still most comfortable landing that way. I glance at the airspeed indicator but most of my focus is visual, outside. If you come in too fast you'll float, but you can feel that in the controls, and in the seat of your pants, and see it in your attitude - if you're too nose low for your flap setting, you're too fast, usually. Basically what an AOA indicator would be telling you (wish I had one). Another pilot I know and fly with learned only stabilized approaches. His CFI was an airline pilot. He does math in his head in the pattern, calculating his descent on downwind and base, checking AGL on final, compensating wind speed with altitude. Would stress me out. But to each their own. I have wondered how those pilots handle situations where a stabilized approach is not possible. Slam-dunked by ATC. Last minute pattern changes from tower. Flying the FISK arrival at Oshkosh. Landing at Gaston's. Circle to land ops. For the pilot I know, those are very stressful situations. I've encouraged him to go get some VFR practice and instruction. I think it should be taught more than it seems to be.
-
Found a tip here or somewhere on the internet to use Peerco 321 Adhesive Remover. Pricey, but it works great to dissolve all types of glue without removing paint: https://www.aircraftspruce.com/catalog/cspages/peerco02-00234.php I guess it's what they use to remove deice boots from wings. I can confirm it removes carpet glue and door seal adhesive very well also. Pleasant citrus smell, no fumes like mineral spirits.
-
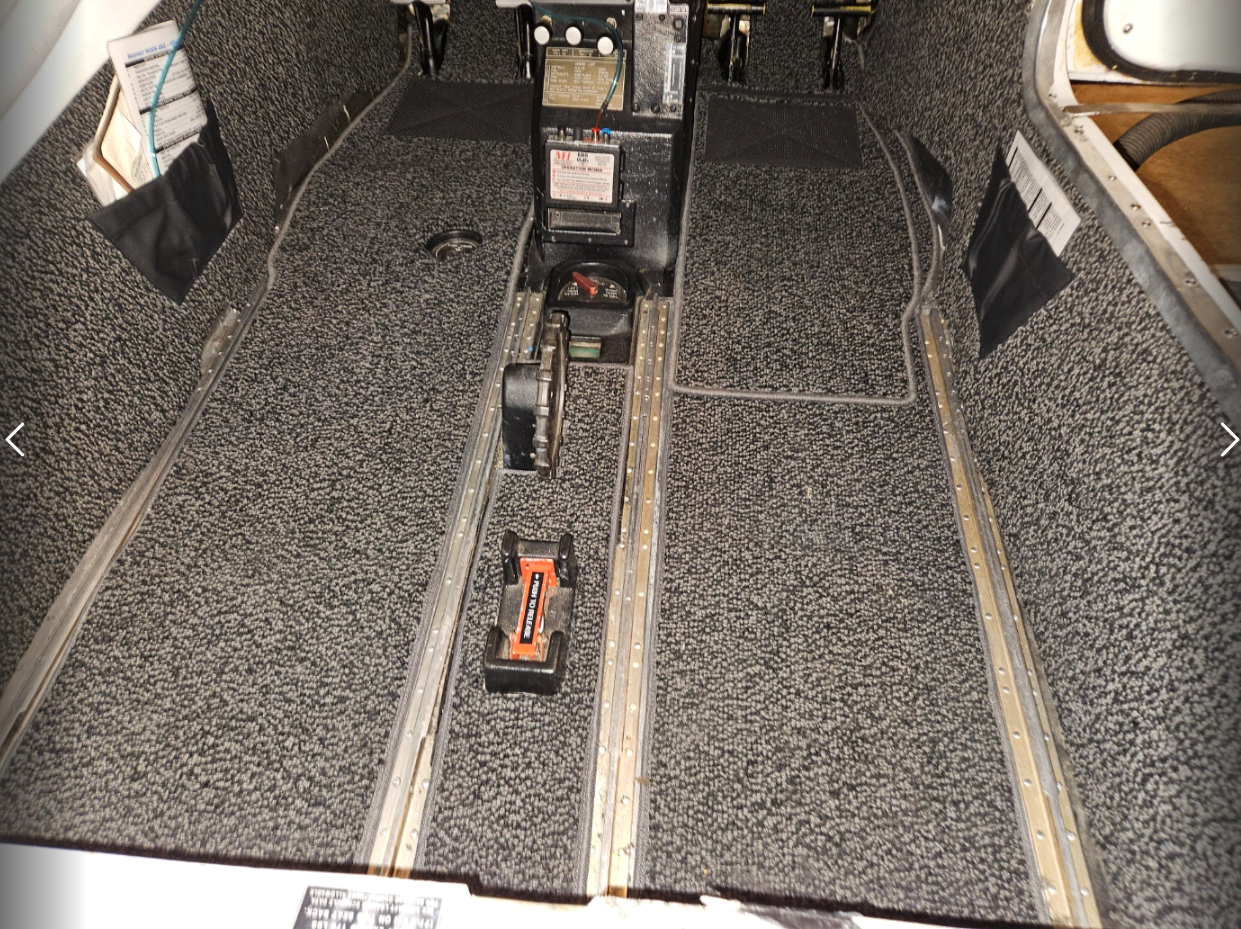
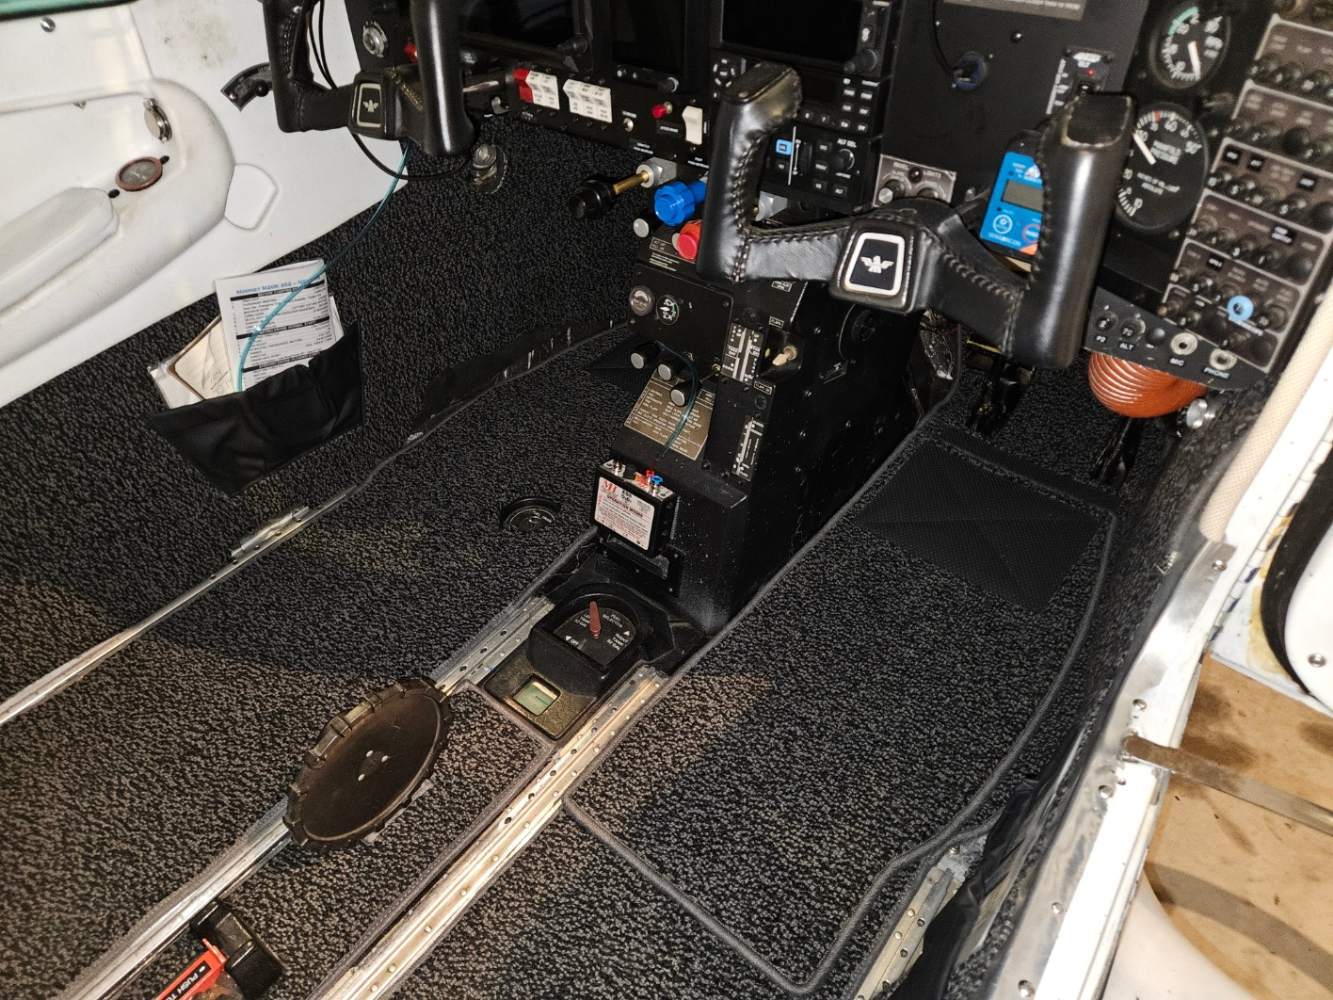
I cut out for the fuel strainer. I just laid the piece over it and used a fresh utility blade knife to cut through like a pie, then around. Wasn't too bad. The directions say to fold the pie pieces under but they didn't sit flush and it wasn't working so I cut them out. Ideally I would put some binding or something around the circle, but I have not done that. They sent velcro strips with the kit. I have not installed them yet. So far, the carpet stays where it is supposed to and doesn't move, since it is such a nice tight fit. I am not currently planning to do anything to hold it down, which makes it easy to pull the carpet for cleaning, inspections, or modifications. If I have trouble my plan is to use some rubber cement to install the velcro strips it came with. I did glue down the pieces on the split rear seat backs. I used 3M spray carpet adhesive, followed the directions, very easy. I would not glue all the carpet down. We spent a lot of time stripping out old glue before installing the new carpet. Nasty mess.
-
I recently got a kit from SCS. It was easy to order samples in advance to see what you're getting. I needed some pieces from their 231 kit and some from their 252 kit. I had some parts of my plane that did not match their drawings at all. Sent them measurements for those and they custom-made them, turned out great. Had to slightly trim some pieces, easy to do with a pair of scissors. They also made a piece for my hat rack, which was not carpeted on their drawings. I think it took about a month (which included Christmas and New Years) for the custom work order and they did a good job. I'd recommend the kit and the company. I had considered just ordering raw material and trying to cut and bind it myself, since none of the kits seemed to really fit my plane, but I'm glad I did not. Theirs is much nicer than I could have done. My only complaint is that next to the new carpet, the seats and the plastics now look a little worn out, where before I thought they looked pretty good...

-
Went to Skybolts instead of Camlocs and never looked back: https://store.skybolt.com/storefront.aspx I ordered an assortment of SK27S3 (2700-series) in different lengths. E.g. some SK27S3-3S, some SK27S3-4S, some SK27S3-5S. The -<number> is the length of the fastener, and our cowls are somewhat custom items that over time will work better with different lengths. You can keep swapping till you find one that is tight enough to not fall out, but easy to install. I believe most that fit were 4S or 5S. You may also want some SK28S3 (2800-series) which have a wider flange for any holes that becomes wallowed out, and some SK40S5 (4000 series) which are the large ones that go in the bottom of the cowl. Having some spares in the hangar for when a shop returns your plane with fewer fasteners than you delivered it with, or when you land with fewer than you took off with, may be a good idea.
-
I believe so, but both were in the plane when we got it.
-
Sounds familiar. Got a new trim chain cover in 2021 from Vantage Associates Alva Plane Plastics. Part number K740227-001. Cost $16.20 shipped. If I remember right, I had to call them, but they figured out what I needed and sent it. Never did figure out where the old one went. There were 3D printed versions described here on Mooneyspace, and the guy who made it was offering to sell them at one point. But Plane Plastics is hard to beat.
-
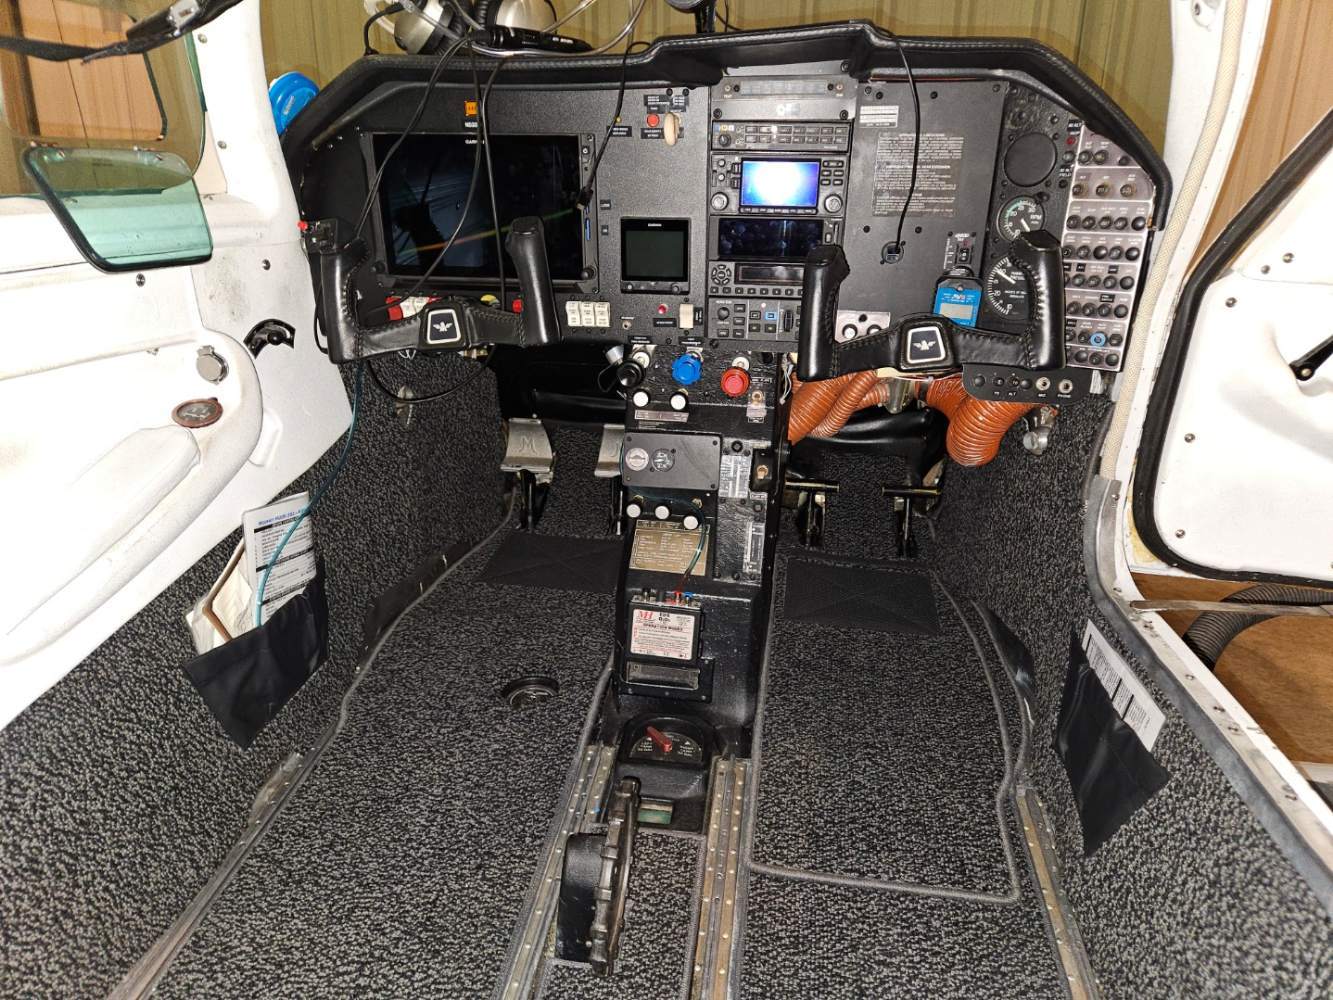
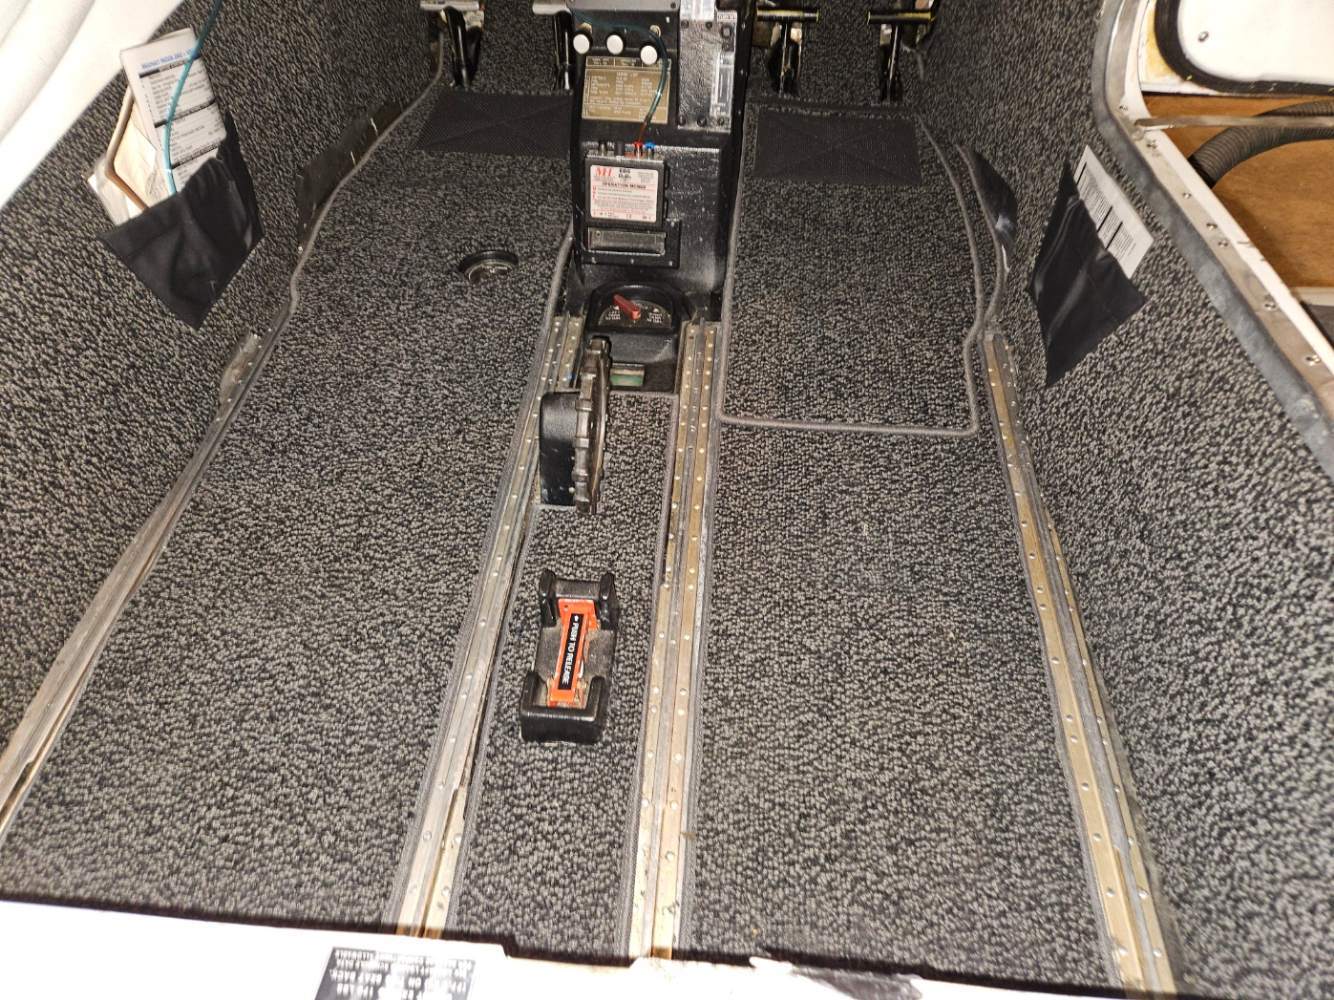
It's a floormat that came with the carpet kit from SCS Interiors. Great kit. There's a matching one for the pilot's side, but it covers the fuel drain valve, so I opted not to install it out of fear that I'd forget to drain the fuel as part of the preflight. I have since removed the copilot's floormat also, because it looked lopsided with only one side installed. I considered trying to cut a hole in the pilot's floormat for the fuel drain valve. Still could, but I'm not sure it would look good.
-
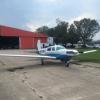
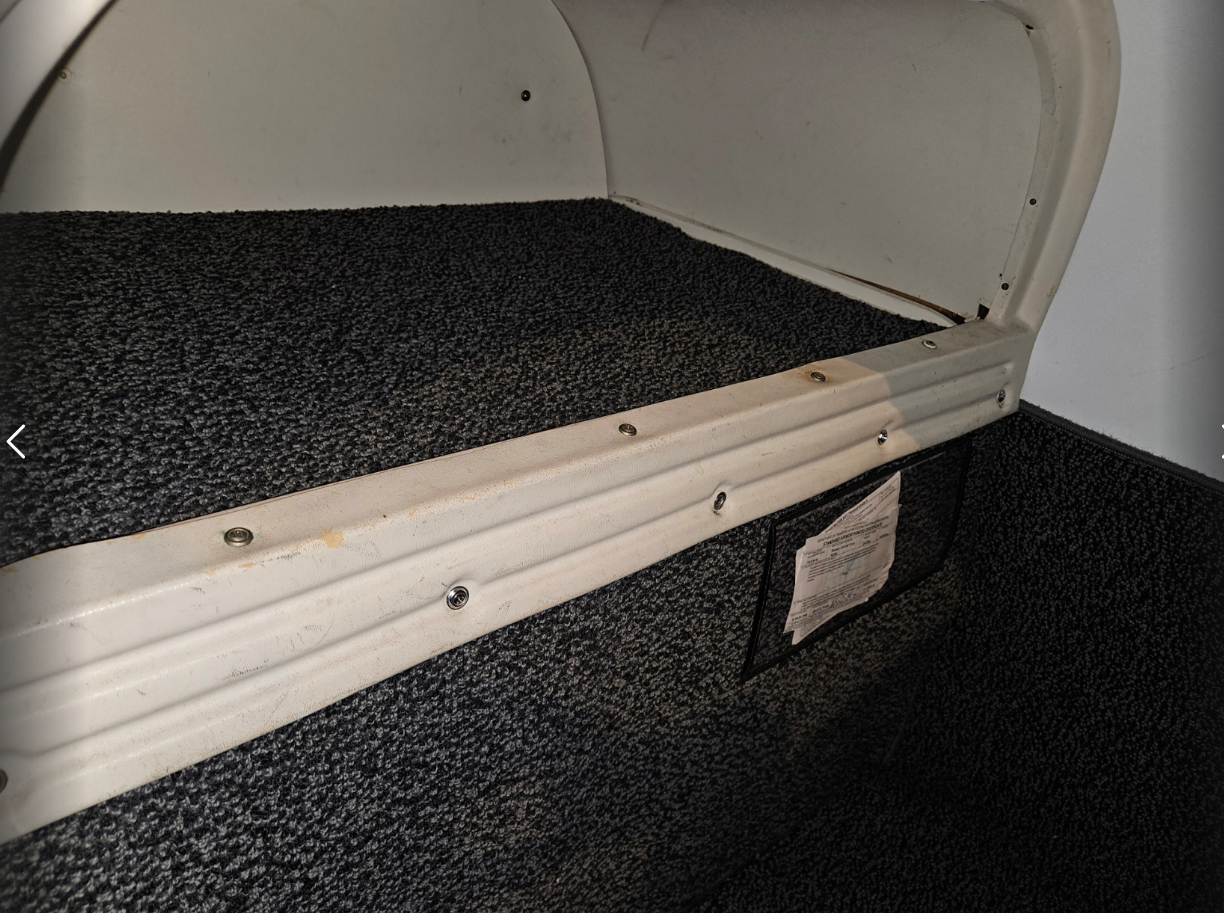
Here are some I took after putting in new carpet. It's a 1982 model year 262 conversion but I believe the interior is all from a 252 model. Hope it helps.

-
Had a KAP-150 that started acting up. Chased problems with it for a couple of years. When they go bad, they can have some undesirable failure modes. The last time, about 50% of the time, when you engaged the AP, the right wing wanted to drop 30 degrees. Not pleasant in IMC or with passengers. It also would randomly just stop capturing the glideslope on approaches. Shops were confused. Some chance it was the old King HSI driving it that was failing. Not many people wanted to work on either the HSI or the KAP-150, or understood how it all worked, and this was in 2018-2019, I suspect it would be worse now. Never did figure that one out. We put in the GFC500. Huge difference in the way the plane feels to fly. Reliable. Easy to use. Intuitive. Safe. Would do it again, despite the cost.
-
New engine will not start after already been started
Z W replied to Dick Denenny's topic in Vintage Mooneys (pre-J models)
The theory here is this: You had a perfectly running engine at shutdown. For shutdown, all you did is move the mixture to idle. There's still gas in the lines, primed and ready to enter the cylinders. The throttle is already cracked and set to idle speed. If you put the mixture back to full rich and crank, you're returning the engine just back to how it was a few moments before when it was running happily. It should re-start. This works only on short turns, such as refueling or loading or unloading passengers. If the plane sits for longer (30+ minutes) the fuel in the lines may vaporize from engine heat (vapor lock), drain back to the tank, or drain or evaporate out of the carb. Then you have to either re-prime, flush the lines with cool fuel from the tanks, or something else to return the cylinders to the proper fuel/air mixture to run. But after a quick turn, I will typically just crank first and see if it fires. If it doesn't, then you know it's safe to add more fuel without flooding the engine.

