Cloudsurfer11-03
-
Posts
15 -
Joined
-
Last visited
Recent Profile Visitors
764 profile views


.JPG.64f2546e6460e5a8ff354e63607a6a73.thumb.JPG.34fac55620ee454b0dc1b3b4505e28d0.JPG)
Cloudsurfer11-03's Achievements
")


-
The real mystery is why people keep using it ;-)
-
Have a friend who was flying Aztecs for a survey company around 2009. His plane had been sitting on the ramp at an airport near LA for a week or so when on preflight he discovered killer bees had built a nest in the nose baggage compartment. Luckily he got the door closed and ran away before getting stung. Probably good he found it before takeoff I know they had a fun time figuring out how to deal with that one.
-

GoPro wing tie-down mounts
Cloudsurfer11-03 replied to Cloudsurfer11-03's topic in General Mooney Talk
The paint on mine is far from perfect, just trying to preserve what I have thanks for the advice! -
GoPro wing tie-down mounts
Cloudsurfer11-03 replied to Cloudsurfer11-03's topic in General Mooney Talk
Good idea on the lock nut. I was thinking about using a rubber pad/gasket/o-ring or something between that'd compress and let me adjust it the angle as well as add some friction and prevent it backing off. Have you had any issues with the adhesive pads and your paint? I was worried that it could cause some damage. -
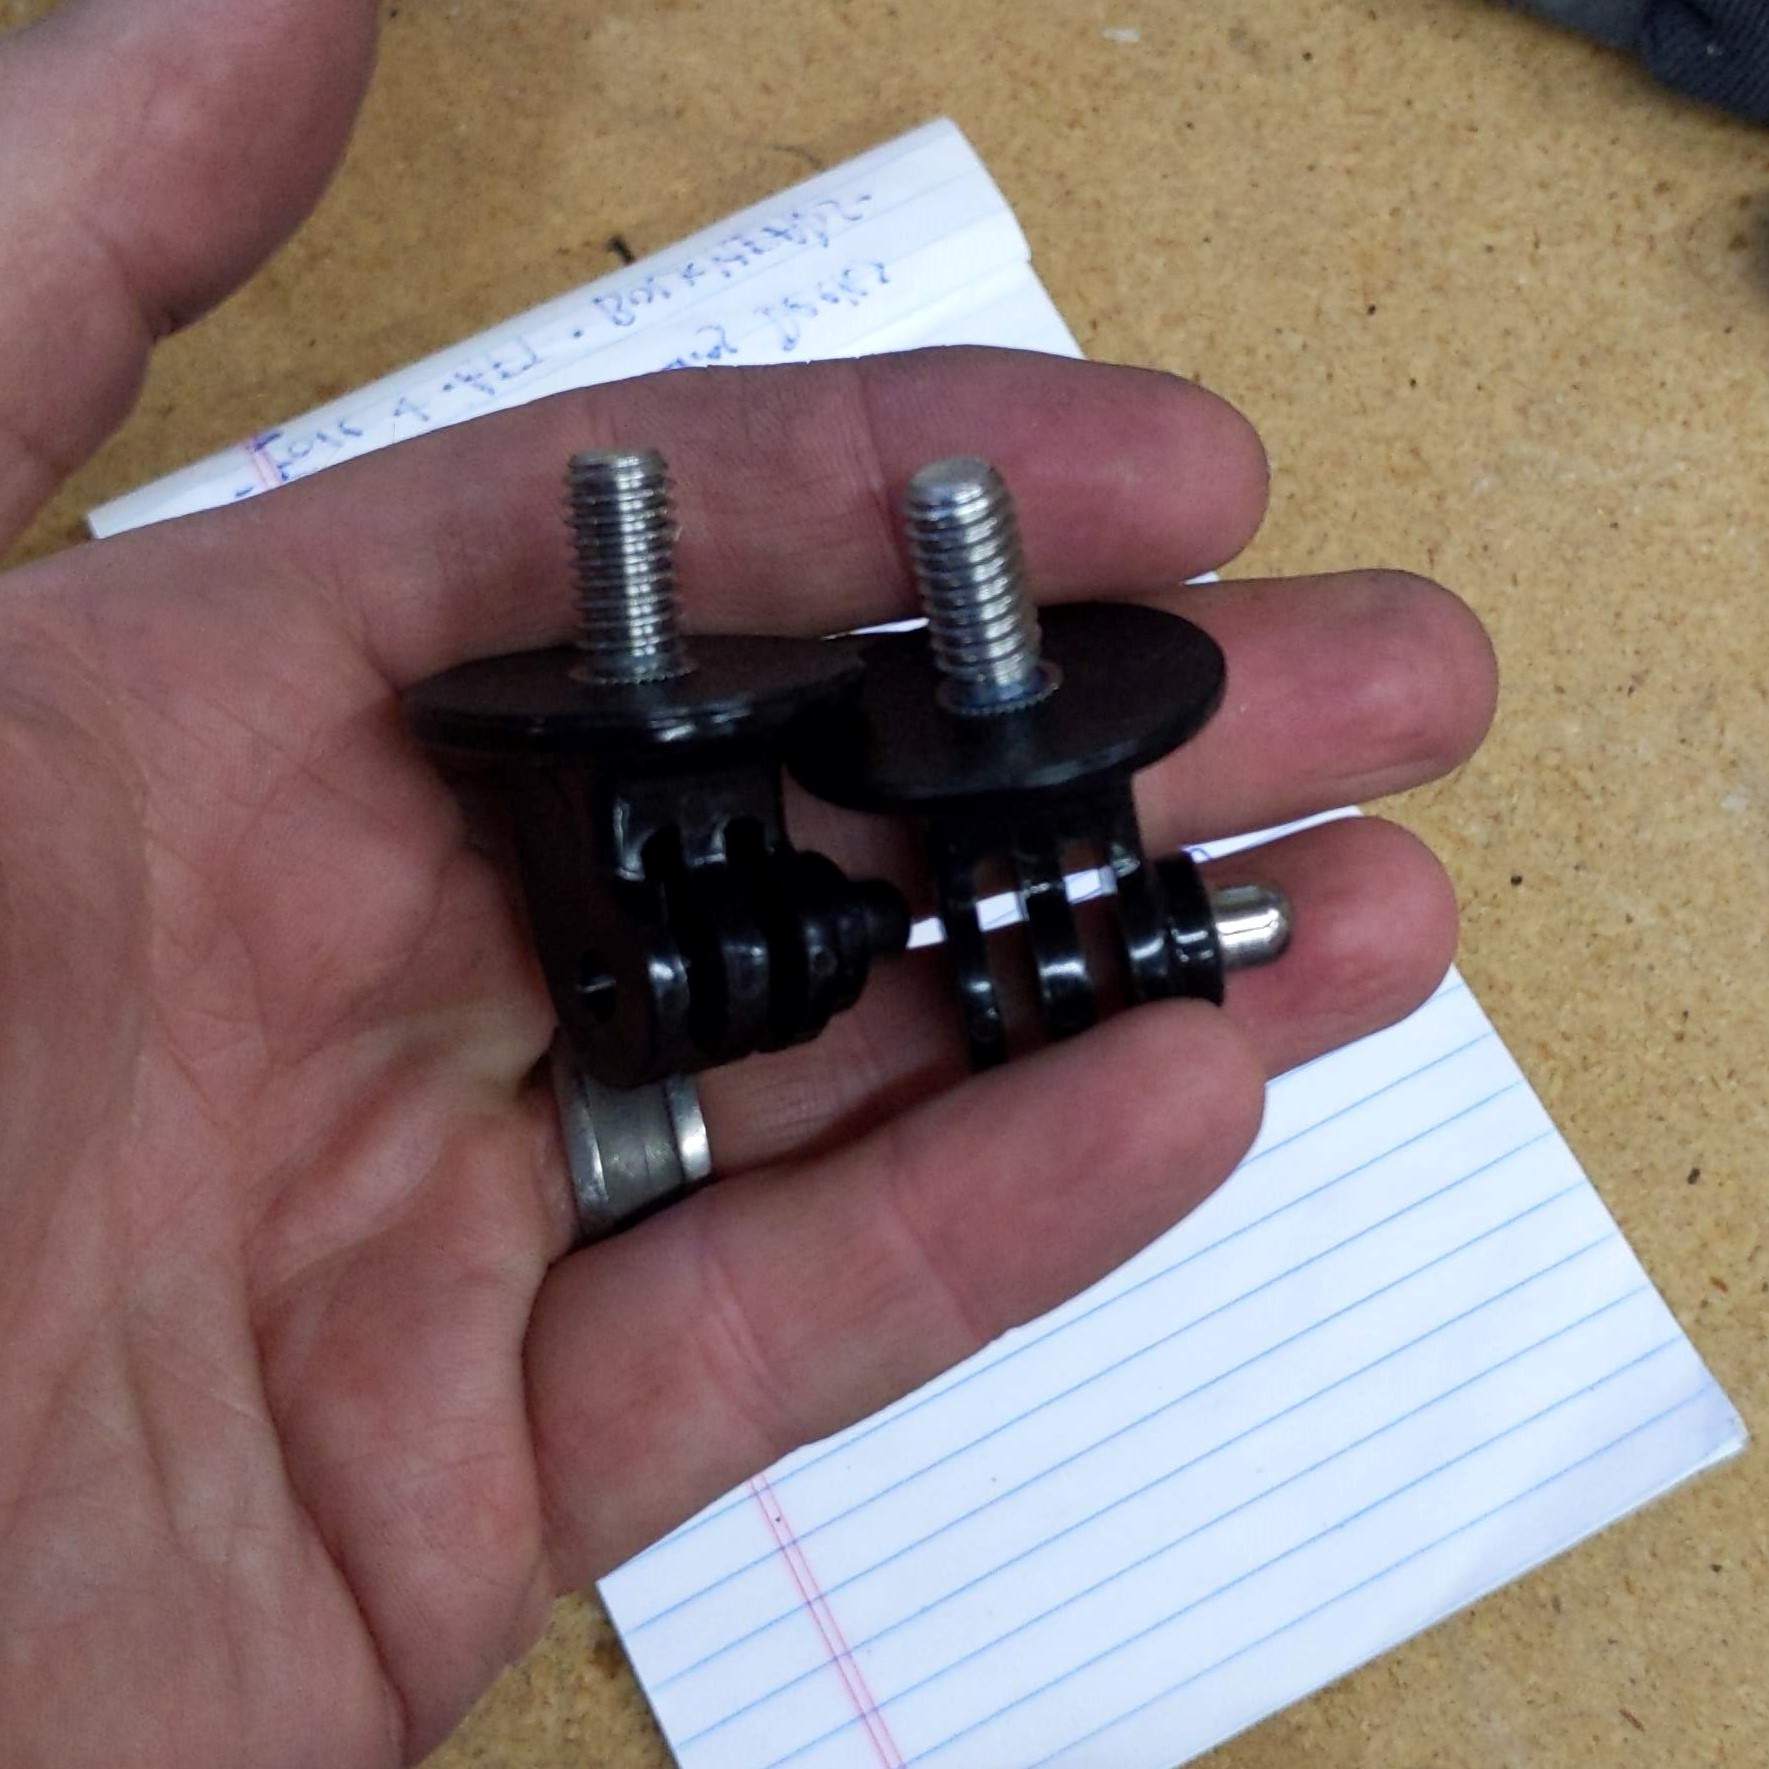
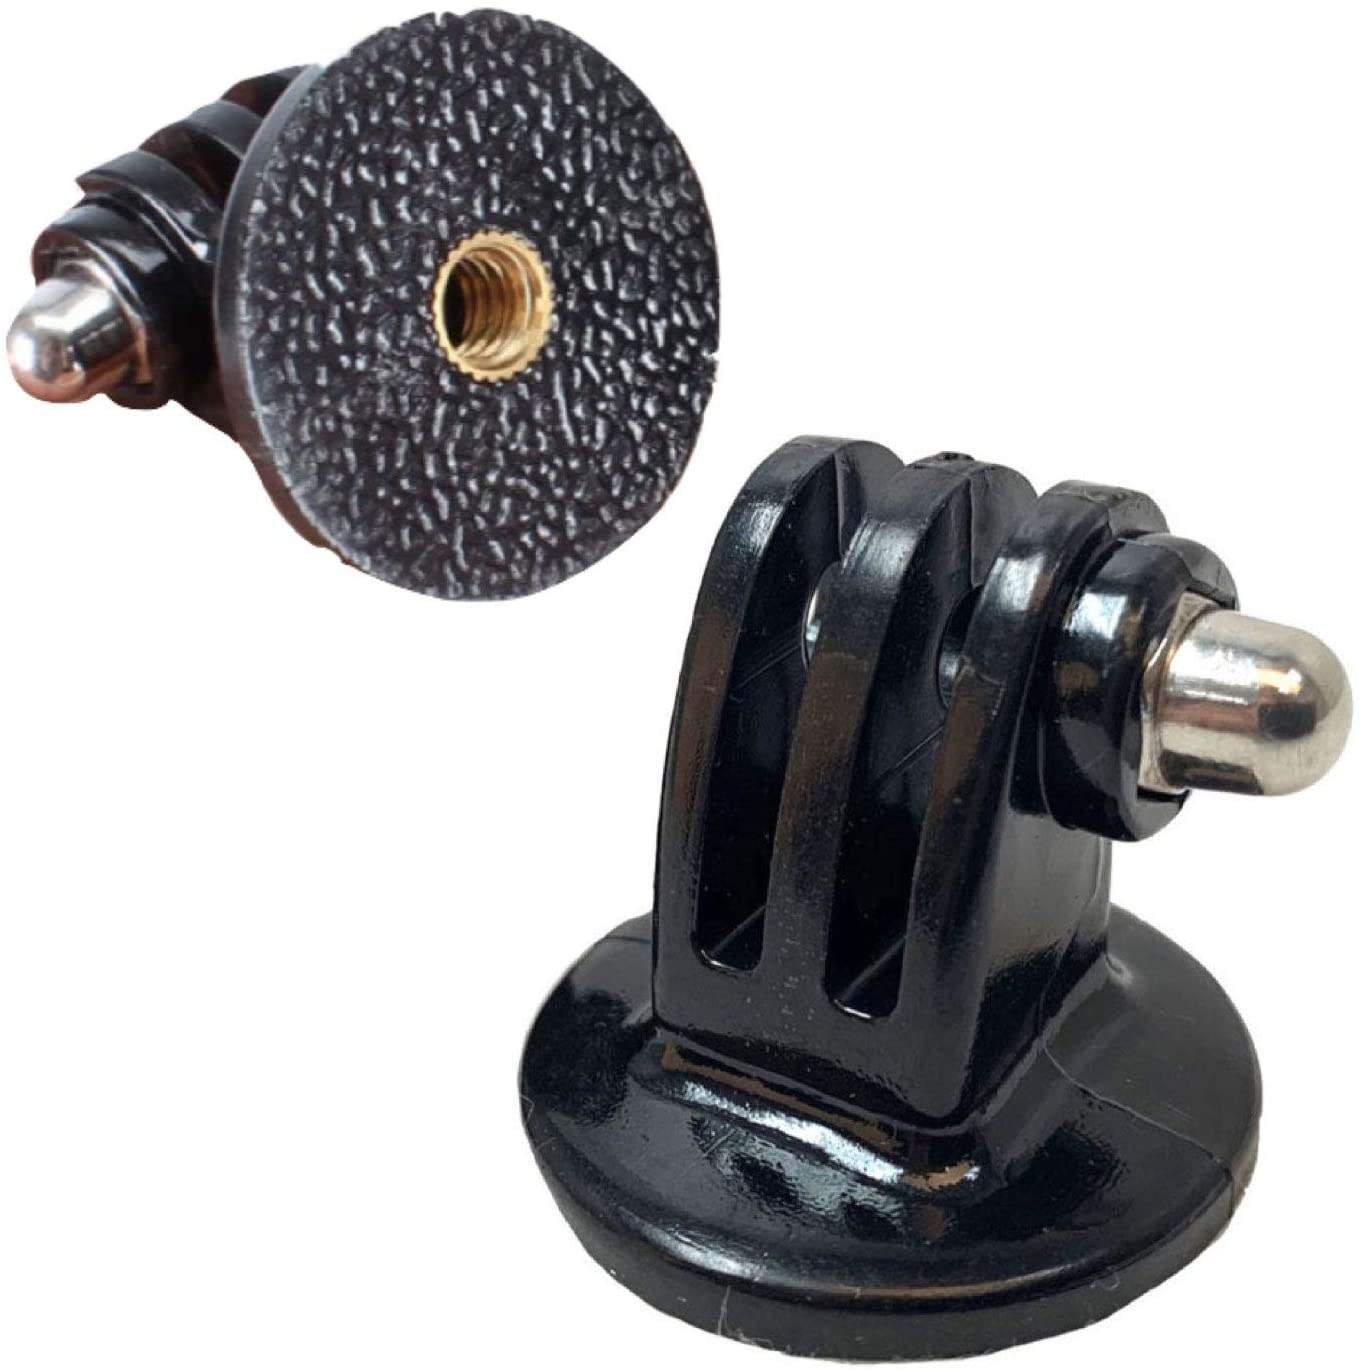
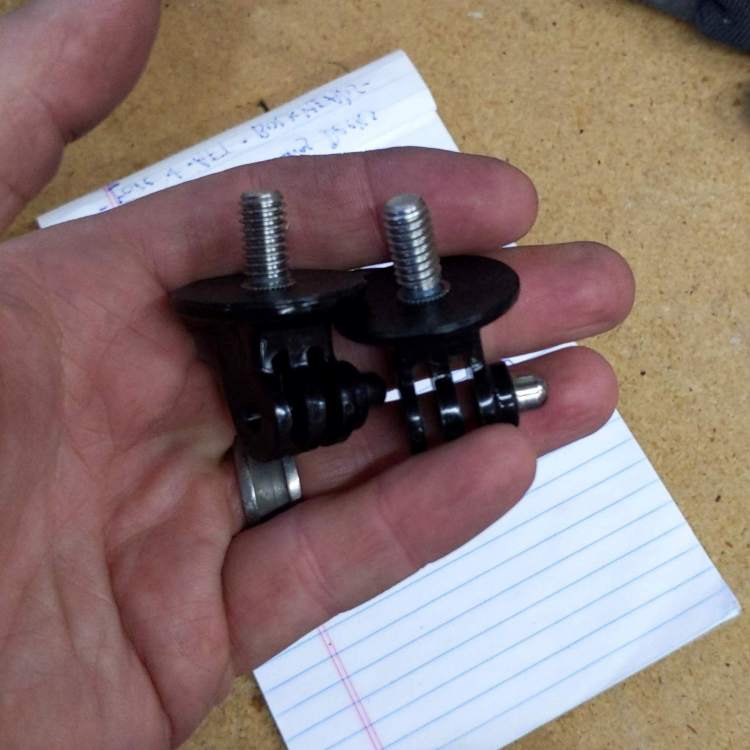
Not sure if there's anything like this on the market already but figured I'd share in case anyone else wants to make their own. I was thinking about methods to attach GoPros safely and securely to the exterior of a Mooney without any sort of airframe modification, suction cups, or clamps. I figured the wing tie down bolt holes would be the perfect place. They're already a structural threaded hole and conveniently placed. I modified some GoPro tripod adapter mounts to thread into them: The tie down bolts are 5/16"x18TPI (at least on my 78' J model). The tripod mounts are 1/4"x20TPI, so unfortunately you can't just use some all thread between them. I bought some 5/16"x18TPI bolts, cut off the head with an angle grinder, chucked up the remaining bolt in a drill, and then used that and a bench grinder to reduce the diameter of one end down to approx 1/4", then threaded it with a die. I used thread locker and threaded the bolt into the camera mount. My A&P gave them a look and a thumbs up. Looking forward to trying them tomorrow.

-
Do you or have you named your plane?
Cloudsurfer11-03 replied to Mufflerbearing's topic in General Mooney Talk
Morty -
Apparently there's a fly in at KUBS this weekend for anyone who might be interested. Saturday the 3rd from 16:00-22:00. https://www.facebook.com/events/356483941936488/
-
Mooney Roundup around Alabama Area
Cloudsurfer11-03 replied to Pilotja5's topic in General Mooney Talk
Sorry I wasn't able to make it. I'm glad some of you were able to get together. I pick up my plane Thursday morning and plan to attend the next meet up. I'm pretty psyched. See below for before and after pics the shop just sent me. FYI, we finally have 100LL again (after a 6 month wait due to tank issues and a management change) at KUBS and freshly renovated FBO so feel free to visit!

-
Mooney Roundup around Alabama Area
Cloudsurfer11-03 replied to Pilotja5's topic in General Mooney Talk
Would love to attend but my plane won't be out of the shop from it's avionics upgrade until mid week. -
Mooney Roundup around Alabama Area
Cloudsurfer11-03 replied to Pilotja5's topic in General Mooney Talk
I vote Bessemer then. -
Tentatively attending (awaiting leave approval). "JM" - Cloudsurfer11-03
-
Mooney Roundup around Alabama Area
Cloudsurfer11-03 replied to Pilotja5's topic in General Mooney Talk
Bessemer or Gulf Shores both sound great. Looking forward to meeting some of you in person. -
Homemade Custom Sun Shades
Cloudsurfer11-03 replied to Cloudsurfer11-03's topic in General Mooney Talk
Thanks everyone for the positive feedback. So far I haven't had any issues with the aluminum tape around the edges scratching the windows, it seems prety soft & flexible. -
Hey everyone. I just made myself a set of custom fit sun shades and thought I'd make a post to help consolidate some of the other information on the topic I've found on this site. First, I have to thank gsxrpilot & Skates97 for their helpful posts. As far as materials you need the following: - Aluminum bubble insulation (available at most hardware stores, lumber yards, and amazon) - Aluminum tape (for banding the edges of the shades) - Blue painters tape - Scissors Process: 1. Unroll the insulation over the exterior of the window 2. Tape in place with painters tape 3. Cut out sun shade following window edge (re-tape as necessary while cutting) 4. Trim edges/fine tune shape once cut out from main sheet 5. Cut slit down middle of front windscreen and overlap or cut out extra material to accommodate compound window curve 6. Tape seams with aluminum tape 7. Fold aluminum tape over/around edges to add rigidity and prevent tears. I also made a step by step how to video: Thanks again everyone for making this project possible.
-
I had a similar with my J. Removed the belly panel, cleaned the limit switches with electronic contact cleaner (available almost anywhere), cleaned and re-greased the flap actuator screw, and now they work perfectly.